Hi friends! A little while ago, a box of beautiful products arrived from The Washi Tape Shop, and as soon as I opened it, my creative wheels started turning.
Oh my goodness….the designs are filled with soft florals, adorable kitties, cosy scenes, vintage-inspired artwork, and all the little details that make me want to sit down with a cup of coffee and create. And that’s exactly what I did! 🥰
I had SO MUCH FUN creating with these products, and if you’d like to take a closer look for yourself, be sure to use my special link. The Washi Tape Shop has also generously provided a discount code for my viewers. Simply use SERENESTAMPER10 at checkout to save 10% on your order.
One of the things I love most about products like these is how versatile they are. The very same images and washi tapes can be used for cardmaking, journaling, memory keeping, scrapbooking, and so much more.
In today’s video (which you’ll find below), I’ll be making five cards and a journal page using the new products from The Washi Tape Shop, sharing my process as I go. It was such a lovely way to spend a Sunday afternoon.
Ok – let’s get on with the card making, shall we? The first set of tapes I wanted to play with was the adorable “Paw Parlor” set. Oh. My. Lawd. TOO CUTE FOR WORDS! And just look at this adorable card….
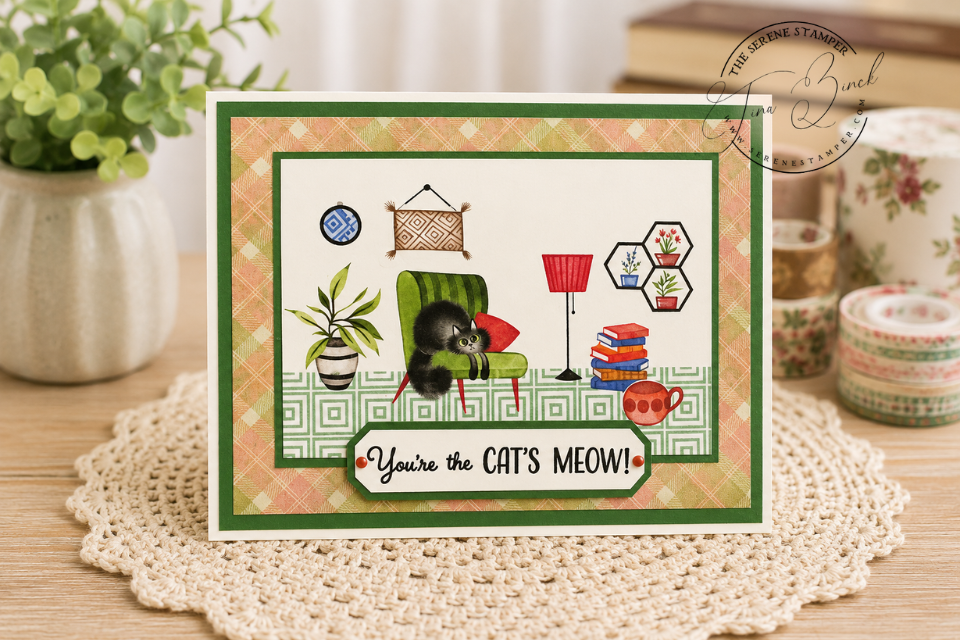
This card came together super duper fast. Honestly, the hardest and longest part was choosing which cat sticker to use! LOL I love these washi tapes so much! The sentiment is from the retired Nine Lives Stamp Set from Stampin’ Up! And yes… I actually CUT my sentiment stamp! 😳I wasn’t in the mood to fuss with the Stamp-a-ma-jig, so I snipped the words apart and used them individually. Worked like a hot-doggidy! In fact, it may have been one of the best things I’ve ever done because now I can use those words separately on cards and journal pages. That’s definitely the cat’s meow! 🐾
- Very Vanilla card stock: 8 1/2″ x 5 1/2″ (scored and folded at 4 1/4″), 2 7/8″ x 4 1/8″, 3/4″ x 2 7/8″
- Garden Green cardstock: 5 1/4″ x 4″, 3″ x 4 1/4″
- Designer Series Papers: 5″ x 3 3/4″, 7/8″ x 2 7/8
- SU Nine Lives stamp set (retired)
- Black Memento Ink Pad
- Basic Black Marker
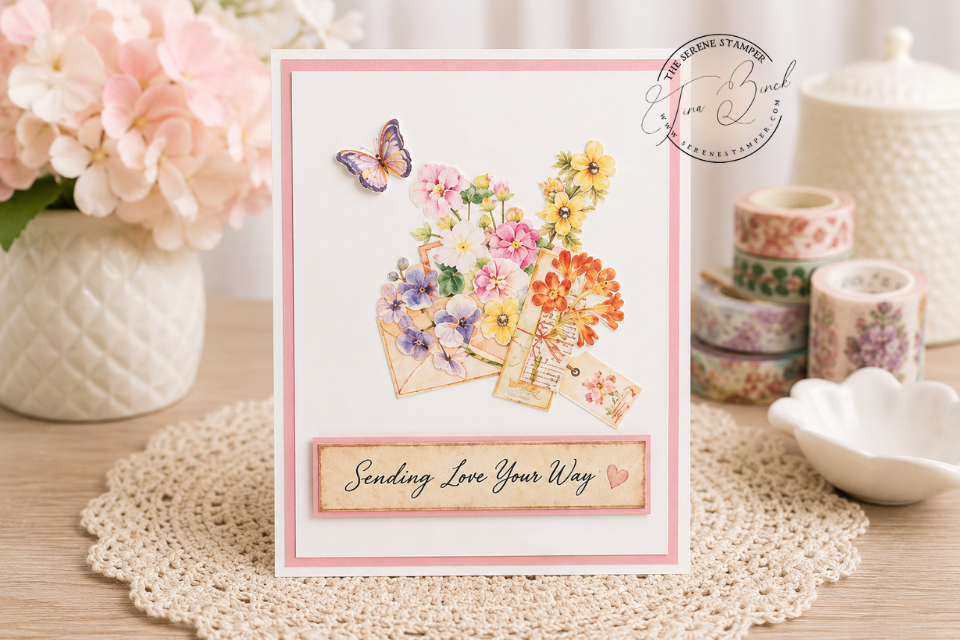
It doesn’t get much easier than this card! The beautiful washi tapes did all the work.
The sentiment is one of my free printable sentiments, available when you sign up for my newsletter. If you haven’t already subscribed, be sure to do so! You’ll receive instant access to my entire collection of printable sentiment sheets, ready to download and use on your own cards and creative projects.
- Basic White card stock: 8 1/2″ x 5 1/2″ (scored and folded at 4 1/4″), 3 3/4″ x 5
- Pretty in Pink cardstock: 5 1/4″ x 4″, scrap piece for sentiment
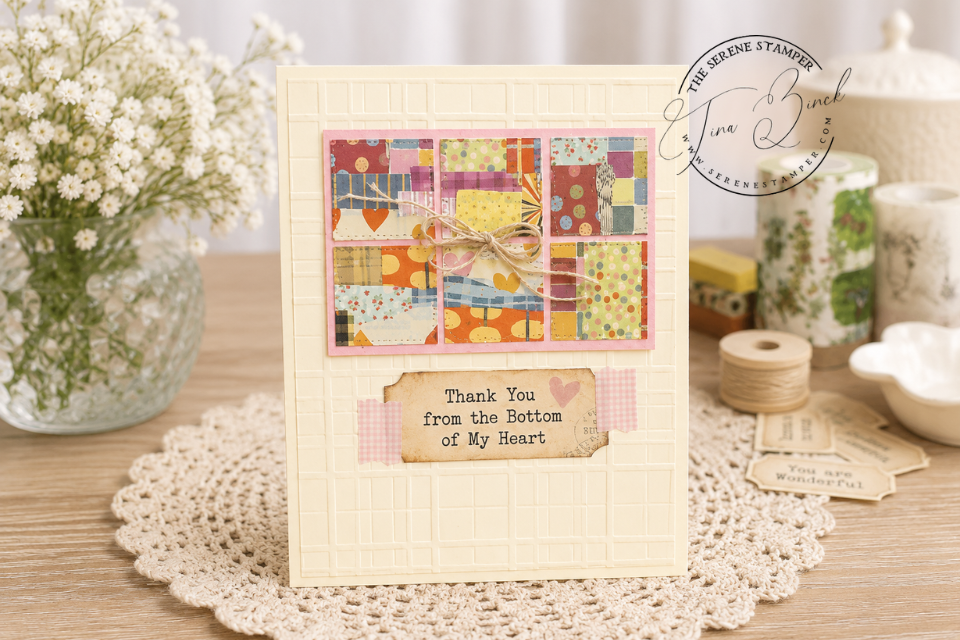
I made a mini masterboard with these tapes, cut it into tiny squares, and voilà! How’s that for quick and easy? The sentiment is from my Subscriber Sentiment Sheets, and I added the little heart and washi strips from the same Heritage Snippets Script Tape Set to tie everything together.
- Very Vanilla card stock: 8 1/2″ x 5 1/2″ (scored and folded at 4 1/4″), 4″ x 5 1/4″
- Pretty in Pink cardstock: 3 1/2″ x 2 1/4″
- Designer Series Papers: 5″ x 3 3/4″, 7/8″ x 2 7/8
- SU Plaid Embossing Folder
- SU Stitched Shapes Dies
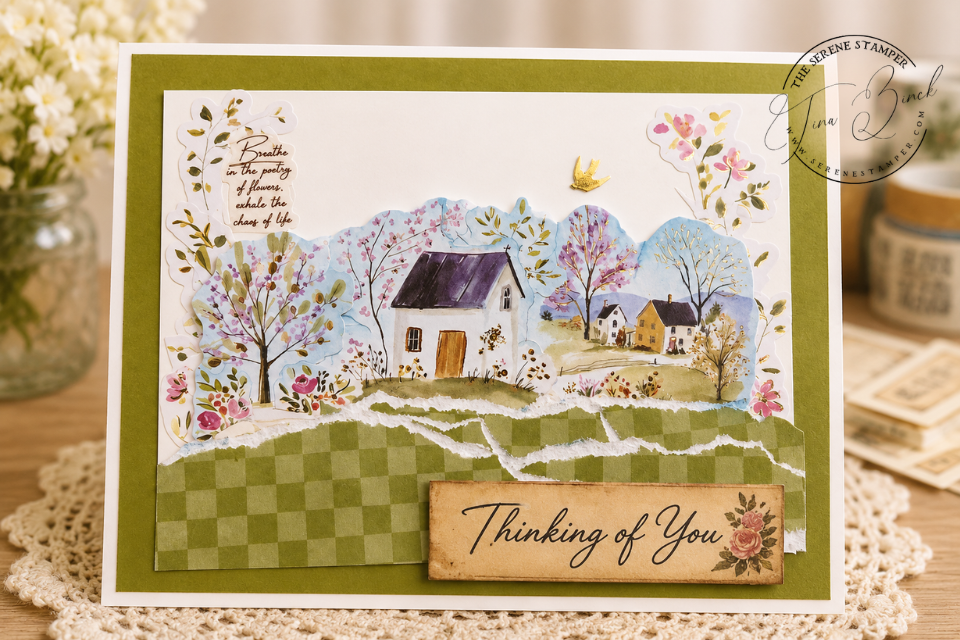
The gold flecks in this washi tape is GORGEOUS! The photo does not do it justice. This was a fun card to put together!
- Basic White card stock: 8 1/2″ x 5 1/2″ (scored and folded at 4 1/4″), 4 3/4″ x 3 1/2″
- Old Olive cardstock: 5 1/4″ x 4″
- Designer Series Papers: scrap pieces
I wanted today’s cards to be a reminder that you don’t need complicated techniques or a room full of supplies to create something beautiful.
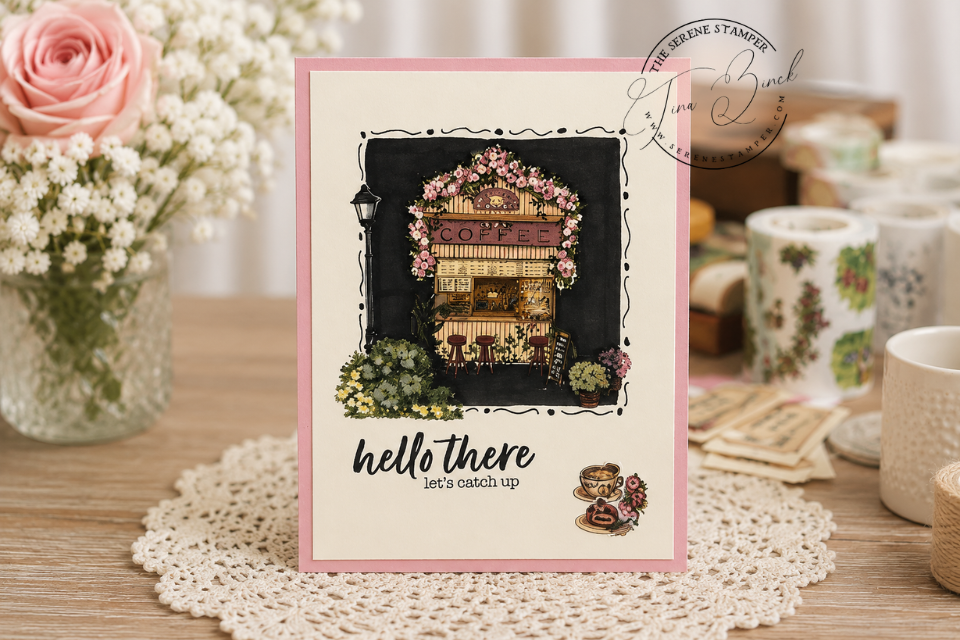
Do you remember me saying recently that I’d completely forgotten about the Block Fill Technique, and now that I’ve rediscovered it, I’m obsessed? Yep! I couldn’t wait to try it with these washi tapes, and I have to say, I absolutely love how it turned out. What do you think?
- Pretty in Pink card stock: 8 1/2″ x 5 1/2″ (scored and folded at 4 1/4″)
- Very Vanilla cardstock: 5 1/4″ x 4″
- SU Latte Love stamp set (retired)
- Black Memento Ink Pad
- Ohuhu Black Alcohol Marker (you can save 10% on Ohuhu markers using my code SERENE10 )
- Basic Black Marker
The journal page ended up becoming one of my favourite projects from the entire session!
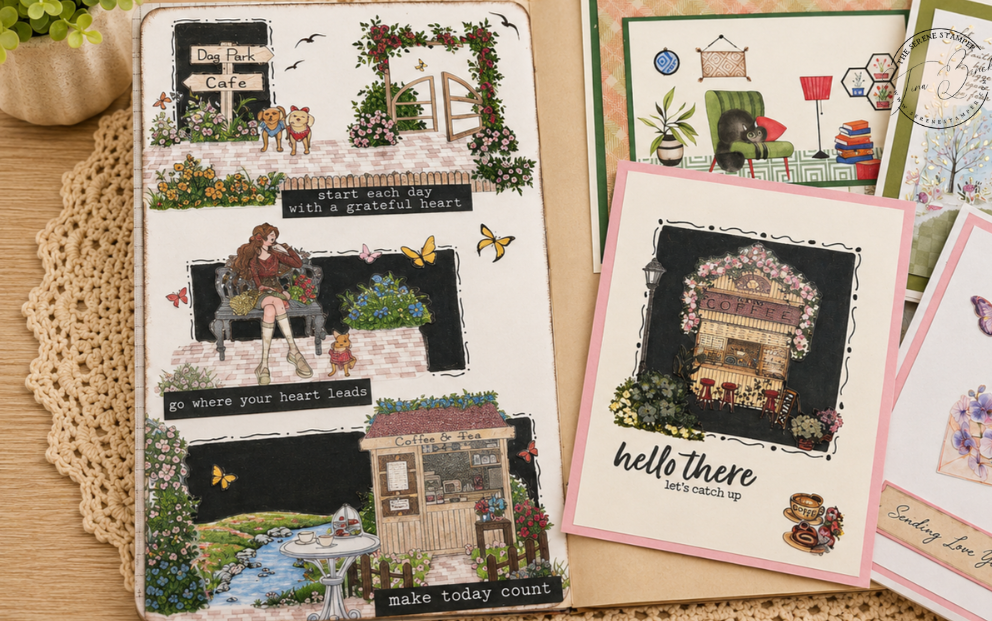
For my journal page, I used images from the Urban Grove and Maple Café washi tapes and once again incorporated my Block Fill Technique. It really does create a fabulous focal point! Once the page was finished, I added it to my keepsake journal. The sentiments are also from my subscriber sheets. I sponged a bit of Early Espresso ink around the page to finish it off.
Here’s the video where I share all five cards and the finished journal page. I hope you enjoy!
I’m always so happy to partner with The Washi Tape Shop – one of my favourite places for beautiful, high-quality washi tape and paper crafting supplies.
👉 Shop HERE using my special link and SAVE 10% on your order with my discount code: SERENESTAMPER10
Shopping through my link helps support my channel at no extra cost to you, and I truly appreciate it.
I hope you enjoyed today’s cards and the journal page as much as I enjoyed making them and sharing them with you! I’d love to hear which project was your favourite – the cards or the journal page?
💡 Interested in the Block Fill Technique I used on my card and journal page? You can find the tutorial HERE.
✂️ Have a pile of paper scraps sitting on your craft table? Learn how to create a Masterboard and turn those scraps into beautiful backgrounds and creative projects HERE – they’re so much FUN!!!
Until next time, my friend, take care & HAPPY STAMPING!

Leave a Reply