Hi Friends! If you love card making but hate throwing away beautiful paper scraps, this masterboard technique is a wonderful solution. Instead of letting those small pieces pile up in your craft room, you can turn them into a colourful masterboard that becomes the base for beautiful handmade cards, tags, and embellishments.
In today’s video, I’ll show you how to create a masterboard using your paper scraps and how to turn it into finished cards. I’ll also share a simple technique that adds texture and interest using embossing folders!
Masterboards have been around in the paper crafting world for years, but for many people the technique is still brand new. So what exactly is a masterboard?
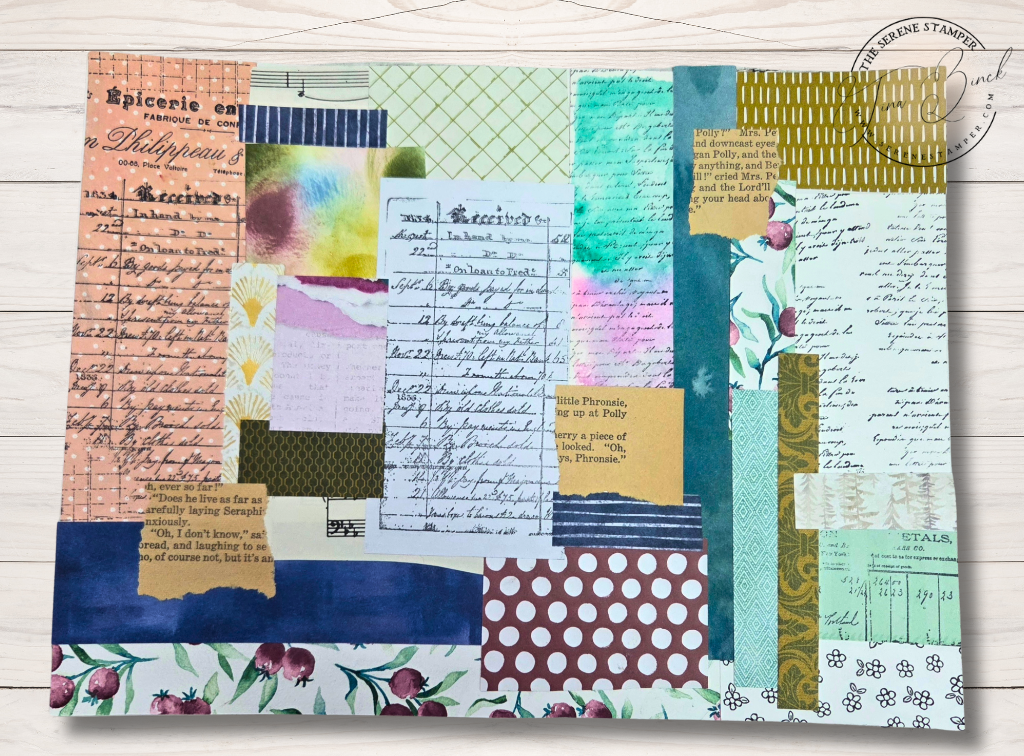
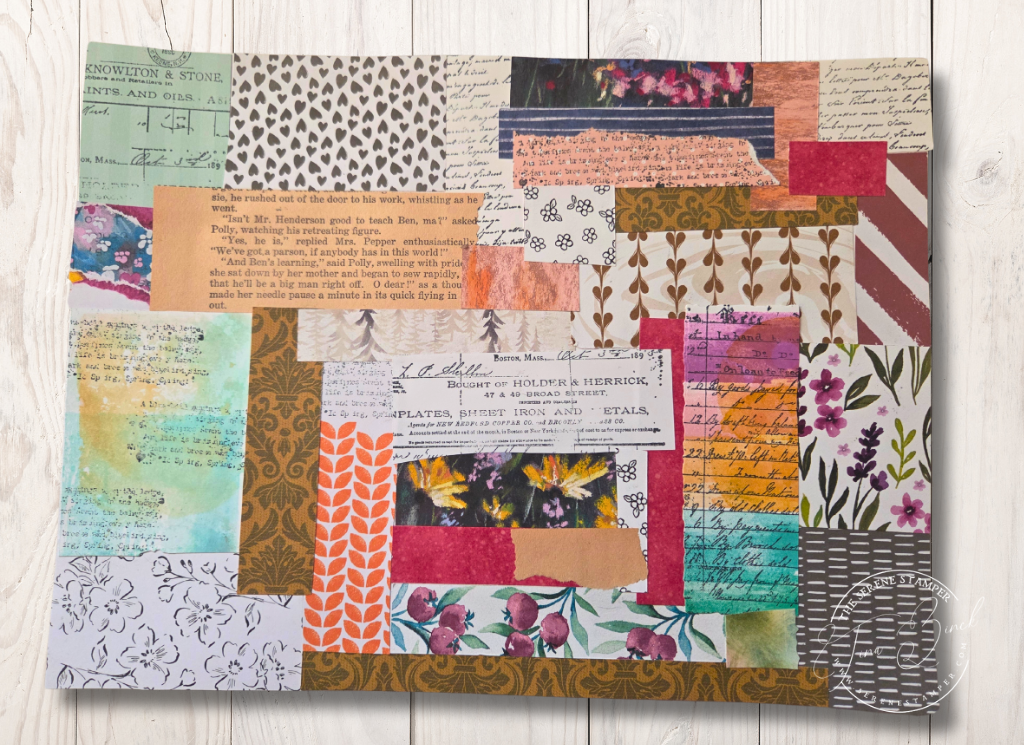
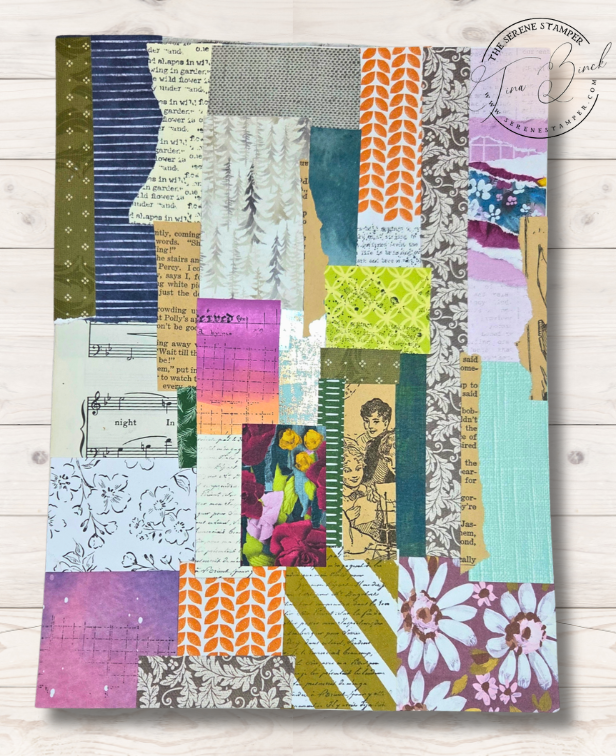
A masterboard is simply a large sheet of paper created by combining smaller pieces of paper, patterned paper scraps, stamping, or other mixed media techniques. Once the board is finished, it becomes the base for multiple projects.
The finished masterboard can then be cut into smaller pieces and used to create beautiful handmade cards, gift tags, journal pages, and other paper crafting projects.
It’s a FABULOUS way to use up paper scraps while creating something completely unique.
Masterboards are popular because they allow you to:
• use leftover paper scraps
• create coordinated pieces all at once
• relax and experiment without worrying about perfection
It’s also a wonderful technique to try when your creative mojo needs a little boost! So grab your scrap papers and glue and have a play making masterboards!
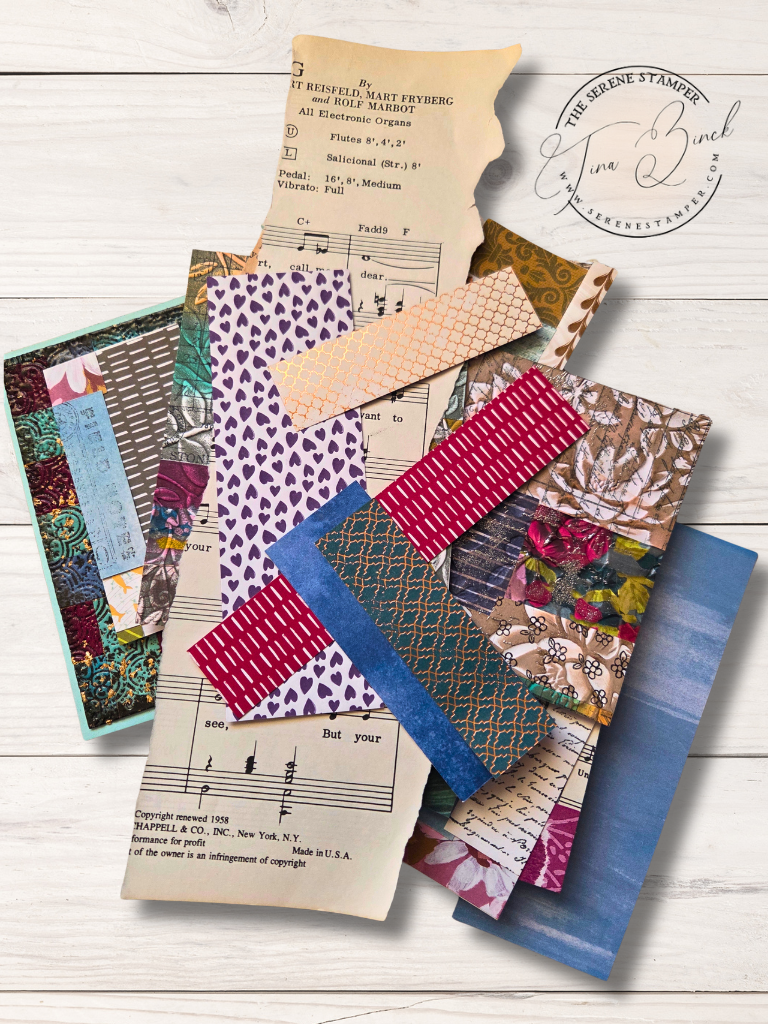
Step 1 – Gather Your Paper Scraps
Start by gathering your leftover patterned paper pieces. They can be any size or colour. Variety actually makes the finished masterboard more interesting.
There are so many ways to create a masterboard but I’m going to give you my top four suggestions for making them:
1. JUST START!
2. Don’t OVERTHINK
3. No RULES
4. Just enjoy, relax and have FUN!
Trim, cut, or tear your scrap papers and start gluing onto your base. You could make a masterboard WITHOUT a base! Just overlap your scraps and glue them together. There’s no right or wrong way to make these. Oh, and don’t forget about receipts, junk mail/envelopes, used postage stamps, tea/coffee stained papers, packaging, menus, wrapping paper… Anything works! I do recommend using simular thickness in your pieces HOWEVER, no rules, remember? So go for it!
Step 2 – Create Your Masterboard
Adhere the paper pieces to your cardstock base, overlapping them as needed. Don’t worry about perfect spacing — part of the charm of a masterboard is its patchwork style.
Once everything is glued down, trim the edges if necessary.
You can stamp on papers before and/or after you make your masterboard. You can stencil on top, add texture paste, heat embossing, etc.
Once you’ve created your masterboard you can glue labels, tags, die cuts, punches on top, and/or add washi tape, stickers, etc.
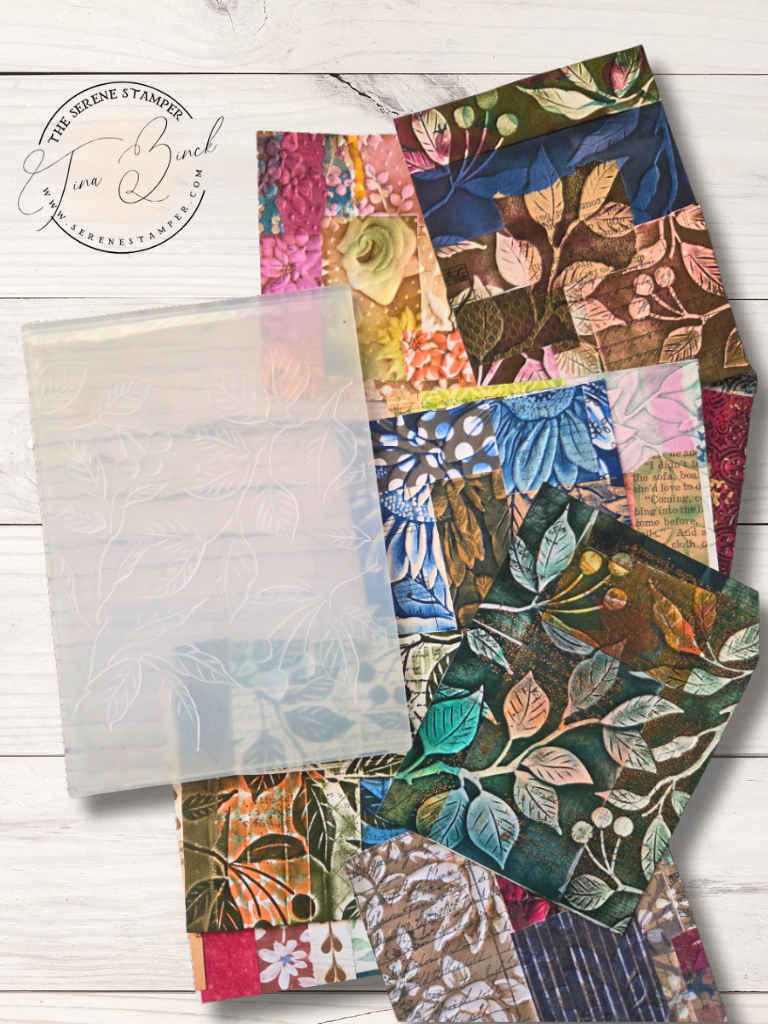
Step 3 – Add Texture (Embossing Technique)
One of my favourite ways to enhance a masterboard is by adding texture with embossing folders. Running your cut masterboard pieces through an embossing folder creates beautiful dimension, especially when you sponge a little ink over the raised areas afterward.
It’s a simple step, but it really takes the masterboard pieces from something nice to something truly stunning.
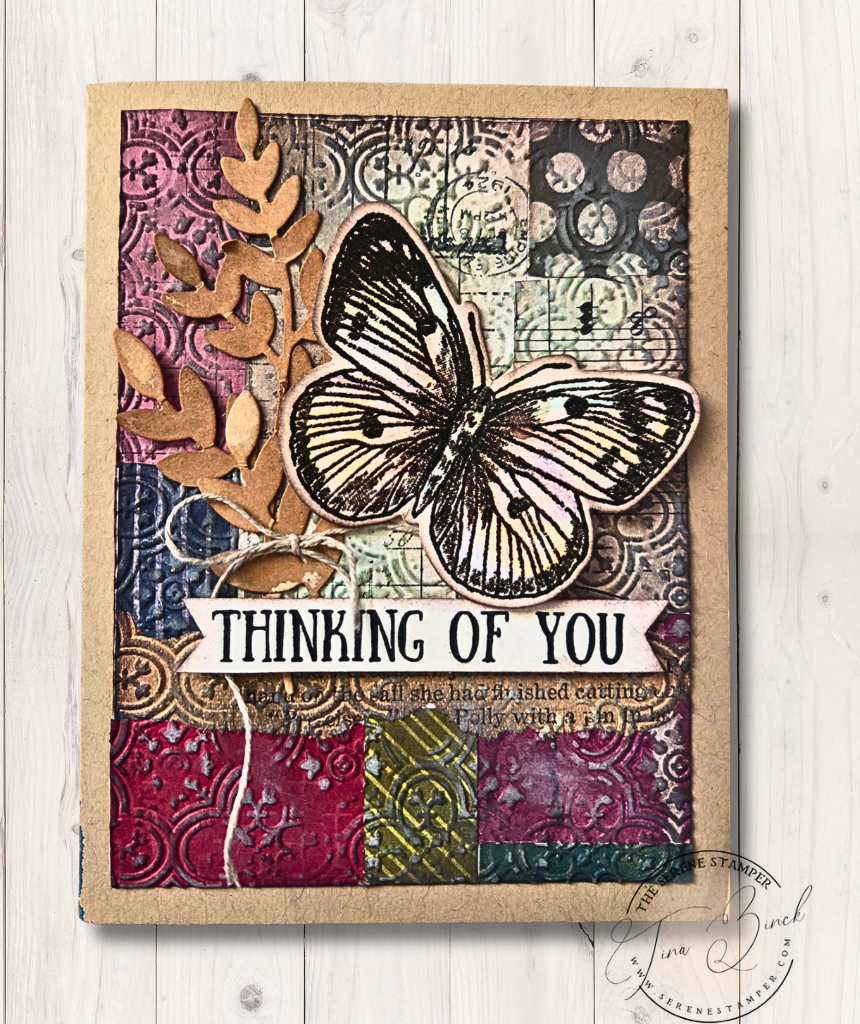
Step 4 – Turn Your Masterboard Into Cards
Cut your masterboard into pieces and use them however you wish. They’re perfect for tags, bookmarks, journal covers, pages, pockets, or whatever creative projects you have in mind. In today’s video, I’m using my masterboard to create a simple card to show how easily these pieces can be turned into beautiful projects.
Simply add stamped images, sentiments, ribbon, or other embellishments to complete your design.
This is the card I created in today’s video:
I know that many (dare I say, ‘all’) of us accumulate quite a collection of paper scraps over time, and this is a wonderful way to use them creatively instead of letting them sit forgotten in a drawer. Masterboards are also perfect for those relaxed crafting sessions when you just want to play with colour and texture, experiment a little, and see what happens. And the best part is that one masterboard can turn into multiple cards, tags, or other projects in no time at all.
Masterboards really are one of the most versatile techniques in paper crafting. Not only do they help you use up those scraps, but they also allow you to create beautiful handmade cards in a simple, enjoyable way. I am completely hooked on making these (can you tell?). And believe me when I tell that this is one of the best ways to RELAX while crafting. Just delightful!
If you decide to give this technique a try, I’d love to hear how your masterboard turns out! Or, if you’ve been making masterboards for years, let me know how you like to use them!
As a little side note, I had originally planned to make a whole bunch of cards in today’s video. However, since the video ended up being a bit on the long side, I’ll have another video coming out later this week where I’ll show you the different card variations I created using today’s masterboard.
Take care and HAPPY STAMPING!

Tina, thanks for jogging my memory about master boards! Love this technique and all your ideas for embossing! So many scraps and so many ideas! Thank you so much!🩷🩷🩷
Hi Cindy. You’re so welcome! Aren’t masterboards just the best? I”m currently filming another video making cards using the masterboards! Thank you for sharing your comment – have a great day and HAPPY STAMPING!