Hi Friends!!! Every once in a while, an old technique deserves a second look.
Recently, one of my viewers asked if I would revisit a technique I originally shared many years ago called the Block Fill Technique. Curious, I went back to watch the original video and was surprised to discover that it had received more than 43,000 views over the years! Holey!
That was all the encouragement I needed to pull out my supplies and have a play because, truth be told, I’d completely forgotten about this awesome technique!
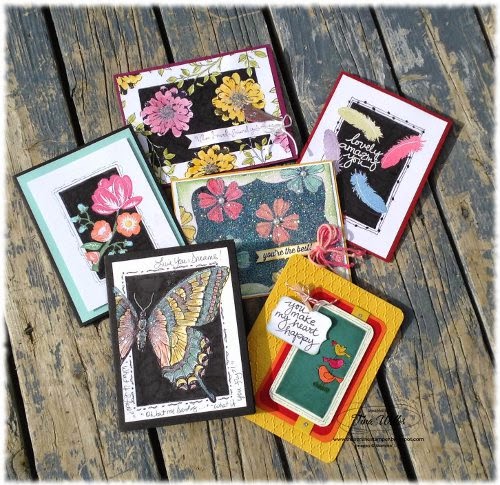
As I was preparing today’s projects, I dug through my files and found some of the original cards I created using the technique back in 2015 and 2019.
It’s always fun looking back at older projects and seeing how our styles evolve over time.
Here are a few of the original Block Fill cards I created years ago. Looking at them again reminded me why this technique became such a favourite.
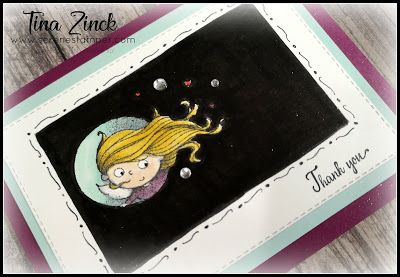

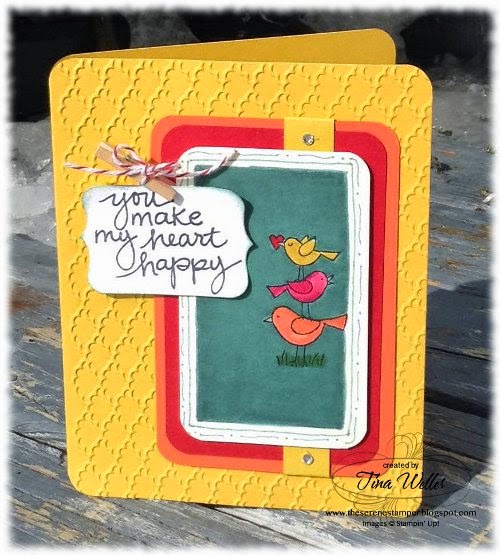
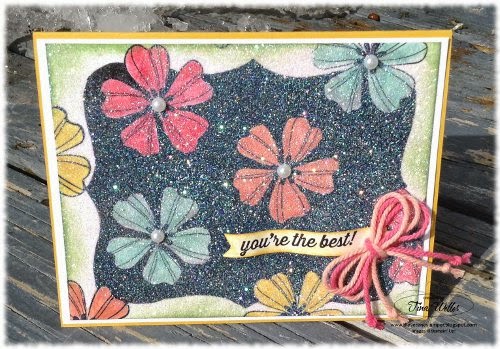
The Block Fill Technique is a simple way to create dramatic contrast on your cards. By placing a bold black block behind your stamped images, the colours become the star of the show and really stand out against the dark background.
It’s such an easy technique, it works with almost any image, and can be adapted to suit a variety of styles.
One of the things I enjoy most about the Block Fill Technique is its versatility. Once you understand the basic concept, the possibilities are endless. Just think of the all the stamps you can use with this – not to mention the different shapes of the ‘frame’. I also love that it encourages us to look at our supplies in a different way.
Sometimes all it takes is a simple change in layout to make familiar products feel fresh again.
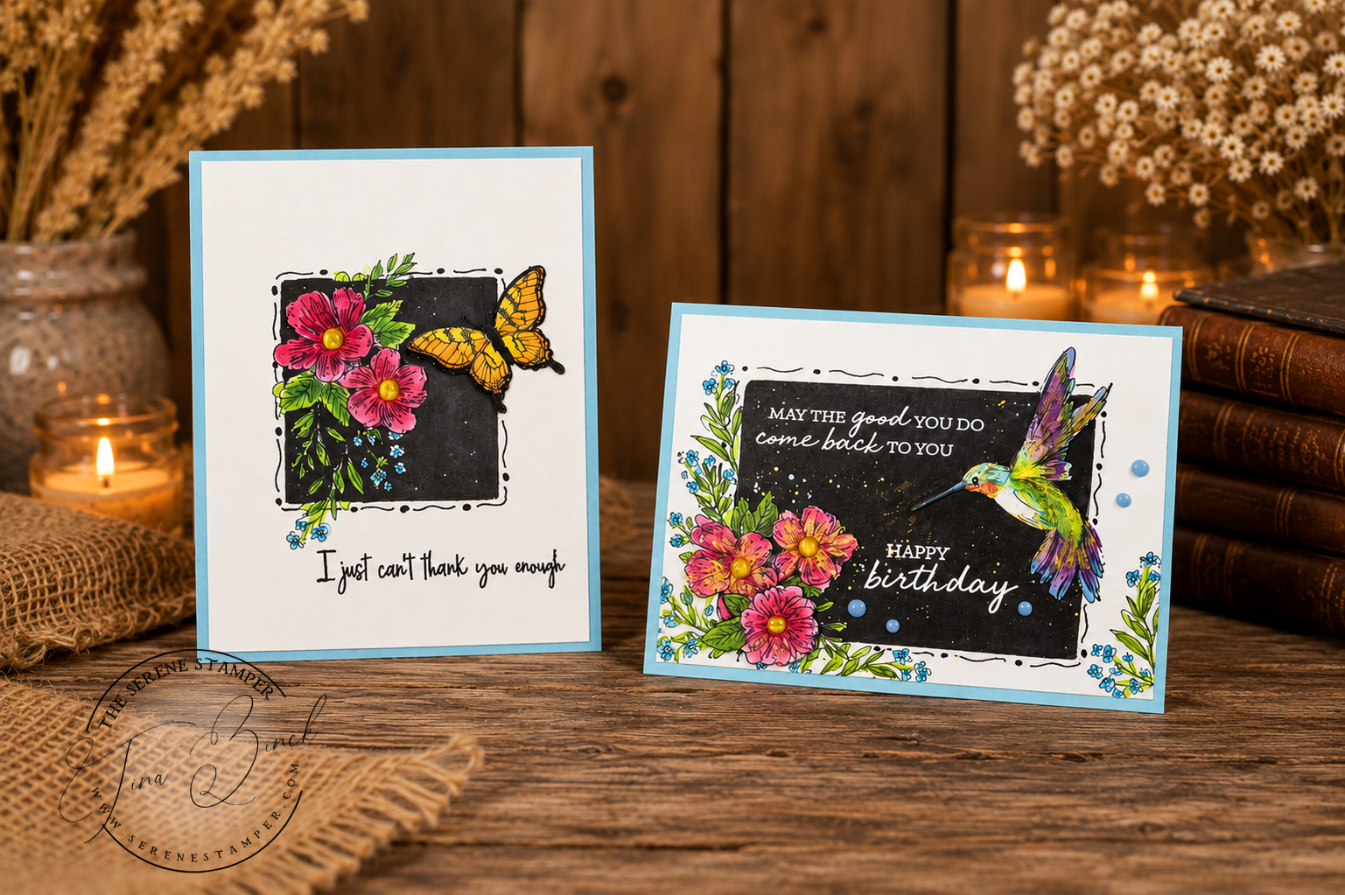
For today’s projects, I created two cards featuring bright floral images, and embellished with a butterfly and a hummingbird.
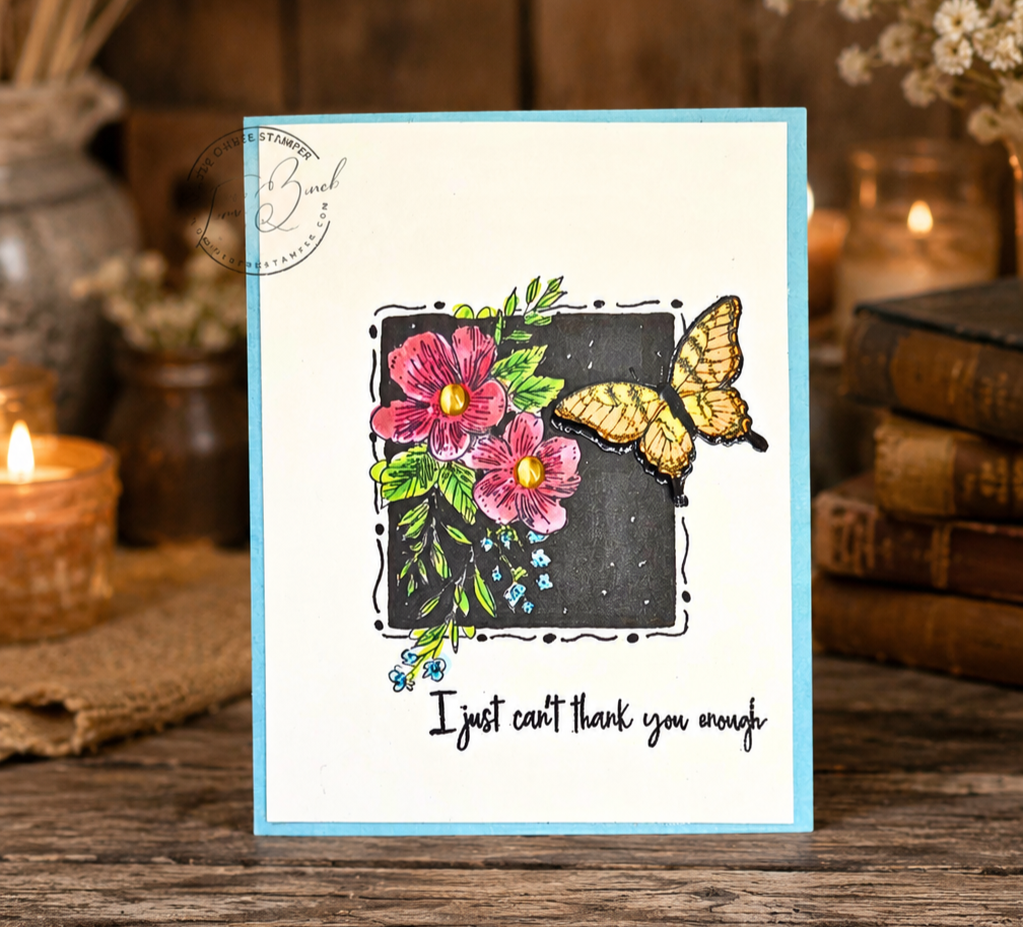
I allowed portions of the images to extend beyond the black block, which adds movement and interest, but that’s optional—try it both ways! It’s amazing how a few simple squiggles and dots added with a black marker can make such a difference too. Those little details help tie everything together and add just the right finishing touch.

You can watch the full step-by-step video below:
I used OHUHU alcohol markers for colouring today’s projects. You can learn more about the marker collection I use HERE.
For a limited time, SAVE 10% on Ohuhu Markers with my discount code: SERENE10 SHOP OHUHU
WATERCOLOUR PAINT SET – The gold highlights were added using a metallic watercolour paint from a paint set I’ve had for several years that’s unfortunately no longer available. If you’re looking for something similar, I’ve added a watercolour paint set to my Amazon storefront that would work beautifully for adding shimmer and metallic accents to your projects.
Amazon Canada: https://amzn.to/4upWW1t
Amazon USA: https://amzn.to/4ug7OyJ
Please note: Some of the links on this page may be affiliate links. If you choose to purchase through one of these links, I may earn a small commission at no extra cost to you. Thank you for supporting the content I create and share here. It truly means a lot. ❤️
I hope you’ll give this technique a try and be sure to let me know what you think! I have a feeling you’re going to enjoy it as much as I do.
Happy stamping!

I need to watch you everyday. You are so creative and can make the most beautiful cards with easy techniques. Please grace us more often with your beautuful self and your talent! Pleeeease?!?!
Aww, thank you so much, Darlene! ❤️ That is incredibly kind of you to say. I’m so happy you enjoy the videos and the projects. Life has been a little extra busy behind the scenes lately, but comments like yours remind me how much I love sharing and creating with all of you. Thank you for your encouragement and support—it truly means a lot! 😊