Hi Friends!
Have you ever sat down at your craft table with absolutely no idea whether something was going to work… but decided to try it anyway?
That’s exactly what happened with today’s cards.
I pulled out some water, a water brush, ink refills and a stack of embossing folders and simply started playing.
No real plan. No finished card in my head. Just that wonderful little question:
“I wonder what would happen if…?”
And honestly? I think that’s when the best creative discoveries happen. I must say – I had so much FUN with this!
I started very simply by adding water to my cardstock – making a ‘track’ if you will – and dropping a little ink refill into it to see how the colour would move. Well, my goodness, for something so simple, it was VERY satisfying! LOL
I’ll be honest (and as you’ll see in my video), some of those first experiments looked like an absolute mess! But hey – that’s part of the fun.
I just let the water and ink do their thing, moved the colour around, added more ink here and there, and resisted the urge to decide too quickly whether something had “worked.”
Then I brought out my embossing folders – and that’s when things got REALLY interesting.
I started adding water and ink to the embossed and debossed areas, letting the colour find its way through all those little grooves and patterns and experimenting with different colour combinations.
Some behaved exactly as I’d hoped. Others? Not so much. Not even remotely. LOL
But that’s okay! You don’t know until you try, right? And that’s exactly what I did. I kept playing, tweaking and experimenting, and ended up with some results I never would have expected.
And thankfully, I filmed the whole thing!
So grab yourself a cuppa, get comfy and come craft with me. You’ll see the whole experiment unfold…from those rather questionable-looking beginnings right through to the finished cards. *wink*
I hope my video gives you lots of ideas and inspires you to pull out some supplies you already have and simply PLAY!
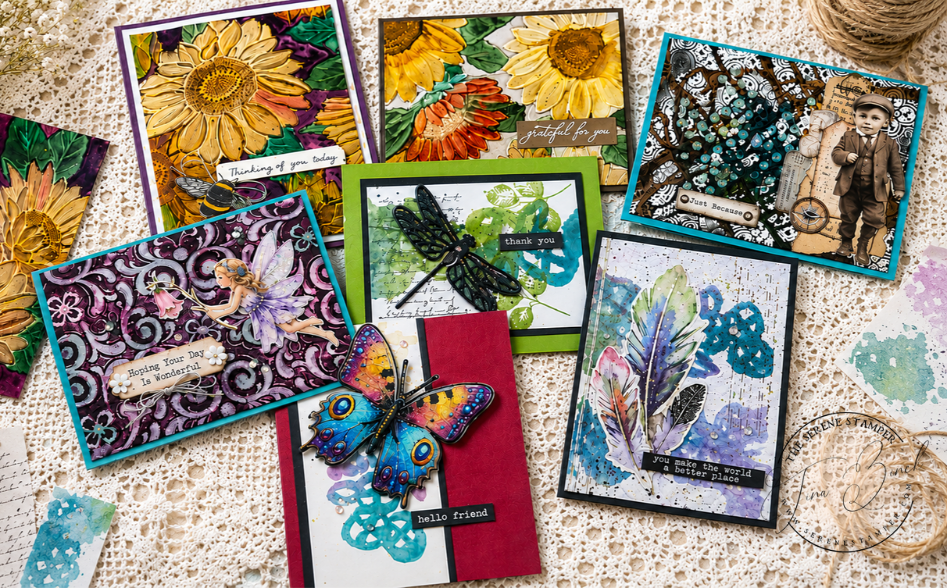
One of the things I loved most about this whole experiment was seeing how completely different each background became once I started turning them into cards.
There really wasn’t a plan for any of them. I simply looked at each finished panel and started asking myself what I already had in my stash that might work with it.
And that’s when they really started coming to life!
Sunflowers
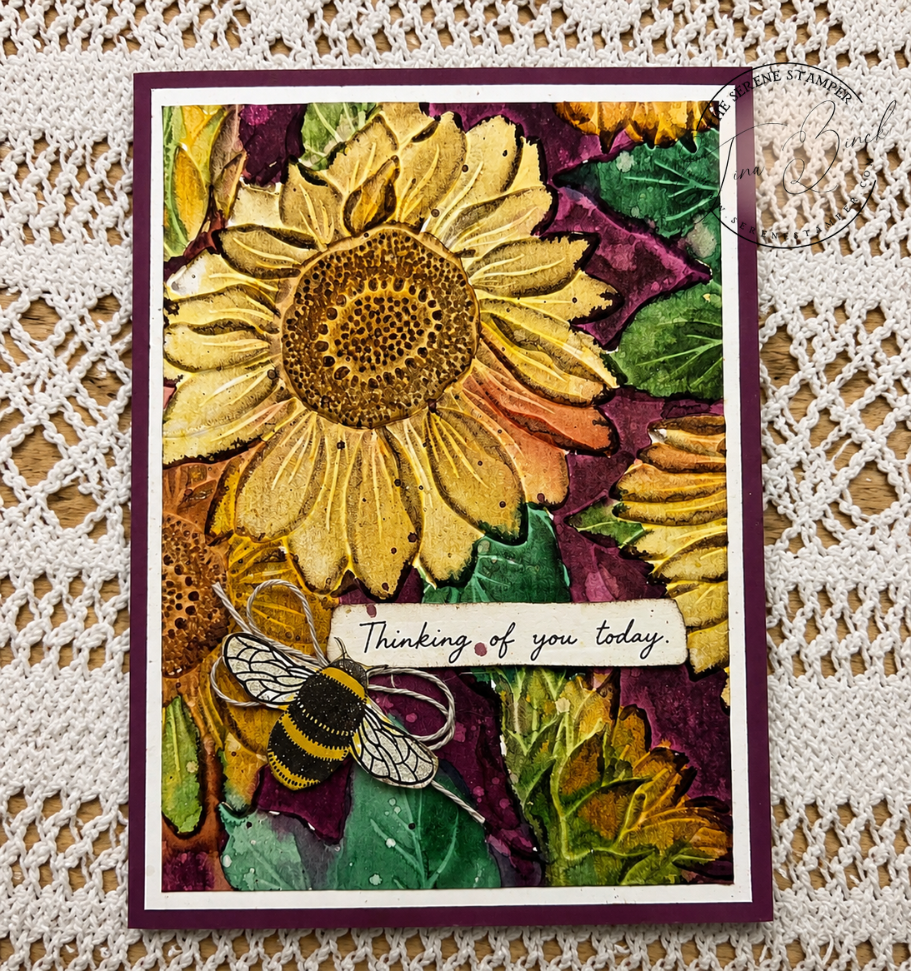
For this sunflower panel, I filled in the debossed portions after running the cardstock through my embossing folder and let the water and ink flow inside the petals and leaves.
I kept the finished card quite simple because that background really didn’t need much else. I added a sentiment I already had in my stash, along with the little bee, and called it done.
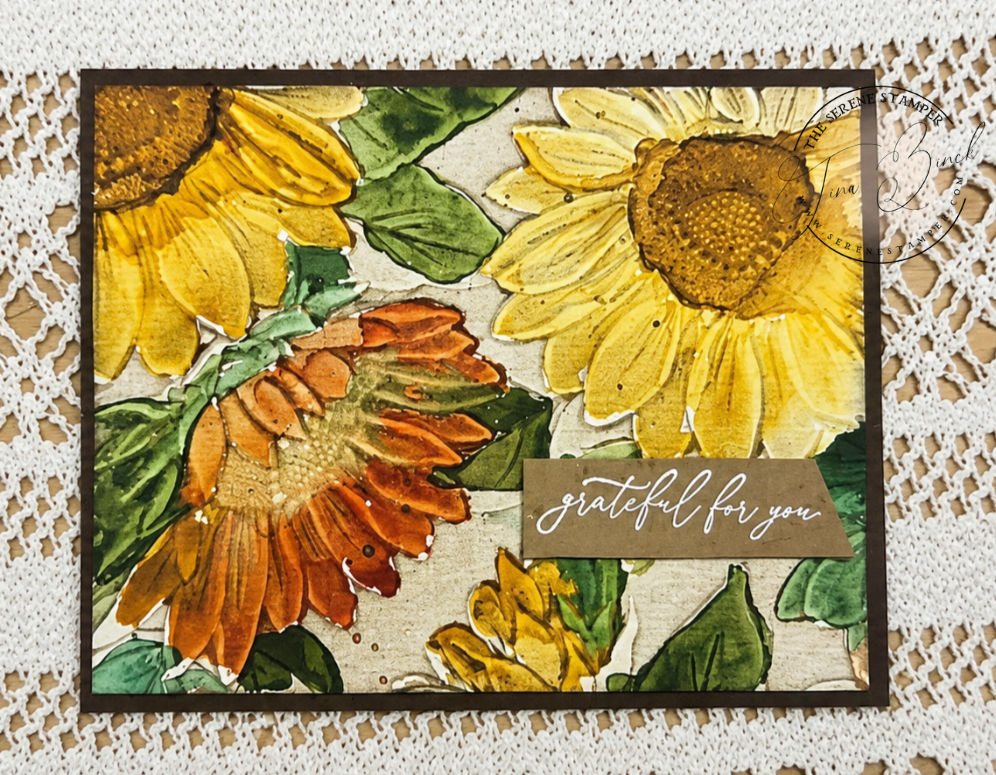
And here’s another sunflower card using essentially the same supplies – but with a completely different result!
For this one, I actually put water into the embossing folder and dropped the ink into it before continuing to play with the colour.
I LOVE that these two cards came from the same basic experiment and yet don’t look anything alike.
That’s the fun of this technique – you really don’t know what you’re going to get!
Don’t Give Up on the Ugly Stage!
And that brings me to something I hope you’ll remember if you decide to try this:
Don’t judge your background too soon.
Seriously.
There were definitely moments during this experiment when I looked at a panel and thought, Well… that’s a mess. 😂
But I’d add another colour. Move some water around. Let it dry. Add some more ink. Sponge around the edges. Or simply put it aside for a while and come back to it. Sometimes a background just needs a little time before you can see what it wants to become.
A Little Vintage Mixed Media
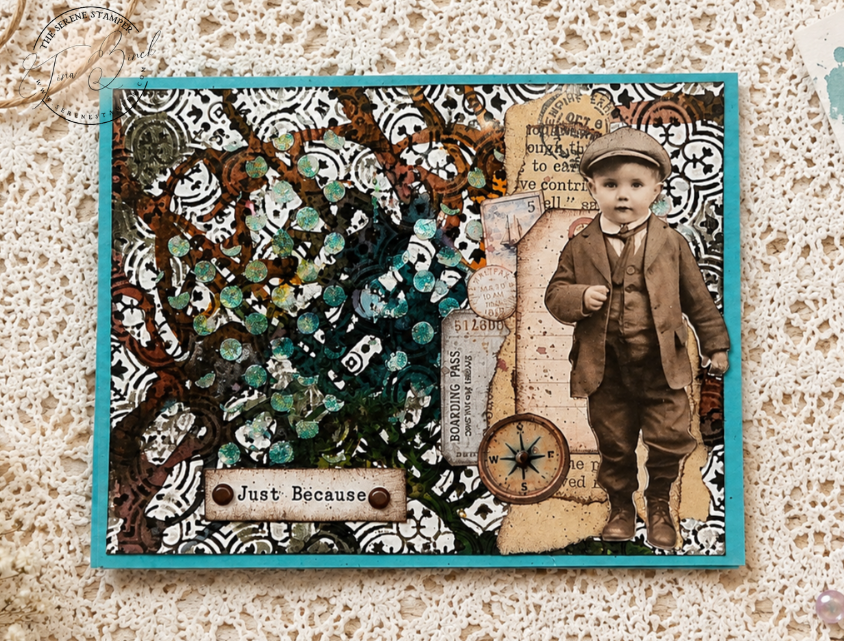
This card is such a perfect example because that background eventually took me somewhere completely different.
I loved the grungy, mixed-media feeling of it, so I went digging through my stash.
The sweet little vintage boy is ephemera I purchased somewhere along the way and had tucked away, and some of the other ephemera pieces are from my Serene Post collections.
I love how the vintage browns and black look against those unexpected pops of turquoise.
Keep It Simple
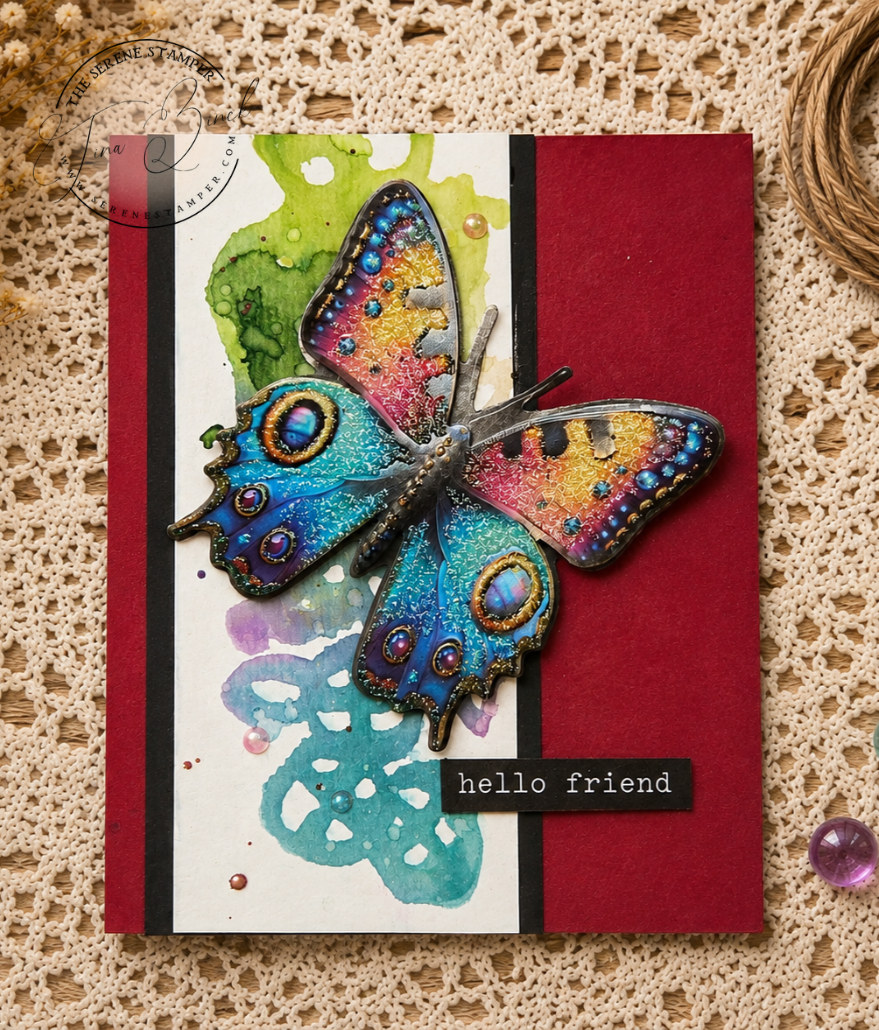
And then there’s this butterfly!
Would you believe that gorgeous dimensional butterfly came from the dollar store?
I kept this card incredibly simple because, really, that butterfly and colourful ink-flow background were already doing all the work.
Sometimes we cardmakers have a tendency to think we need to keep adding things.
We don’t!
If your card looks finished, it’s finished.
Shop Your Stash
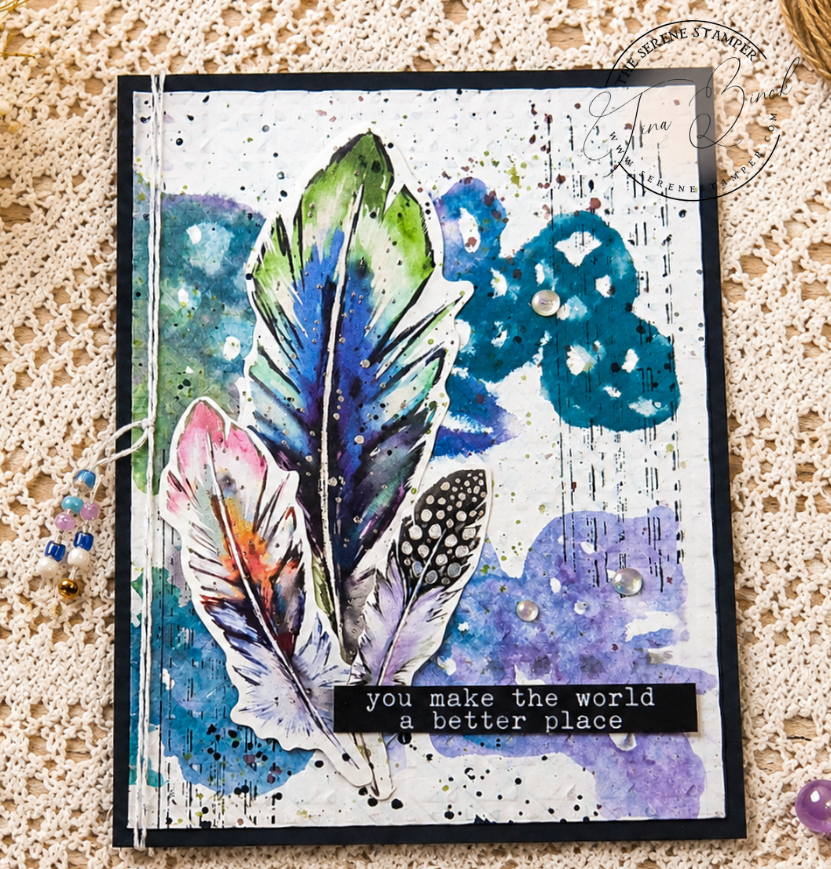
I had so much fun with this one too.
The feathers came from a craft shop, and I even pulled out some beads!
I used to add beads to my cards quite often and somehow got away from doing it over the years. It was really fun to bring them back for this card, and I love that little bit of movement and colour they add.
You’ll also notice some of the sentiments I’ve used throughout today’s cards are from my Serene Sentiments collection.
If you don’t already have them, you can download my Serene Sentiments FREE when you join my newsletter. They’re so handy to print, cut out and have ready whenever you need a quick sentiment for a card.
Dragonfly “Thank You” Card
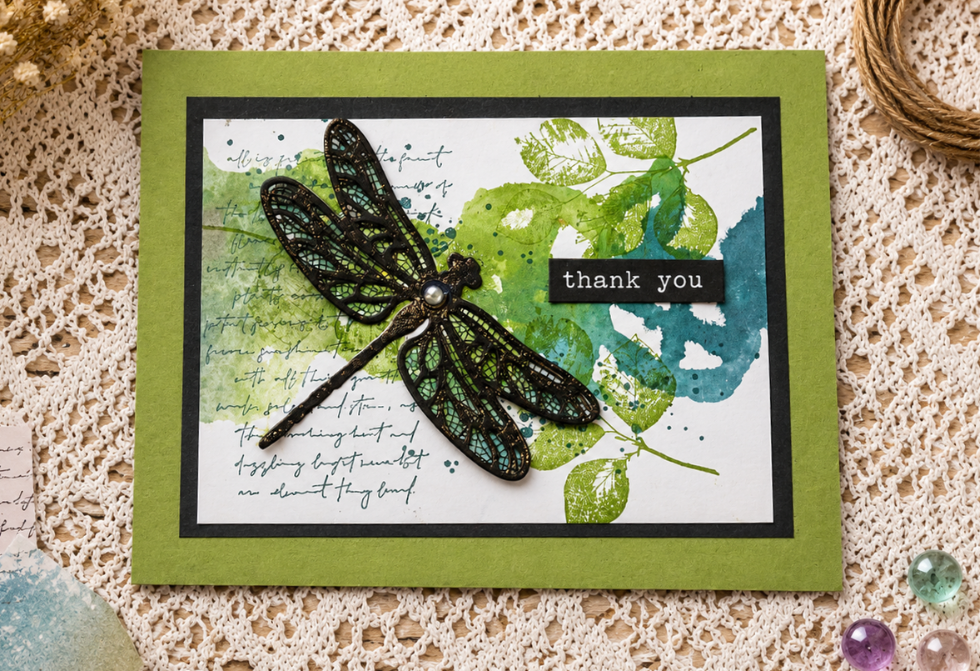
This green and turquoise panel had such a fresh, almost botanical feel to it.
I added a little stamping over the ink and then that gorgeous black dragonfly. I love how the intricate black wings pop against all that loose, watery colour underneath.
Again – same basic idea of playing with water and ink, but an entirely different style of card.
And that’s probably what surprised me most about this experiment.
The technique doesn’t dictate the style.
Depending on the colours, embossing folder and embellishments you choose, you can go vintage, botanical, whimsical, mixed media, elegant… wherever your imagination takes you.
And Then There Was the Fairy…
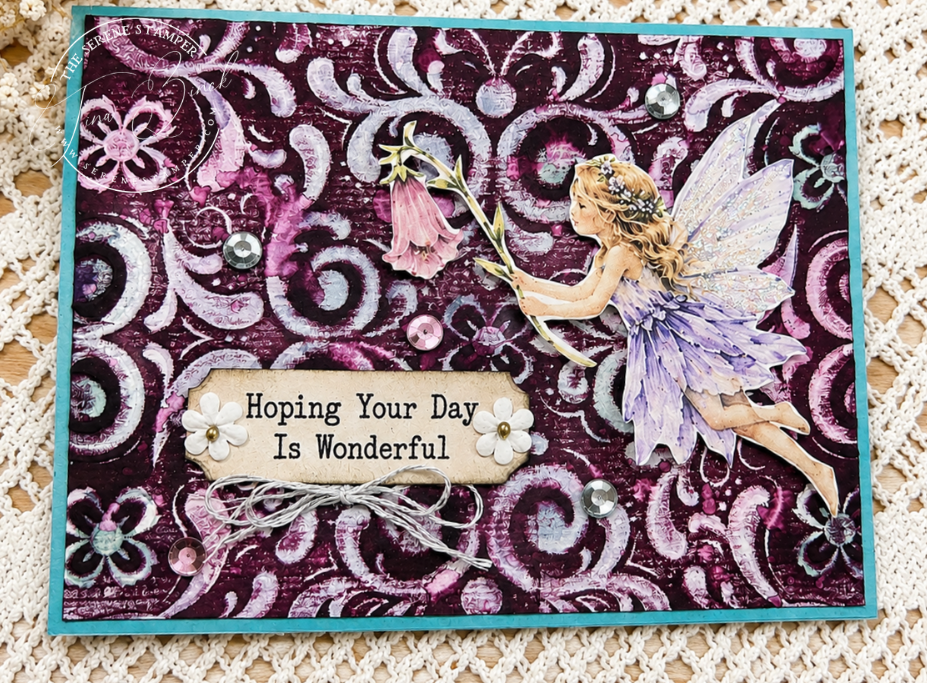
Oh, this background gave me a run for my money! LOL
I originally hoped the water and ink would travel beautifully throughout the entire design of the embossing folder.
Well…
That didn’t happen. 😂
So I kept tweaking and playing with it, and eventually I swiped Blackberry Bliss ink over the top.
And THAT changed everything.
All those beautiful colours were left peeking through the debossed areas while the rich purple caught the raised design.
I added the little fairy, some sequins, a few tiny flowers, a bow and my sentiment – and this experiment that hadn’t gone according to plan turned into one of my favourite cards!
The fairy and some of the embellishments I used on this card are from my August Fairy Garden Serene Post Creative Collection.
A Little About The Serene Post 💌
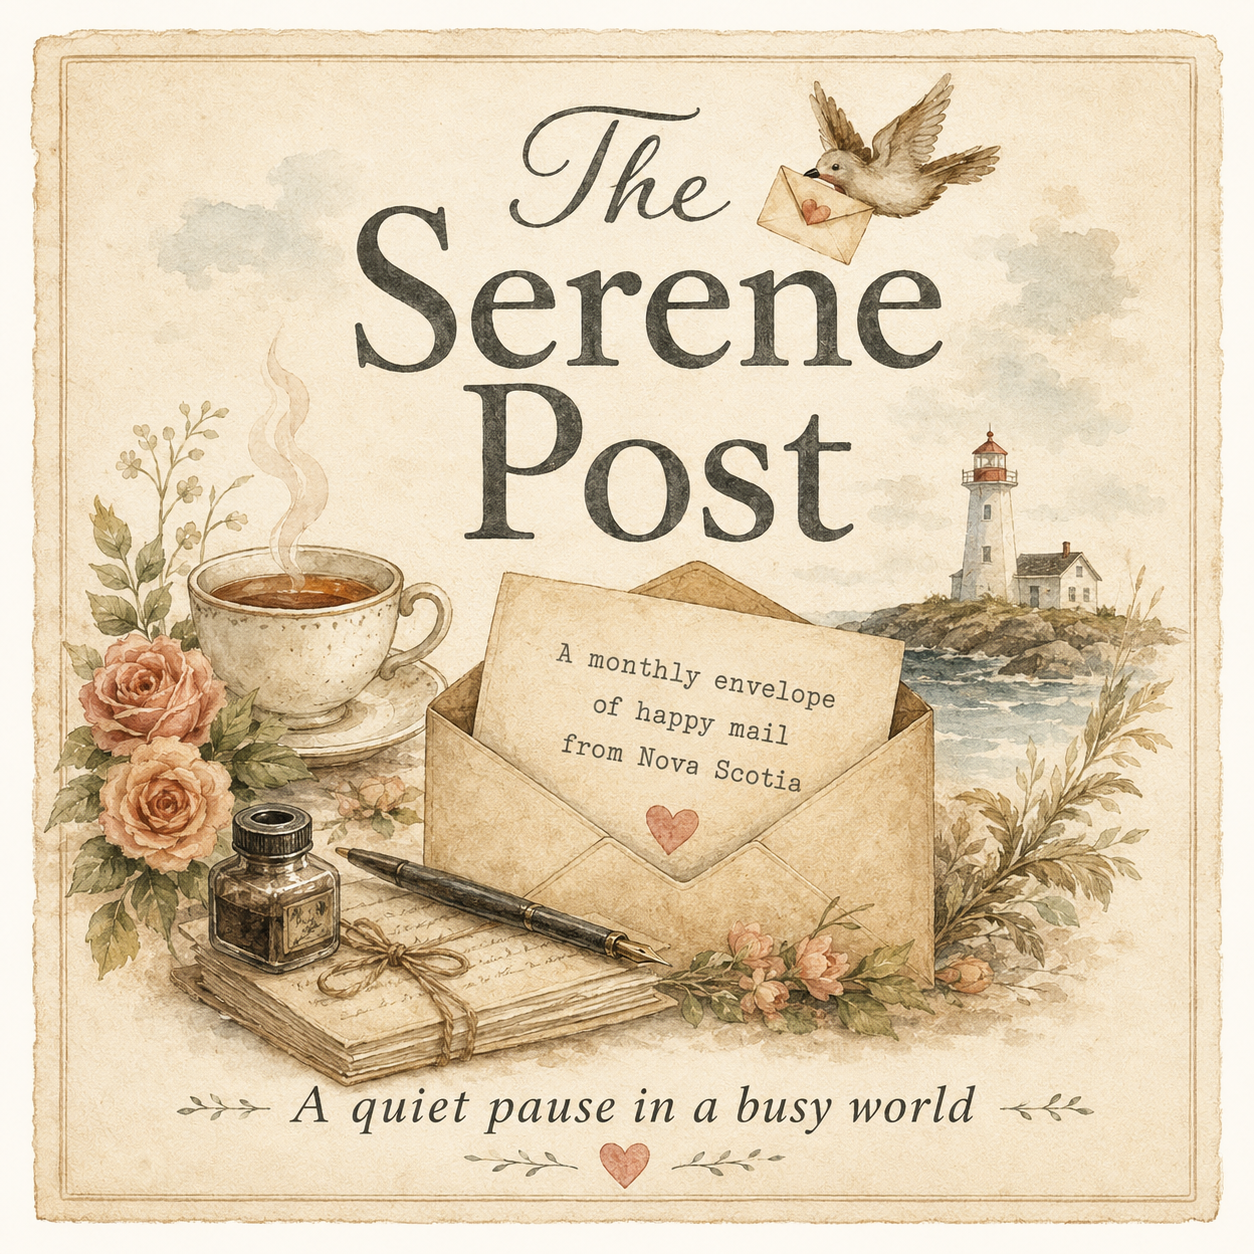
If you’re not familiar with it, The Serene Post is my monthly snail-mail club, which I put together and mail from my home here in Nova Scotia.
A monthly envelope of happy mail from Nova Scotia – filled with letters, seasonal art, recipes, and simple joys.
Each month, members receive a beautiful envelope in the mail with a personal letter from me, a recipe card, art card, ephemera and other paper goodies.
Members also receive access to that month’s digital Serene Post Creative Collection, filled with coordinating printable papers, ephemera and other pieces to print and create with at home.
One of the things I love most about The Serene Post is hearing from members after their envelope arrives. I hear how much they look forward to finding that little bit of happy mail in their mailbox each month, how they make themselves a cuppa and listen to my audio letter while they read along, and how much they enjoy discovering what’s tucked inside.
And then I get to see what they make with all those paper pieces! Seeing the cards, journals and other projects members create with the ephemera and Creative Collections is such fun. Everyone does something a little different with them, and I absolutely love that.
It really has become a lovely little community, and knowing that something I put together here at my kitchen table in Nova Scotia is being looked forward to and enjoyed in homes all over the world is pretty darn special to me.
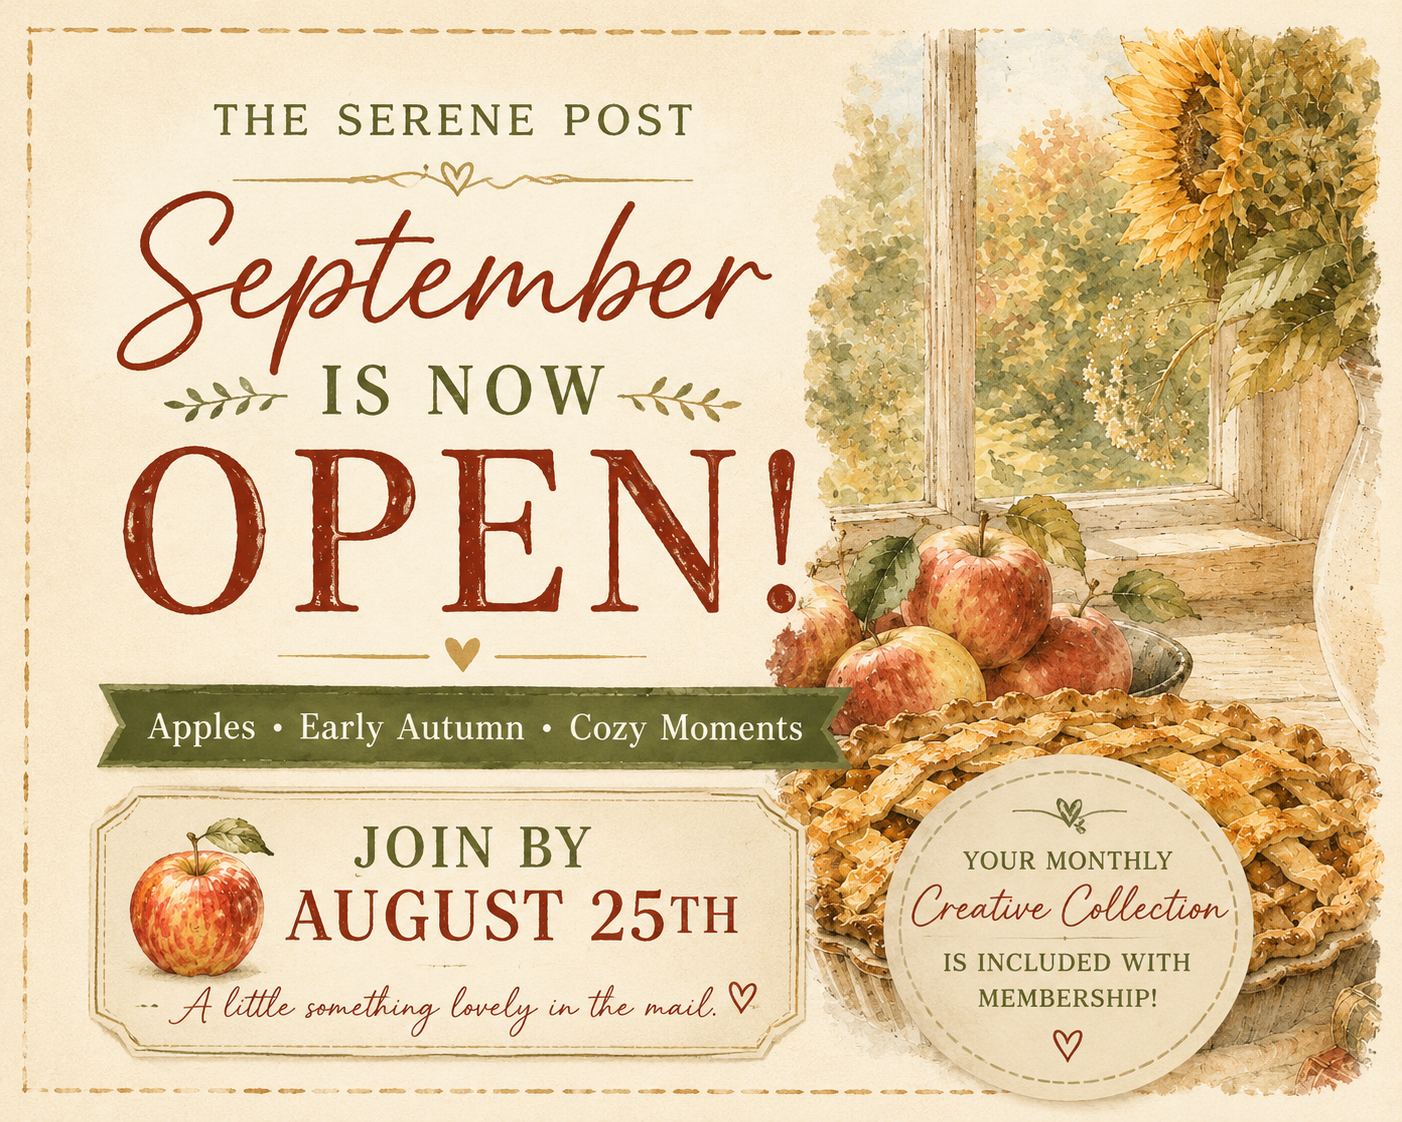
September’s Serene Post is open for new members until August 25th, so if you’ve been thinking about joining us, I’d love to have you!
I hope today’s post and video have inspired you to give yourself permission to simply play with your supplies.
We spend so much time trying to make things turn out a certain way that sometimes we forget how much fun it is to create without knowing where we’re going.
Pull out an embossing folder you haven’t used in ages. Grab a few ink refills. Add some water. Dig through your stash for those embellishments you’ve been saving for who-knows-what.
Try something just to see what happens.
And if it looks absolutely dreadful halfway through? LOL…keep going!
Some of my favourite cards from this little experiment came from backgrounds I wasn’t at all sure about in the beginning.
Until next time, take care & HAPPY STAMPING!


Hi! What brand is your sunflower embossing folder? Is it still being made?
Thanks, so much🌸
Susan
Hi Susan – it’s a retired embossing folder from Stampin’ Up!