
Hi Friends – I hope you’re having a good weekend so far! I’m enjoying some time out in the garden and playing in my flower beds. I’ve got a new hydrangea called “Pinky Winky” that I’m planting in the yard – it’s so pretty:


I’ve got a lot of landscaping planned for this summer with new flower beds and trees – it’s been so much fun planning and now I can’t wait to get planting!
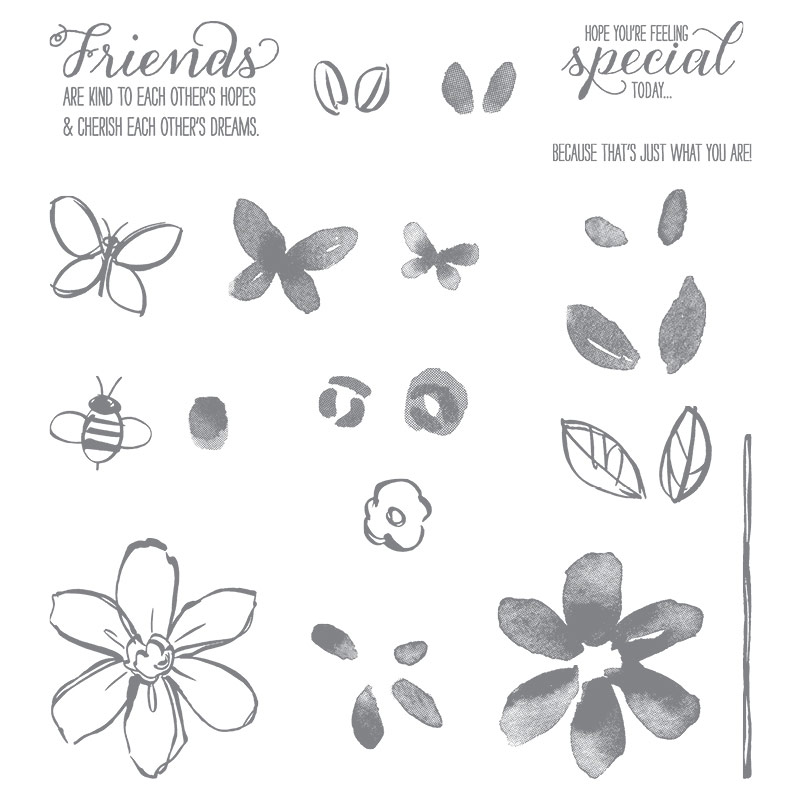
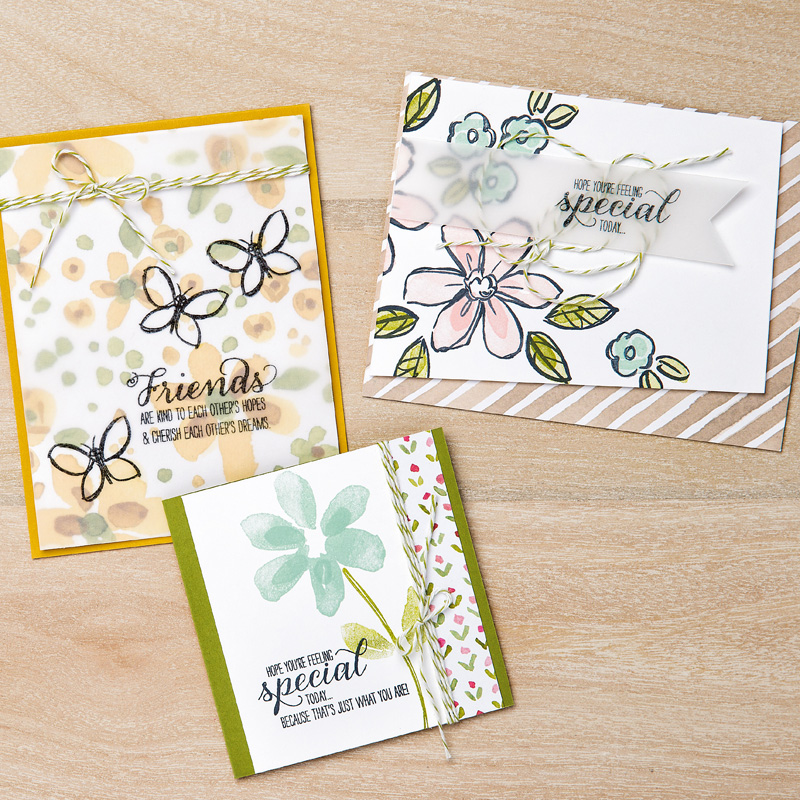
Speaking of flowers, today’s card uses the retiring “Garden in Bloom” stamp set. I love this stamp set – it’s so versatile.
I hope you enjoy today’s card tutorial!
Supplies:
-
Stamp
Sets
– Garden
in Bloom
(139433) -
Cardstock
–
Smoky Slate
(131202); Basic Gray (121044); Berry Burst (144243); Whisper White
(100730) -
Stamp
Pads
–
Smoky Slate (131179);
Berry Burst (144083) -
Misc.
–
3/8” Berry Burst Metallic-Edge Ribbon (145489);Petal Burst
Embossing Folder (141493); Big Shot (143263); Dimensionals (104430);
Mini Glue Dots (103683); Tear ‘n Tape (138995)
Measurements:
-
Smoky
Slate: 8-1/2” x 5-1/2” -
Berry
Burst: 2” x 5-1/2” -
Basic
Gray: 3” x 4-1/4” -
Whisper
White: 2-3/4” x 4” -
Ribbon: 10”
Instructions:
-
Emboss
Berry Burst strip using Petal Burst embossing folder; attach to
folded edge of Smoky Slate card base using Tear ‘n Tape. -
Stamp
sentiment on lower portion of white cardstock using Smoky Slate ink. -
Randomly
stamp 3 flower images on upper portion of white cardstock by
stamping off using Smoky Slate ink. -
Stamp
1 floral image on white cardstock using Berry Burst ink. -
Wrap
ribbon around stamped white cardstock; tie knot; trim ends.
Anchor
knot with mini glue dot.
Attach to Basic Gray cardstock. Attach
to card front using dimensionals.

Get your favourite retiring items before they’re gone for good!
***Many retiring items have already SOLD OUT!***

CUSTOMER APPRECIATION PROJECT TUTORIALS
- Every customer who places an order through my online store will receive 12 beautiful project sheets by email.
- When your order is a min. $60CDN
you’ll also receive the exclusive BONUS “Passport Pals” tutorial!
Every
month my friend Frenchie (France Martin) and I create a special
BONUS tutorial with six projects exclusively for our customers! Our
“Passport Pals” tutorials includes
measurements, colour photos, step-by-step instructions (sometimes
videos) and of course, the supplies list! This is our way of thanking
YOU, our valued customer, for shopping with us!
Simply enter this month’s special host code
prior to submitting
your order through my website.
your order through my website.

If your order is $200 or more DO NOT
enter the Host Code
so that you will also receive your stamping rewards
(I will still send you the PDF tutorials).
enter the Host Code
so that you will also receive your stamping rewards
(I will still send you the PDF tutorials).
If you live in the USA,
click here to visit Frenchie on her to blog and
here to shop through her online store.
This month’s Passport Pals tutorials are masculine themed cards!

Enjoy the day and HAPPY STAMPING!


Tina, I love how you used the subtle gray for background images. Thanks for sharing your design!
Cute card. Your flowers are gorgeous, and I love the two toned look. I'm in an apt now and do miss my gardening. I didn't stamp at the time I tended to my gardens. My gardens were always a hit in the neighbourhood.
Hi Beth! Like you, I love gardening. If you were closer you could come help be design my new flower beds! xo
Hi Aunt Denise – thank you for your comment and I'm glad you liked this card design! It was created by another demo in a group we belong to and each month we share our projects. I agree with you about the grey too! Happy stamping!