Halloween crafting is officially underway in my craft room, and oh my goodness, I had so much fun making these!
For today’s projects, I pulled out some of the fabulous Halloween designs from The Washi Tape Shop and revisited a couple of old favourite treat holders that I haven’t made in years.
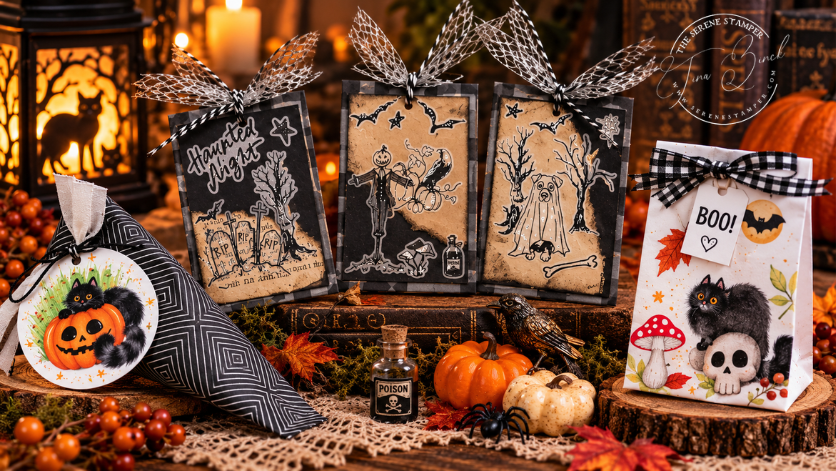
We’re making hidden paper clips, a Bagalope treat holder, and a sour cream container treat holder — all easy projects with lots of possibilities for using whatever Halloween papers, stamps, embellishments, and washi you already have.
And if you’re anything like me, half the fun is pulling out all those little spooky bits and pieces and seeing where they end up! 🎃👻🐈⬛
In the video below, I’ll walk you through all three projects step-by-step and show you the Halloween washi tapes I used along the way.
One of the things I love about these projects is that none of them needs to be made exactly like mine. Change the colours, use different embellishments, dig through your scraps, and make them your own.
Project #1: Halloween Hidden Paper Clips
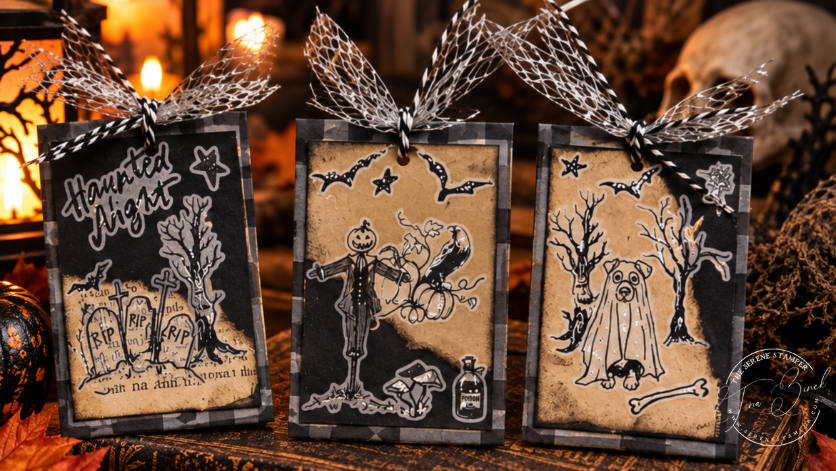
These hidden paper clips are such a fun little project! Once the paper clip is tucked inside, all you see is the decorated piece on your page.
They’re perfect for journals, planners, junk journals, books, happy mail, or even tucked into a card as a little extra surprise.
I used Graveyard Scribbles Washi Tape Sticker Set (GILDED) along with some embellishments to create three completely different looks — and these are definitely the kind of project where you can sit down with your scraps and just play.
There are lots of different ways to create hidden paper clips. Here’s how I made mine today!
You’ll need:
- 2 1/4″ x 12″ strip of Designer Series Paper (or paper of your choice)
- Jumbo paper clip
- Glue
Fold the strip of paper in half and place the paper clip onto the fold. Bring the bottom half of the paper up and over the paper clip and glue it in place.
Flip the paper over and repeat on the other side, folding the flap over and gluing it down.
That’s it! Now comes the fun part — decorating!
For mine, I used black cardstock cut to approximately 2 1/8″ x 3″, then added bits of papers (crumb cake, book pages etc), trims and washi tape.
If you’d like, punch a hole at the top and add some ribbon and trim to finish it off, just as I did with mine.
Easy peasy — and such a fun way to use up little bits and pieces from your craft stash!
Project #2: The Bagalope Treat Holder
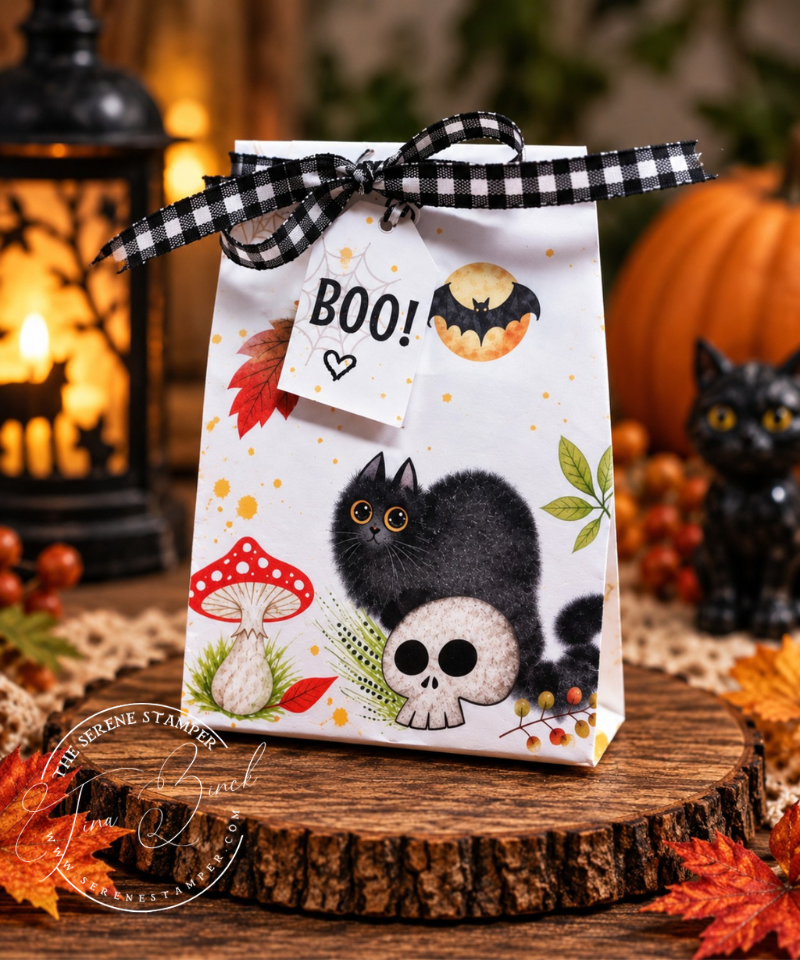
Oh my goodness — the Bagalope! If you’ve been crafting with me for a very long time, this one may bring back some memories. 😂
It starts with an ordinary envelope and, with a little cutting, scoring and folding, turns into the cutest little standing treat bag!
For today’s Bagalope, I used a mini envelope, but you can use any size envelope you like — you’ll simply end up with a different-sized bag.
Seal your envelope, then score along both sides and the bottom at 1/2″. If you’re using a larger envelope, you can score at 1″ instead.
Cut off the top of the envelope, fold along all of your score lines, then form the bag and fold and glue the little flaps underneath to create the bottom.
That’s it! Now decorate it however you like and fill it with a little treat! 🎃
I love these because once you know how to make one, you can use envelopes of all different sizes for just about any occasion.
I couldn’t resist using the adorable Pre-cut Spooky Tails Bundle, ribbon and washi tape. These would be so much fun filled with treats for friends, neighbours, coworkers, grandchildren or anyone who could use a little Halloween surprise.
Project #3: Sour Cream Container Treat Holder
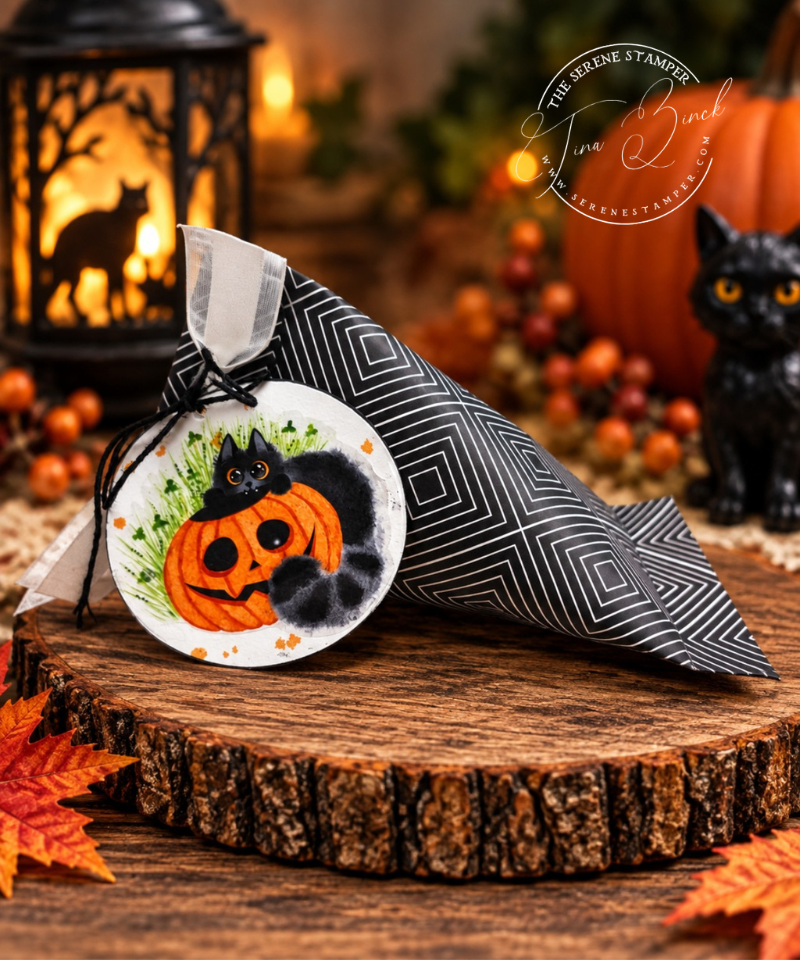
And another oldie but goodie!
The sour cream container has been around forever, but there’s a reason we keep coming back to it. It’s super duper easy, uses very little paper and makes the sweetest little treat holder.
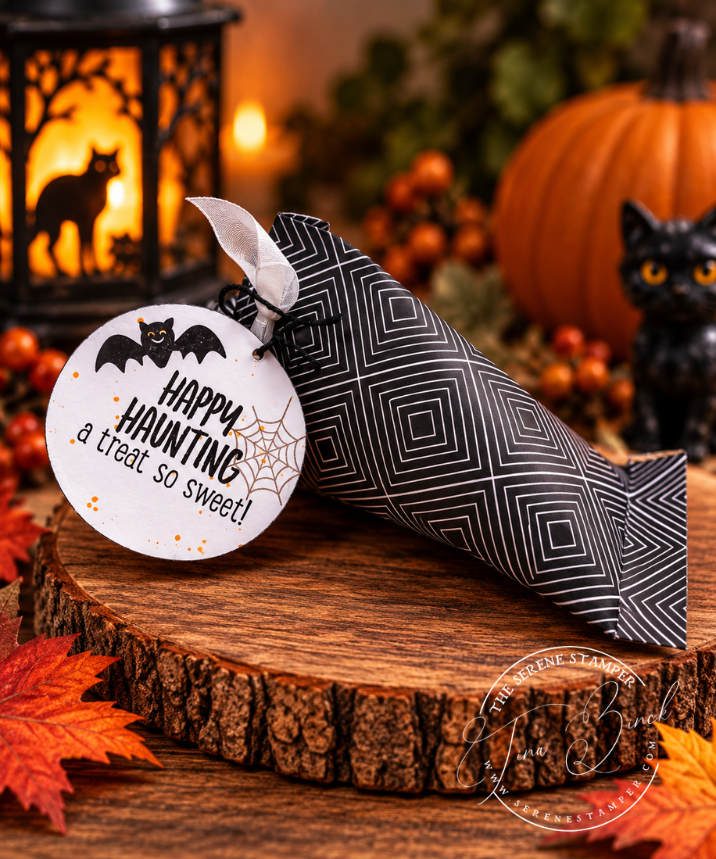
The washi tape designs give these treat holders a completely different look — and you could easily make a whole batch of them assembly-line style. In the photo above, I used Pre-cut Spooky Tails Bundle (OMG – I am in LOVE with these kitty stickers) and you’ll see that I also used stamps on the back of the tag. Too cute!
If you’ve never made a sour cream container treat holder before, they’re SO easy!
I used a 6″ x 6″ piece of paper. Simply roll the paper into a tube and glue the long sides together.
Fold along the bottom edge to create a flap and seal it closed. You can use glue, Tear & Tape, or even a crimper if you have one.
Fill your holder with treats, then fold and seal the top in the opposite direction from the bottom — that’s what gives it that fun sour cream container shape.
Add a tag and some ribbon and voilà!
Cute as heck and SUPER FAST to make! 🎃
I’ve honestly been making both Bagalopes and sour cream containers for over 30 years, and I still love them! They’re especially handy when you need a quick and easy way to package up a little gift or treat.
And of course, you can make them look completely different every time simply by changing up your patterned papers, embellishments, stamps and/or washi tapes. They’re one of those tried-and-true projects that never really gets old!
These products from the The Washi Tape Shop really did a lot of the work on these projects.
I especially love being able to simply peel off individual images and use them almost like little pieces of artwork or embellishments.
If you’d like to have a look at the washi I used, you can find The Washi Tape Shop here:
And you can save 10% with my code: SERENESTAMPER10
Washi Tapes shown in today’s video:
🎃Luminous Haunt Washi Tape Sticker Set (GILDED)
🎃Pre-cut Ghoulish Gathering Wide Washi/PET Tape
🎃Pre-cut Spooky Tails Bundle
🎃Pre-cut Haunted House Wide Washi/PET Tape
🎃Graveyard Scribbles Washi Tape Sticker Set (GILDED)
🎃Pre-cut Boo Brigade Wide Washi/PET Tape
As always, if you shop through my affiliate links, I may earn a small commission at no additional cost to you. Thank you so much for supporting my work.
More Washi Tape Inspiration
If you love playing with washi tape as much as I do, here are a few more cards and projects I’ve shared using beautiful designs from The Washi Tape Shop:
- Washi Tape Shop Haul + 5 Cards & a Journal Page
- Mass Producing Cards with Washi Tape & Brusho
- Beautiful Washi Tape Cards + Easy Pop-Up Mini Album
- Four Cards From My Stash — Using What I Had on Hand
- How to Turn One Masterboard Into Beautiful Cards
There are so many fun ways to use washi tape beyond simply adding a strip to a card — hopefully these projects give you a few ideas for using the rolls in your own stash!
I hope these projects inspire you to pull out your Halloween supplies and have some fun.
And remember — use what you have. Your projects don’t need to look exactly like mine. Change the papers, switch the colours, use stamps instead of washi, raid your scrap bin…that’s part of the fun.
If you make any of these, I’d love to hear which one you tried. And if you’ve been crafting for a long time, tell me — do you remember making Bagalopes and sour cream containers back in the day? 😂
Happy crafting!
Love,


Oh yes! I have the first “bagalope” I made years back, its green. I think I”ll have to make some more. Thanks for the inspiring reminder. And the “sour cream” goody pkg was fun too. I first made them for a holiday tea party, but ended up covering a toilet paper roll with paper first, then squeezing the opposite ends together and stapling. I think I even included a ribbon handle so they could hang on the Christmas tree afterwards. They both certainly are versatile, fun and necessary for gifting little treats – and the sight of them always brings a surprise smile! I just concluded a fun 5 1/2 years with Stampin’ Up! but I’ve made cards since before they began in ’88. Now I’m dabbling in ink and paper and water color and junk journals!
Oh my gosh, I love this! I can just picture those little treat holders hanging on the Christmas tree with their ribbon handles — what a clever idea! I may have to borrow that one. 😊
And I hope you’re enjoying this new creative chapter since finishing up with Stampin’ Up! I have a feeling you’re going to have SO much fun dabbling in watercolour and junk journals and just following wherever your creativity takes you. There’s something so freeing about playing with paper, ink and all the things we already have, isn’t there?
Thanks for sharing this, my friend. I always love hearing your memories and ideas, and I’m so glad we still get to share our creativity through The Serene Post.