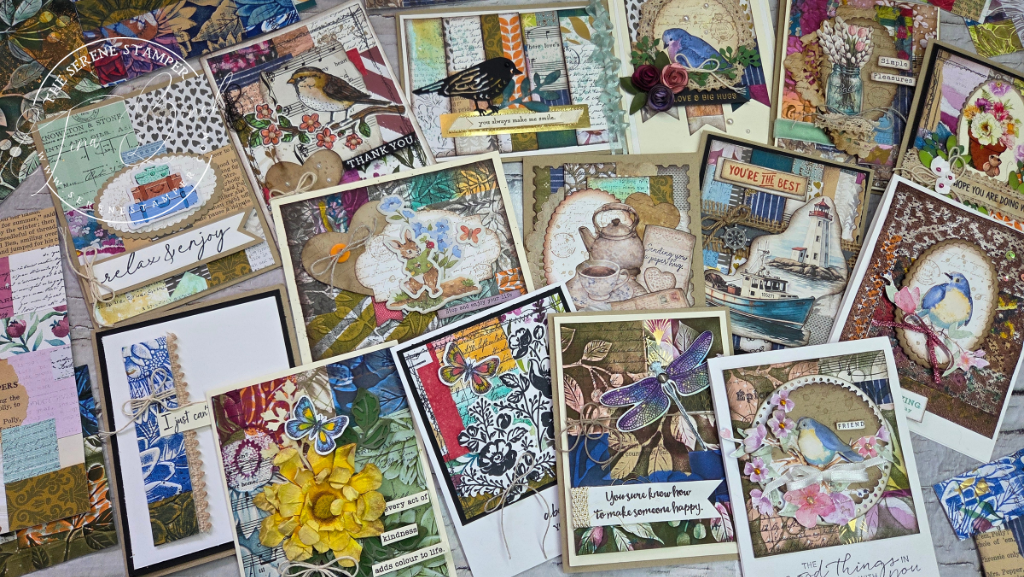
HI Friends! There’s something so satisfying about taking a single masterboard and seeing just how far you can stretch it.
This was one of those creative sessions where I sat down with no real plan… and before I knew it, I had a whole pile of finished cards in front of me. Different styles, different looks — all from the same starting point.
And the best part? I didn’t reach for anything new. Just what I already had.
In today’s video, I:
- Cut my masterboard into different sizes
- Mixed in simple layers and textures
- Let each piece guide the design instead of overthinking it
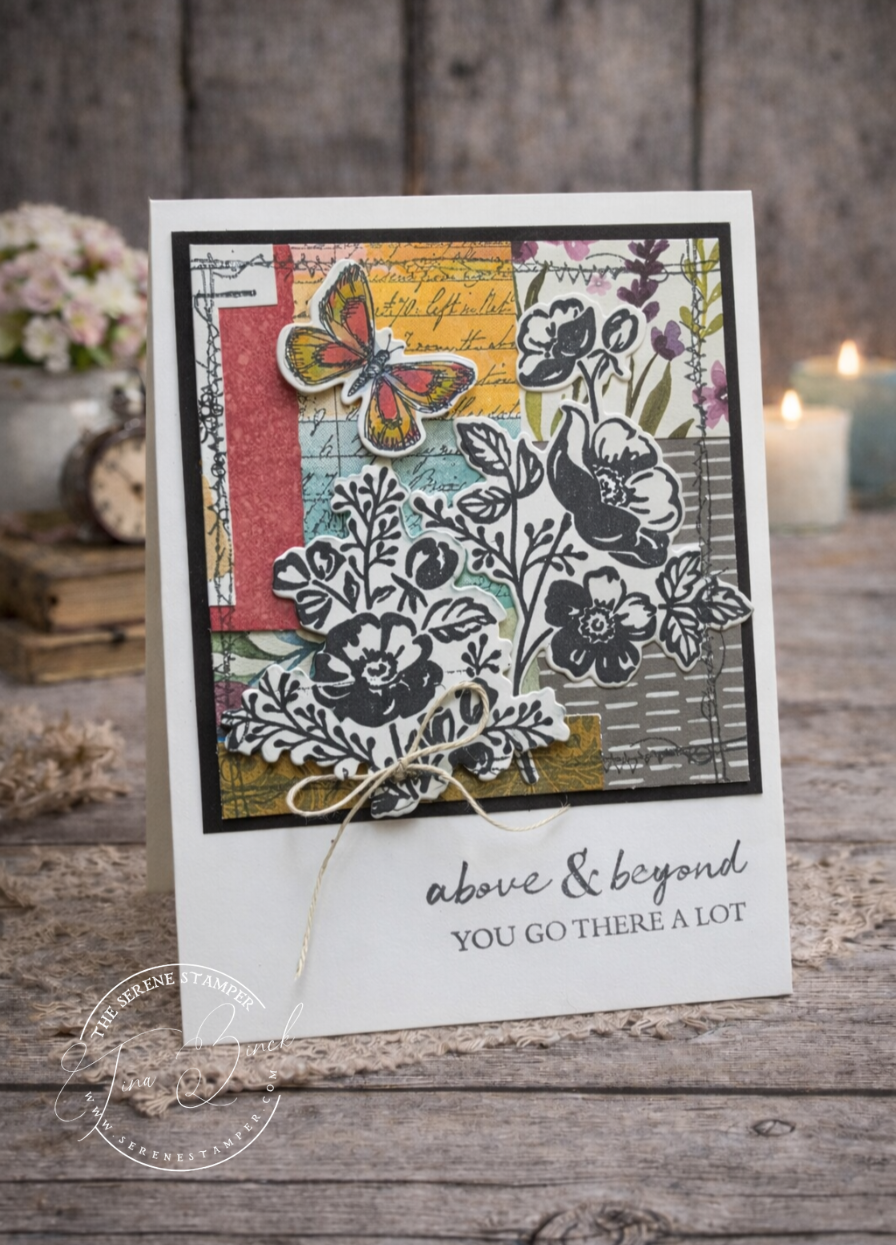
Some cards stayed simple, others got a bit more layered — but all of them came from that same original board.
What is a Masterboard?
If you’re new to this idea, a masterboard is simply a larger background you create using scraps, paper, stamping, ink, or whatever you have on hand. Once it’s finished, you cut it down and use those pieces to create multiple projects.
It’s one of the easiest ways to:
- Use up your stash
- Reduce overwhelm
- Create a cohesive set of cards
- Spark new ideas without starting from scratch
You can see how I made my recent masterboards here: Video & Photos
Making cards with my masterboard was so much Fun!
This really turned into one of those “I couldn’t stop” kind of afternoons – You know the ones… where you just keep going because it feels good. Those are always my favourite.
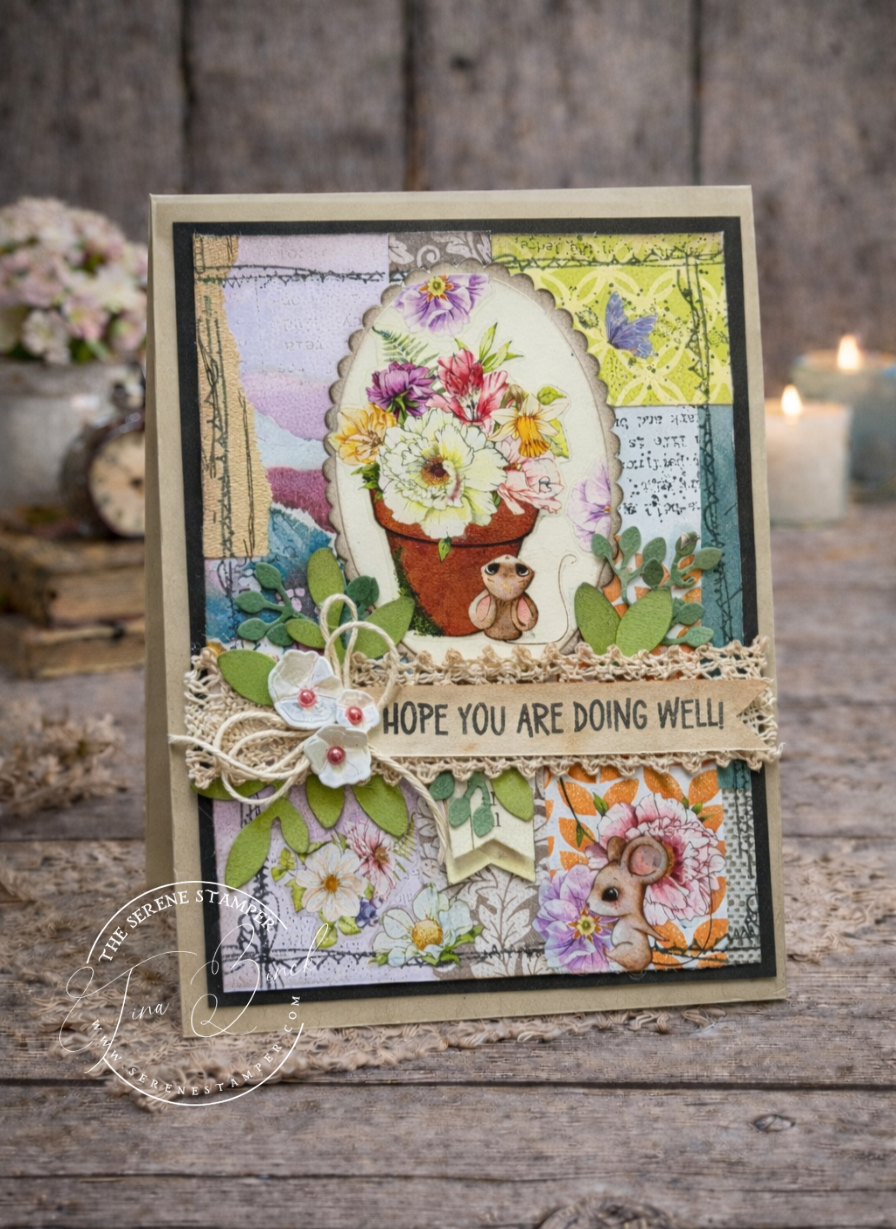
This card turned out so sweet!
I used the “Squeaky Mischief” washi tape from The Washi Tape Shop… those little mice completely got me. I’m quite smitten with this one — it adds such a sweet, playful touch to my cards.
Adding a focal image with the tape designs is so quick and easy, and such a fabulous way to finish a card. I’ll be sharing more cards and projects using their tapes soon… I truly love creating with them.
If you’re curious about the washi tape I used, you can take a look HERE.
If you do decide to pick some up, you can use my code SERENESTAMPER10 to save a little on your order.
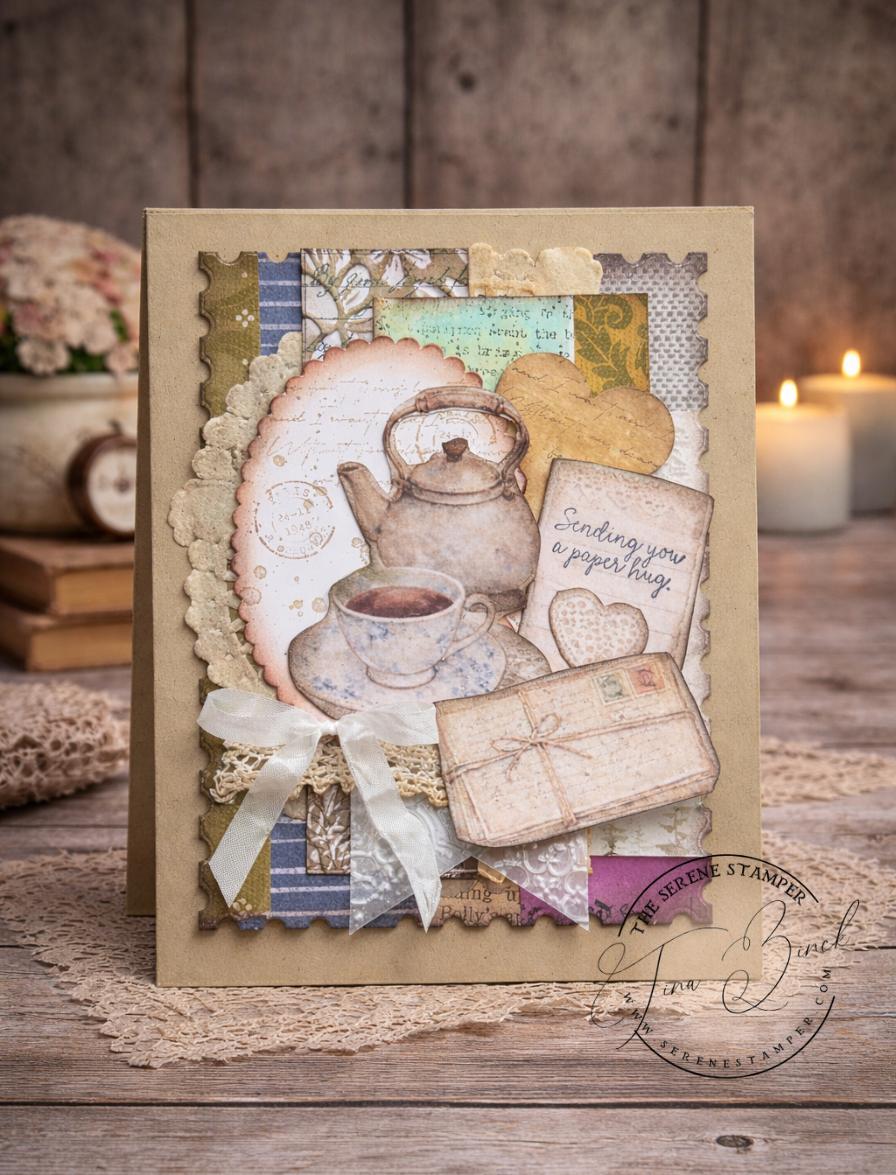
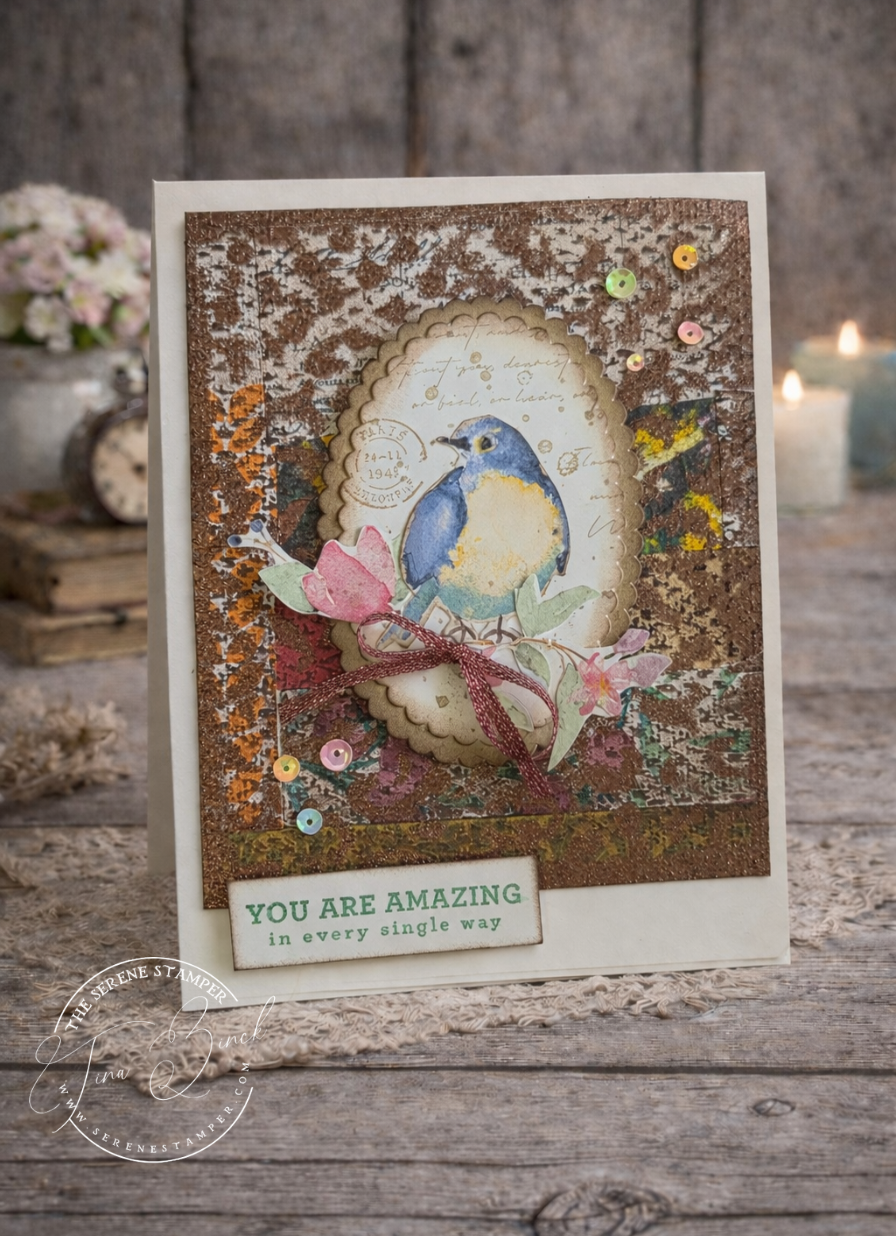
Some of the paper pieces you’ll see in these cards are from my Serene Post — a little monthly mailing I put together from my home here in Nova Scotia. Each one includes a personal letter from me, along with paper bits, inspiration, and small creative touches you can use however you like — something to enjoy, sit with, and create in your own way. If you’re curious, you can take a peek here: THE SERENE POST
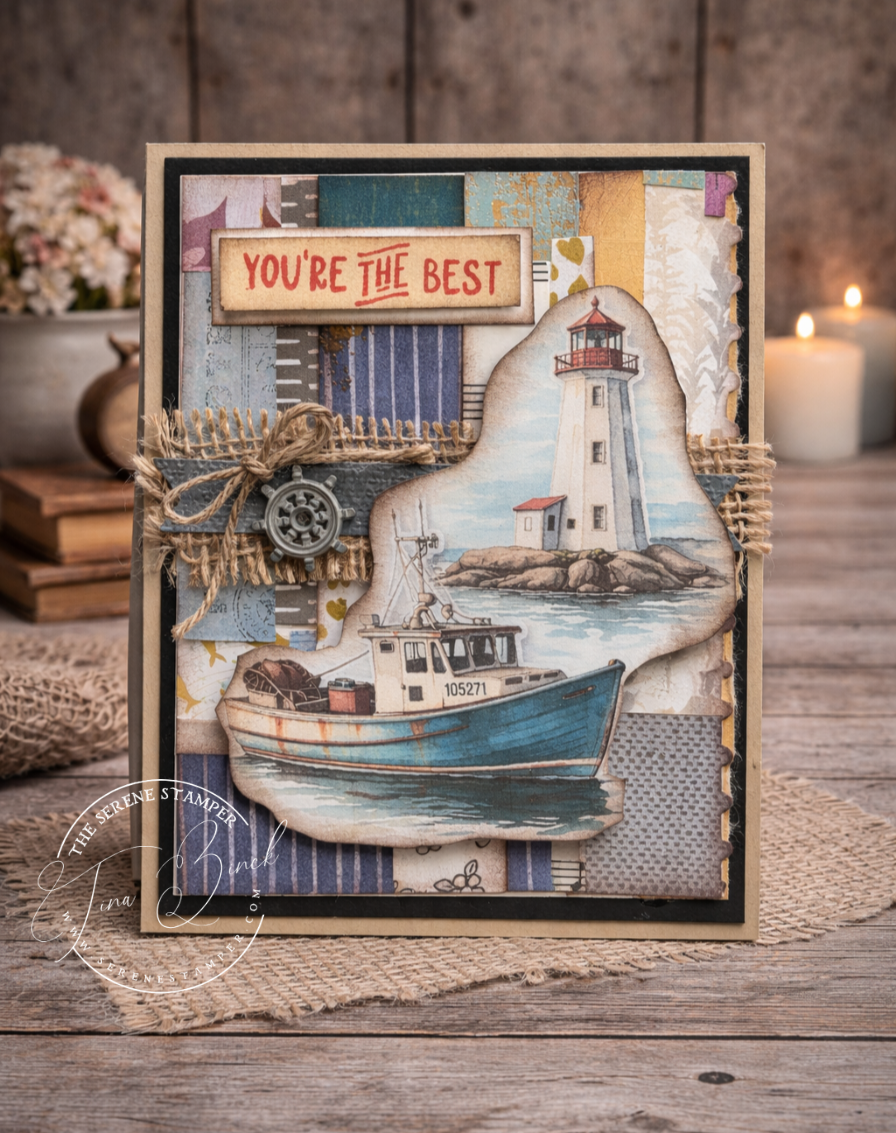
The card above includes a piece from the May edition of the Serene Post, which has a coastal theme inspired by lobster season here in Nova Scotia.
There’s still time to receive this one, as subscriptions are open until April 25th.
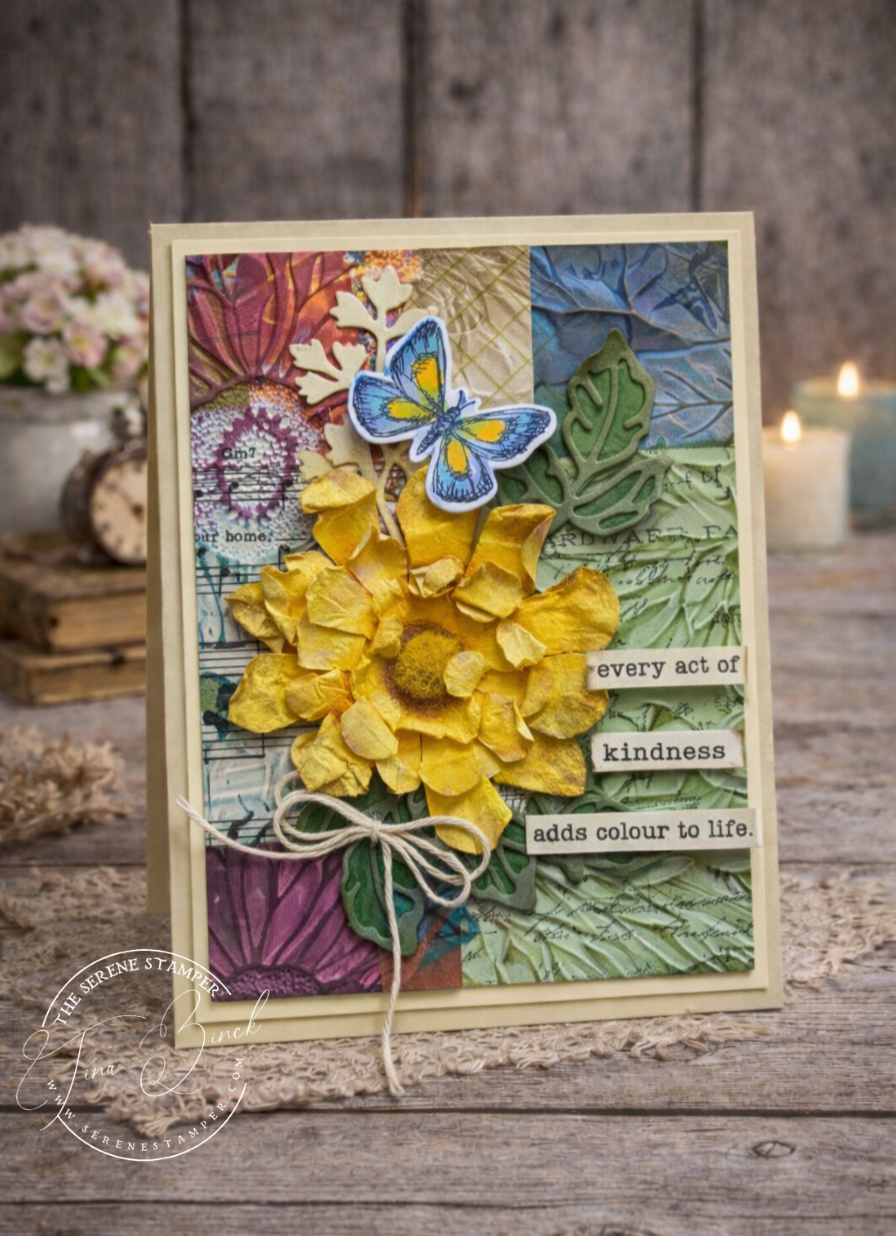
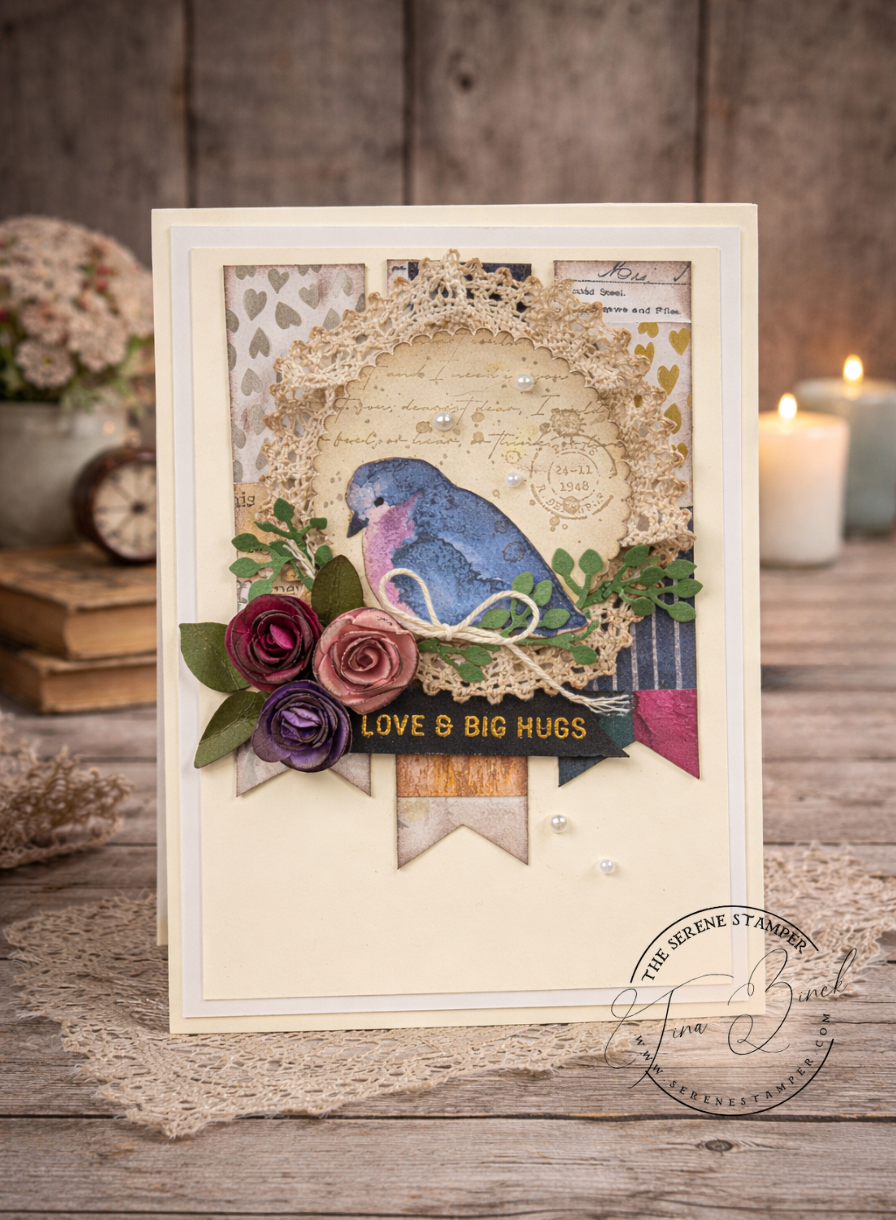
The fussy-cut piece on this card is from the April edition of the Serene Post, which had a beautiful Spring theme. I also pulled in some of my coffee-dyed papers and doilies for this one.
If you have a masterboard sitting in your craft room, this is your sign to pull it out and start cutting into it.
You might be surprised how many cards you can create… and how much you enjoy the process.
I hope you have a wonderful and blessed Easter. LOVE & BIG HUGS to you!
Take care and HAPPY STAMPING!

Leave a Reply