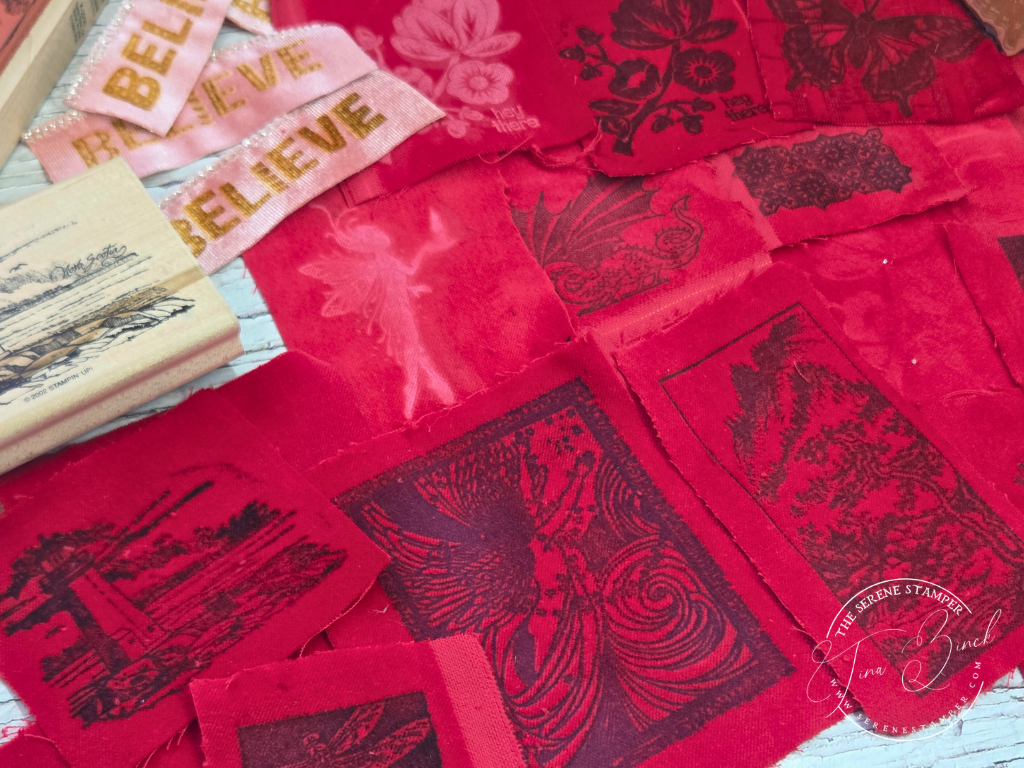
Hi friends! I’ve been looking forward to sharing today’s technique with you for weeks, so I’m really excited to finally bring back an oldie but a goodie – Stamped Velvet, also known as Embossed Velvet.
Stamping on velvet is one of those techniques that looks a little magical the first time you see it. The design appears almost out of nowhere, simply by using heat to flatten the fibres in the fabric.
It’s often called stamping on velvet or embossed velvet, and it’s been around for years. There are quite a few different ways to do it, and none of them are strictly right or wrong. What I’m sharing here is the method that worked best for me using supplies I already had on hand.
I had so much fun experimenting with ink pads, water, stamps, and an iron to create this beautiful stamped velvet!
Questions you may have:
What type of velvet works best?
Real cotton or rayon velvet gives the nicest results. The soft pile (those tiny fibres on the surface) is what reacts to the heat and creates the image.
Synthetic velvet can work, but it’s unpredictable. Some pieces emboss nicely, others barely show an image at all. The lower the quality of the fabric, the more likely you are to end up with a faint design or a scorched patch.
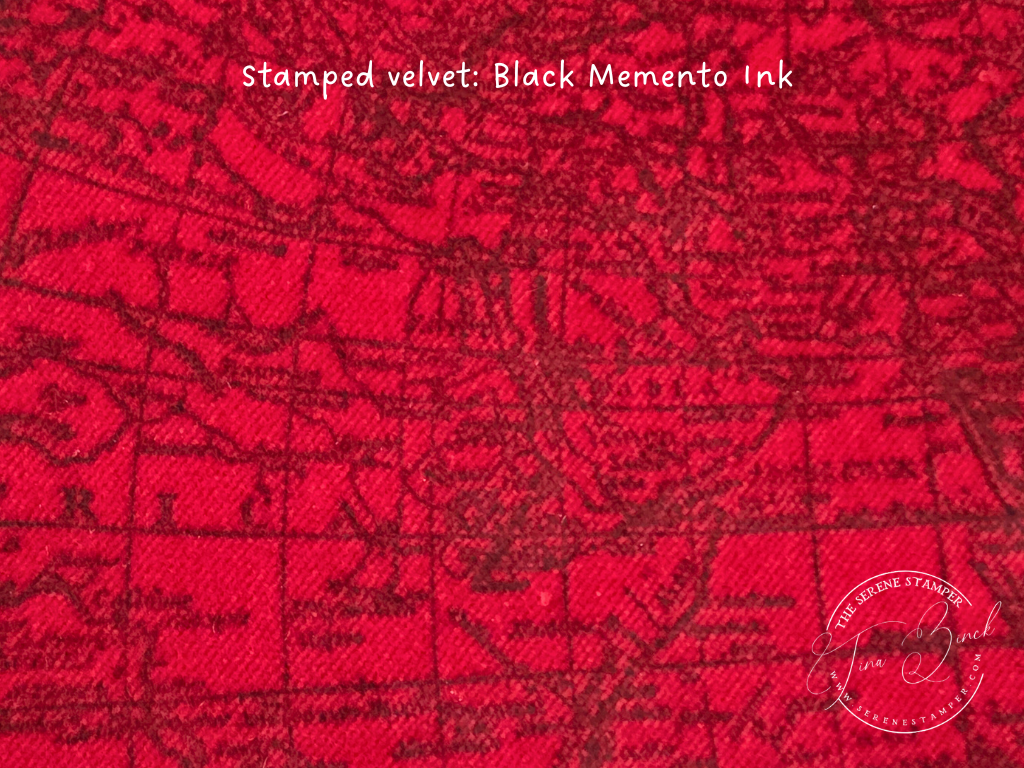
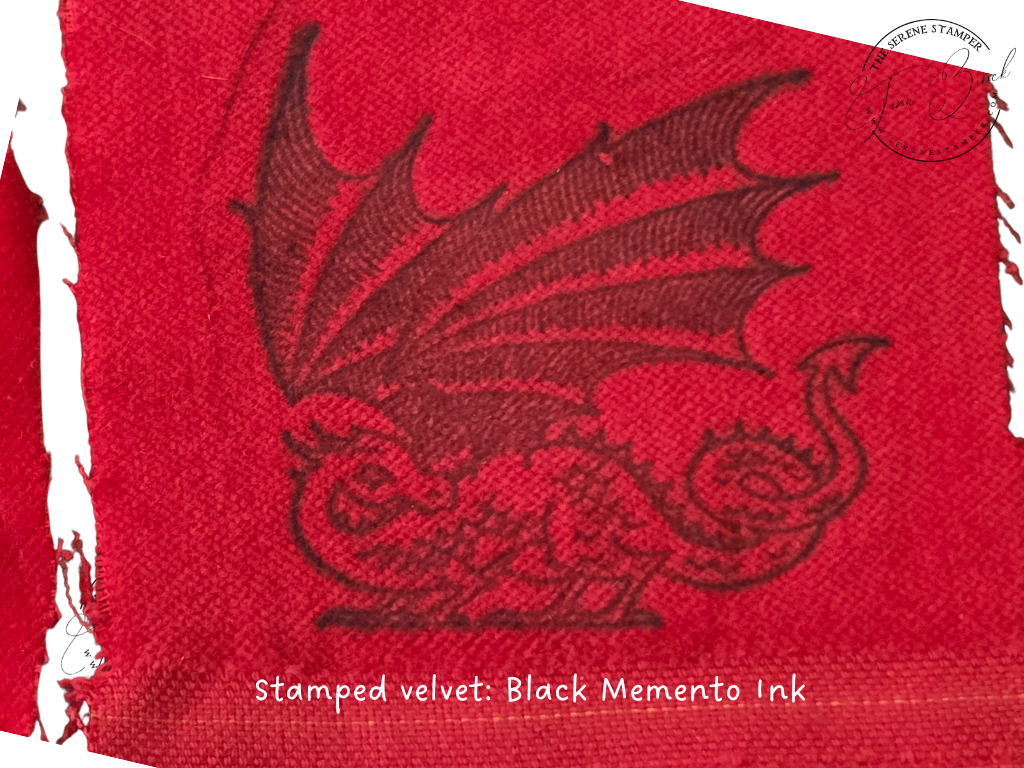
If you’re buying velvet specifically for this technique (ie: the good quality red velvet I used), look for fabric that feels dense and plush rather than thin and slippery (ie: the black velvet I showed in my video).
Do you need to use ink?
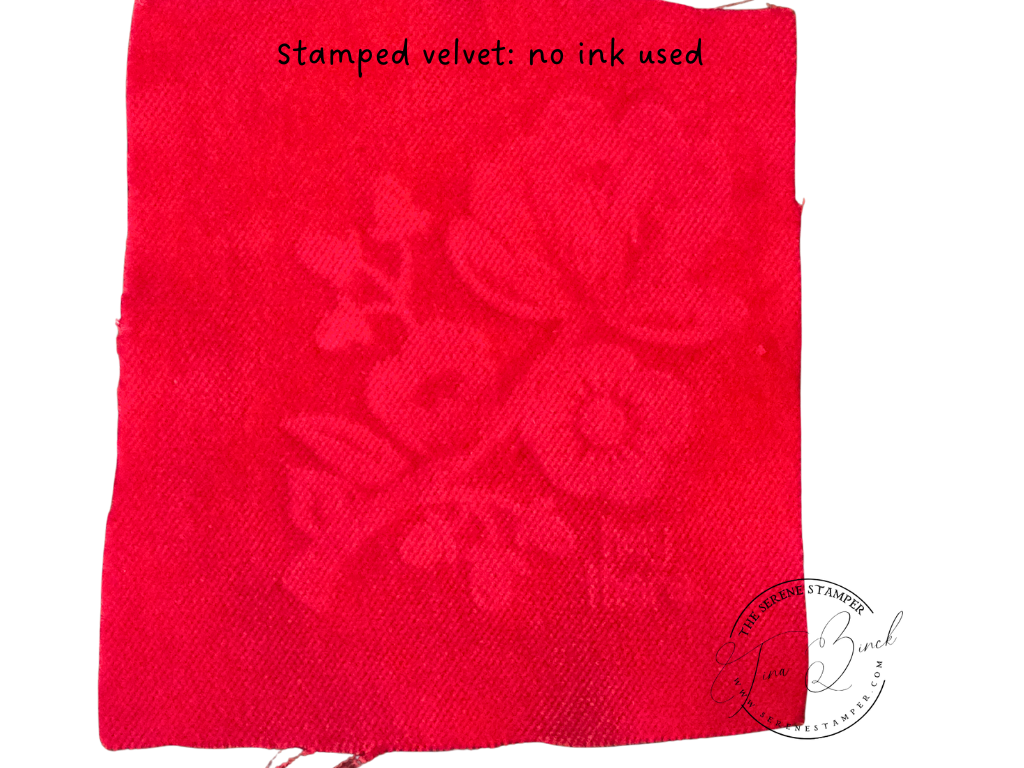
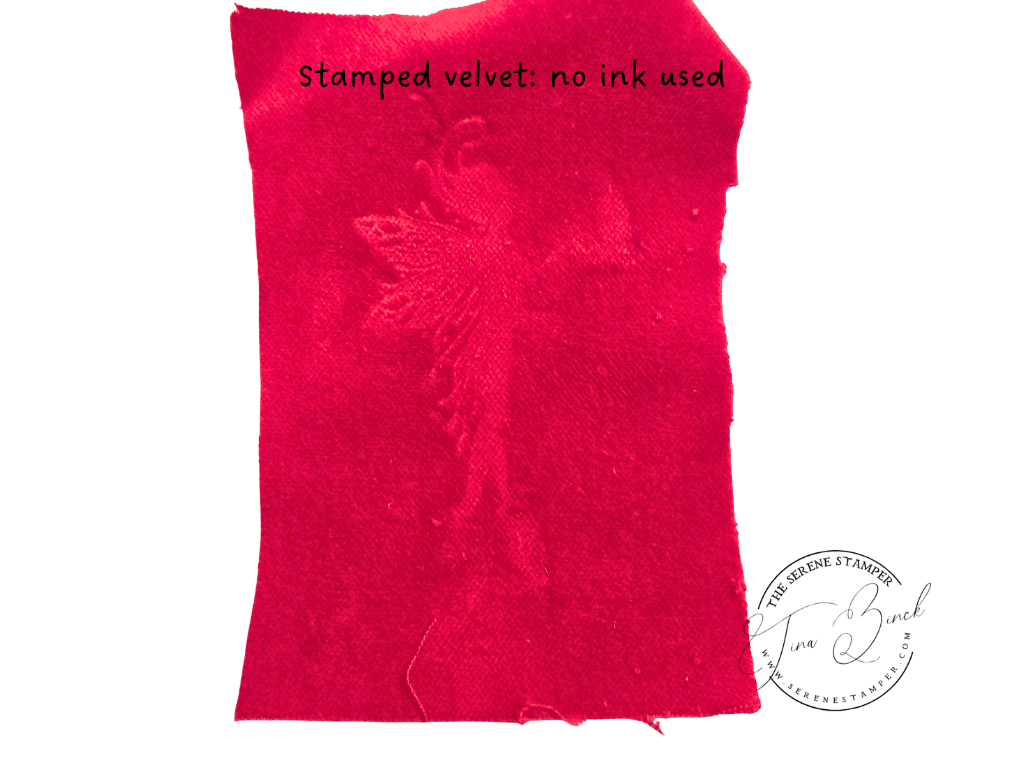
No – you don’t have to use ink at all.
Dry stamping with heat alone will still create a beautiful, subtle image in the velvet.
Ink simply changes the look:
- It can make the design darker or more defined
- It adds contrast on darker fabrics
- It gives you more creative options
Both approaches work well.
What inks work?
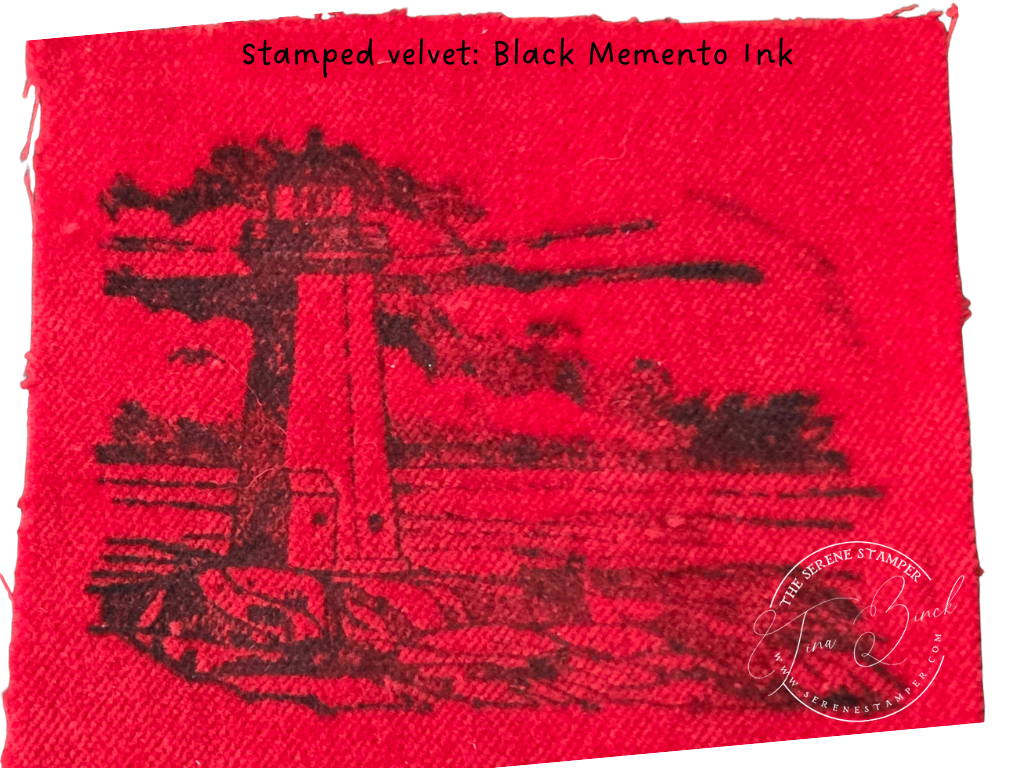
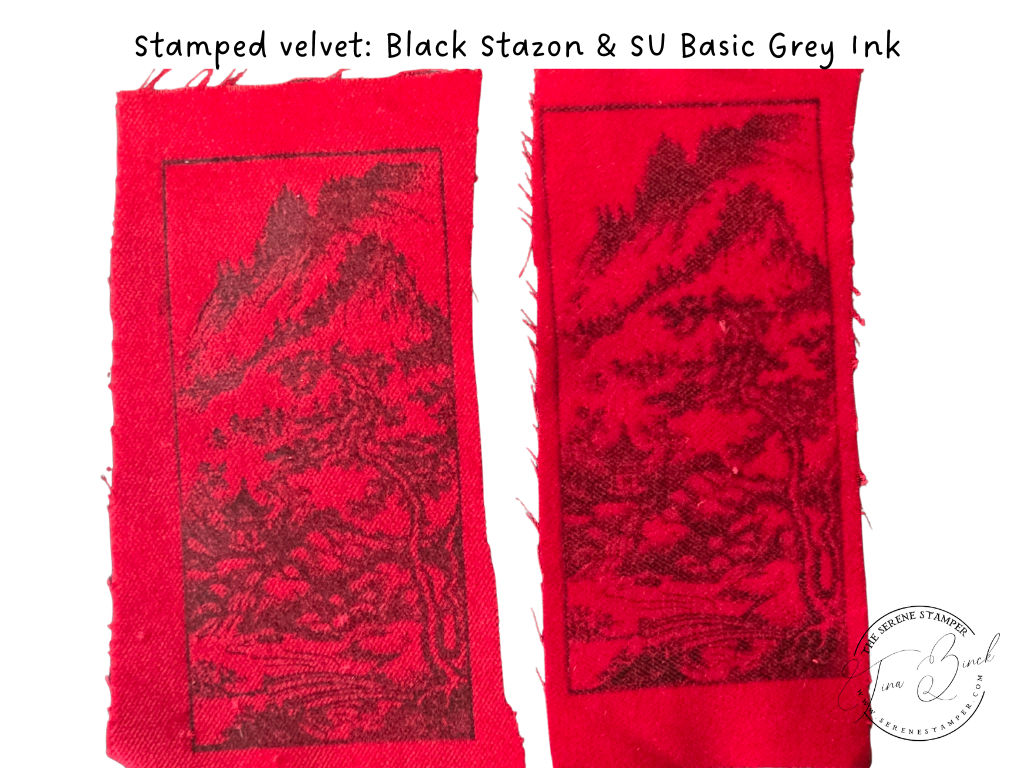
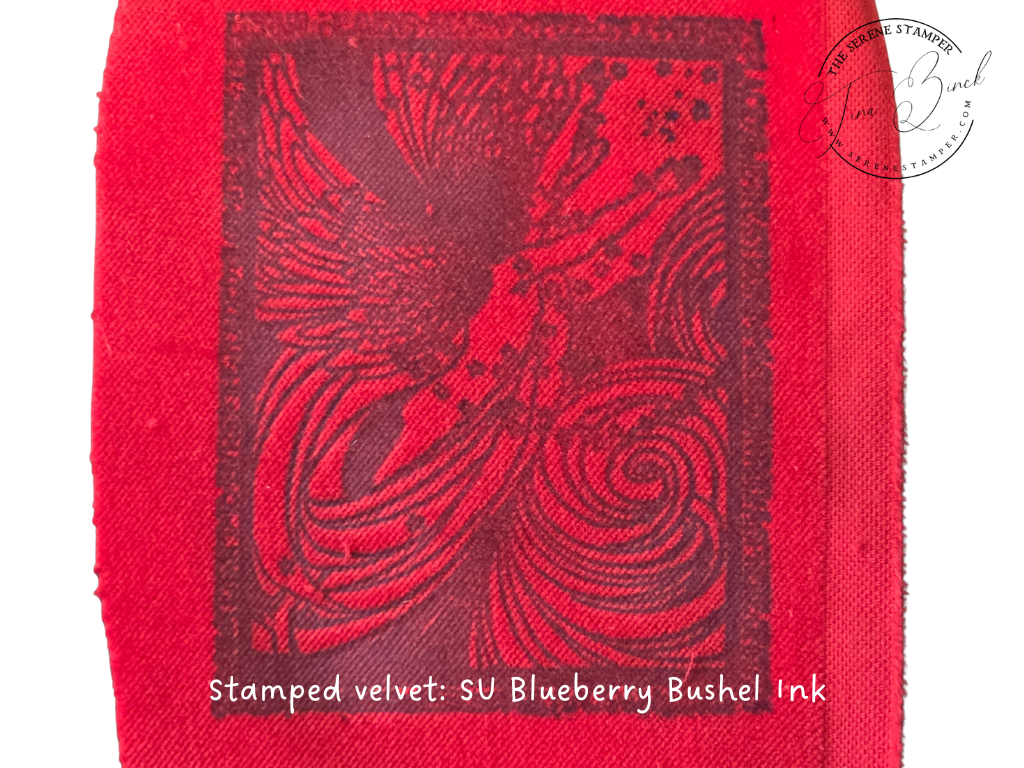
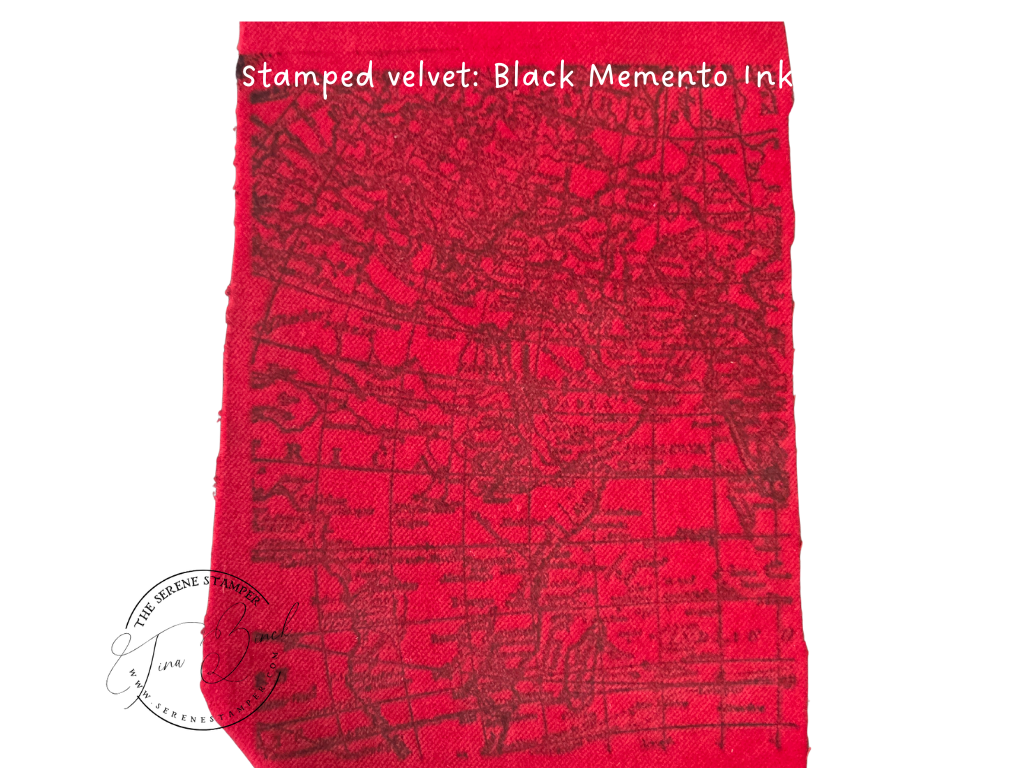
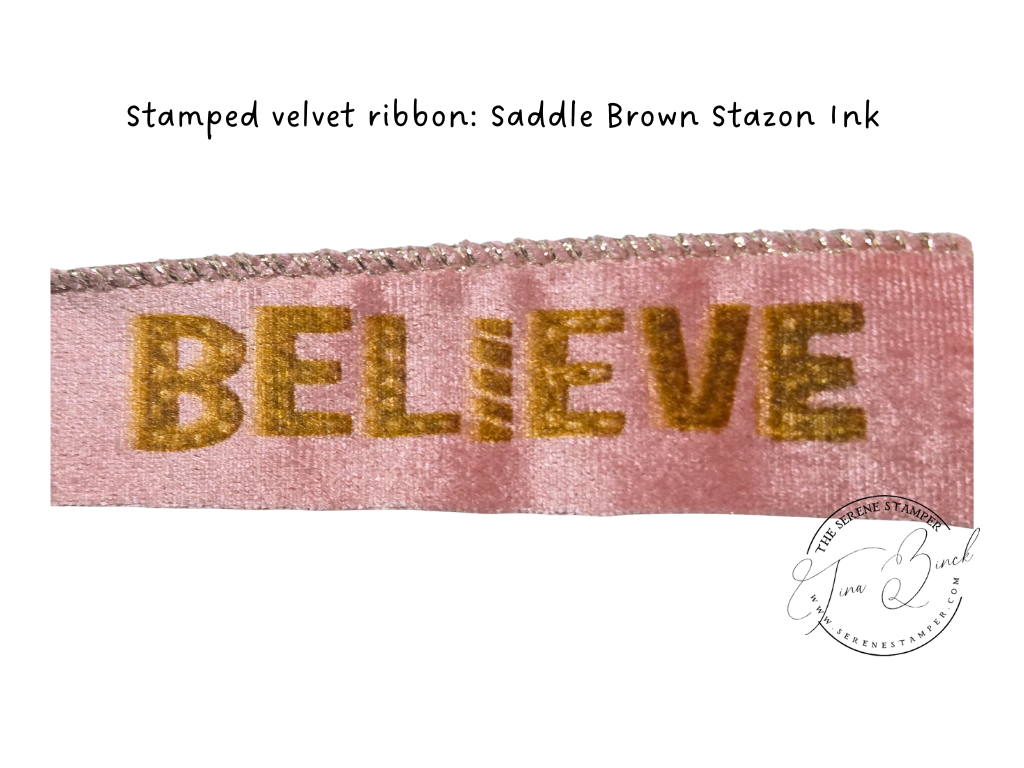
I didn’t have archival permanent dye ink on hand, so I experimented with what I already own:
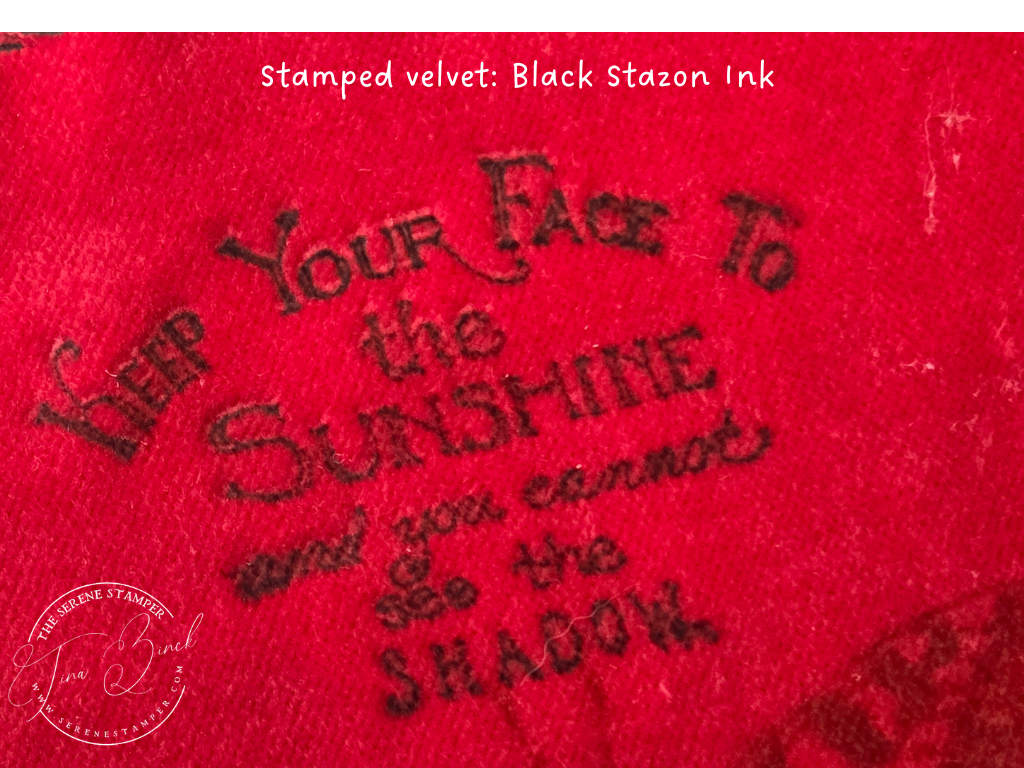
- StazOn
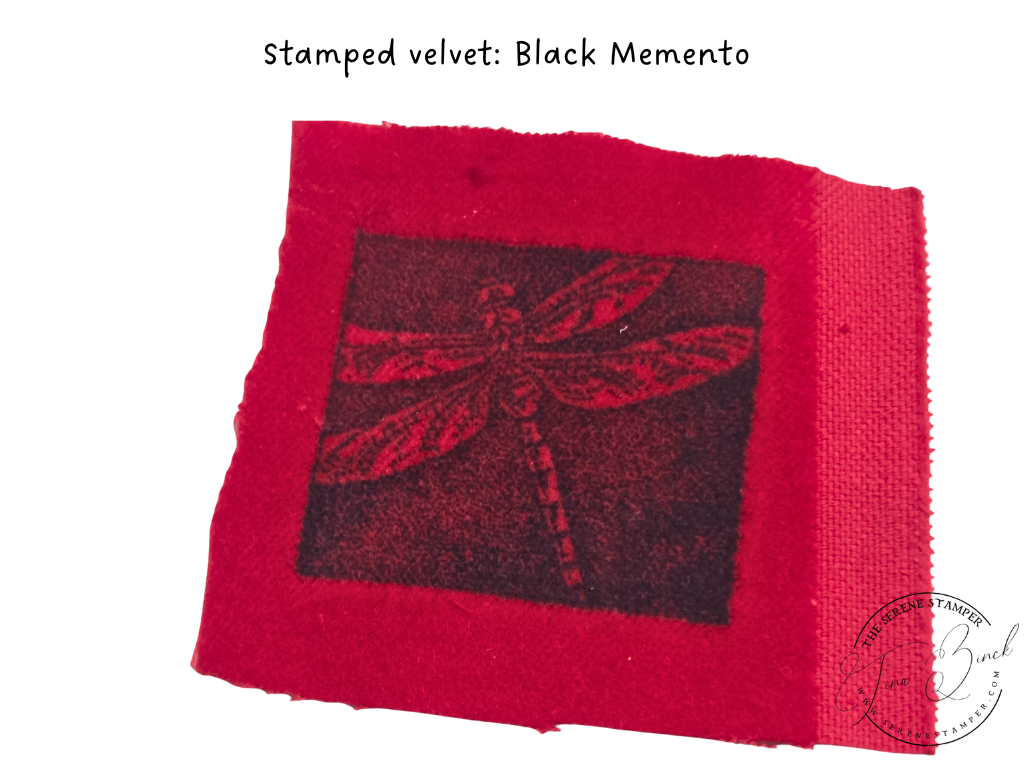
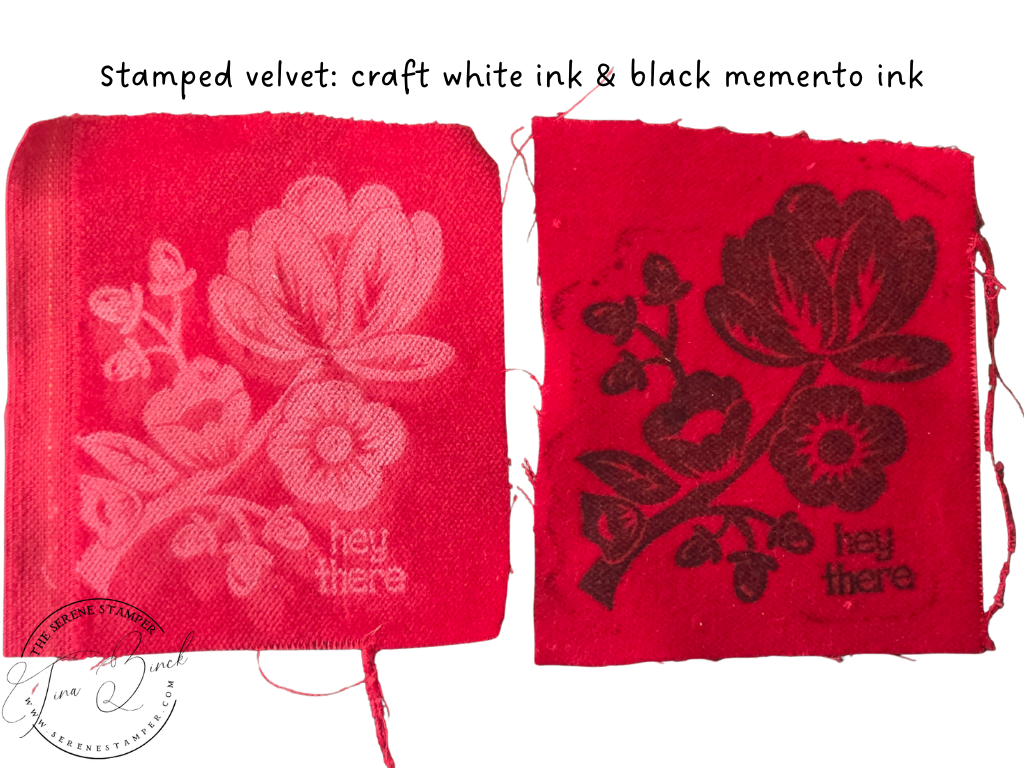
- Memento
- Stampin’ Up! Classic dye inks
- Versamark
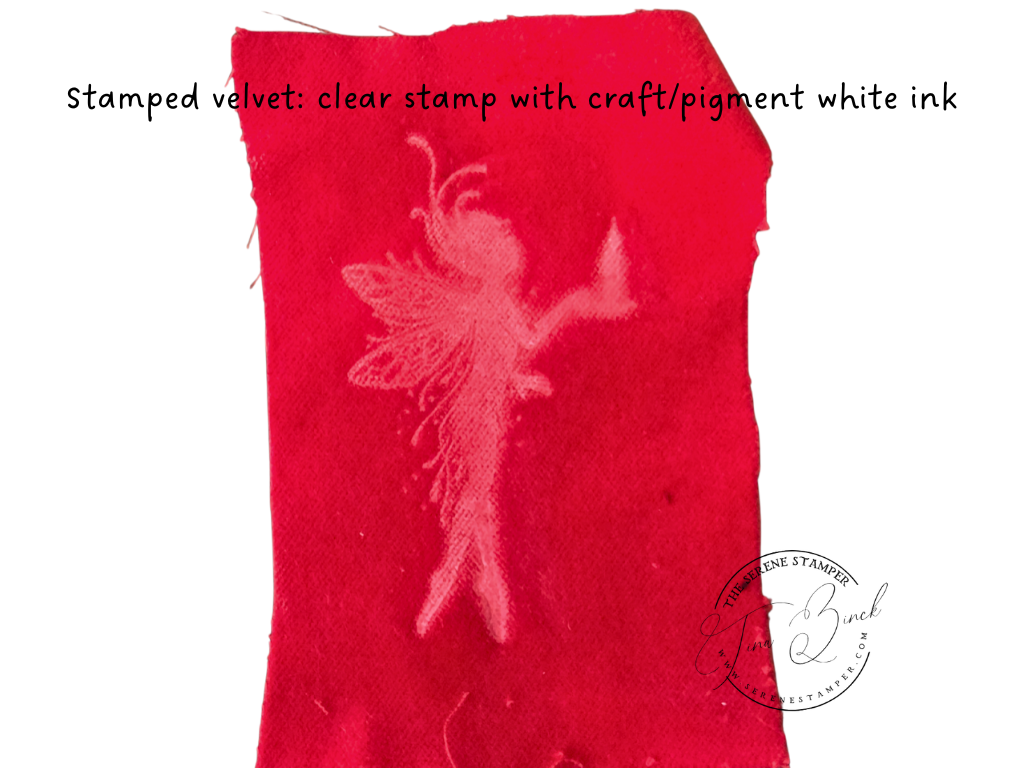
- White craft ink
All of them worked.
Archival ink is often recommended, but it isn’t required to get good results. If you’re just trying the technique for the first time, use what you have and see how it behaves on your fabric.


Is the design permanent? Will it wash out?
Heat permanently flattens the fibres in the velvet where the stamp is placed, so the image itself does not disappear.
That said, washing and heavy rubbing will soften the design over time.
Because of that, this technique is best suited for:
- Handmade cards
- Journals and covers
- Bookmarks
- Gift bags and decorative pieces
- Keepsakes
It’s less ideal for clothing or items that will be laundered often.
My method (step by step)
This is the process I used in the video:
- Lightly mist the wrong side (back) of the velvet with water.
- Place the velvet pile-side down onto the stamp.
- Lay a piece of tin foil over the back of the velvet.
- Set your iron to the cotton setting, with no steam.
- Press the iron gently and hold it steady for about 10 seconds.
- When you begin to see the image coming through the back of the fabric, lift the iron and reveal the design.
I learned the tin foil method from my friend France Martin (Frenchie Stamps). It helps distribute heat evenly and protects the fabric.
In the past, I’ve also used a tea towel instead of foil, which works well too.
You can also iron directly onto the velvet with no barrier at all, but if you do that, fabric quality becomes very important. Lower quality velvet can scorch or flatten unevenly. In fact, unless you are using quality velvet, I personally would NOT place the iron directly on the fabric.
Iron settings & safety
- Use the cotton setting
- No steam
- Hold the iron steady – don’t slide it around
- Work on a heat-safe surface
- Never leave the iron unattended
Velvet can scorch if overheated, so take your time and err on the side of caution.
Stamp choice
Bold stamps tend to show up most clearly, especially on darker fabrics.
HOWEVER, as I discovered as I filmed my video, fine detail stamps work too! I think it depends on the fabric, ink and stamps that you use.
Both red rubber and photopolymer stamps work for this technique.
A little encouragement
If your first piece isn’t perfect, don’t worry.
This is a very forgiving technique. If an area looks too light, you can simply apply heat again. And every type of velvet behaves a little differently, which is part of the fun of experimenting.

“I’ve got stamped velvet… now what?”
Stay tuned, my friends, because in my next video, I’ll be sharing how I turn these stamped velvet pieces into small projects like cards, journals, and bookmarks.
If you have questions I didn’t cover here, feel free to leave them in the comments on the video or here on my blog post – I’m always happy to help.
Have a FABULOUS day and HAPPY STAMPING!

Looking forward to seeing the creations you make using the stamped velvet pieces! Thank you, Ms. Tina!
HI Victoria! Thank you! The video is coming…a few techniqcal issues with uploading is causing a bit of a delay. I’m looking foward to sharing my projects with you!