Hello, my lovely friends!
I want to start this post by expressing my heartfelt gratitude to all of you for the incredible outpouring of love and support during this difficult time after the passing of my sweet dog, Rosey. Your emails, cards, and personal messages have been a tremendous comfort, and I appreciate each and every one of you so much.

To keep myself busy, I’ve been spending a lot of time in the kitchen, canning pickles with all the cucumbers from my garden and making delicious jam with my blackcurrants. Cooper, my other furbaby, has been getting extra TLC as he also misses Rosey dearly. They’ve been together since he was a puppy, and it’s been a tough adjustment for both of us.

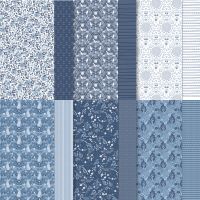
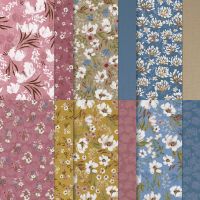
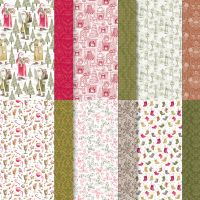
But crafting always brings a bit of joy and solace, and today I’m excited to share a super easy pocket fold card tutorial with you! This project uses just one 12″ x 12″ sheet of Designer Series Paper, and it’s perfect for all skill levels. So let’s get to it!

Super Easy Pocket Fold Card Tutorial
Materials Needed:
- One 12″ x 12″ sheet of Designer Series Paper
- Scoring tool
- Paper trimmer
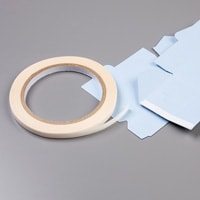
- Adhesive
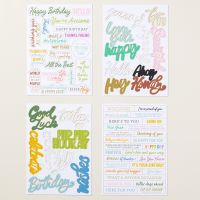
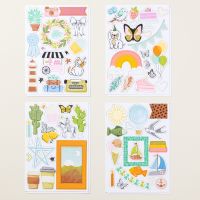
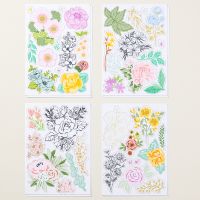
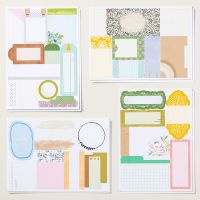
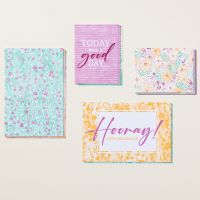
- Ephemera and Memories & More cards for decoration
Instructions:
- Along one side of your 12″ x 12″ paper, score at 5″ and 10″.
- Turn the paper 180 degrees and score at 4″ and 8″.
- Cut the two tabs off each end along the top 2″ strip.
- Cut a diagonal line from the corner to the center on the bottom flaps.
- Apply adhesive to seal up the pockets.
- Decorate as desired using ephemera and Memories & More cards.
This pocket fold card is so versatile! You can keep the design simple or go all out with embellishments. Fill the pockets with treats, gift cards, tags, photos, candy, etc. It’s a fun project that you’ll enjoy creating, and it’s perfect for sending a little love in the mail.

Thank you again for all your support, and I hope you find joy in making these pocket cards.

Enjoy the day & HAPPY STAMPING!





AWESOME projects, Tina!
Glad to see your smiling face, despite your broken heart.
Stay Amazing <3
Thank you, my friend. xoxo