
Hi Friends! Have you gotten your “Blended Seasons” bundle yet? If so, you know how awesome and versatile it is! If you haven’t ordered it yet, keep in mind these new products are only available until the end of this month, or while supplies last!
Here’s a lovely Blended Seasons Christmas card, which is simple yet pretty, and ideal for mass producing. This card is also a perfect example of one of the things I love most about Stampin’ Up! products – our colour coordination! Our card stock, designer series paper, inks, markers, ribbons and embellishments all match, which is the magic key to making a quick and easy card look so great!
Supplies:
-
Stamp
Sets
–
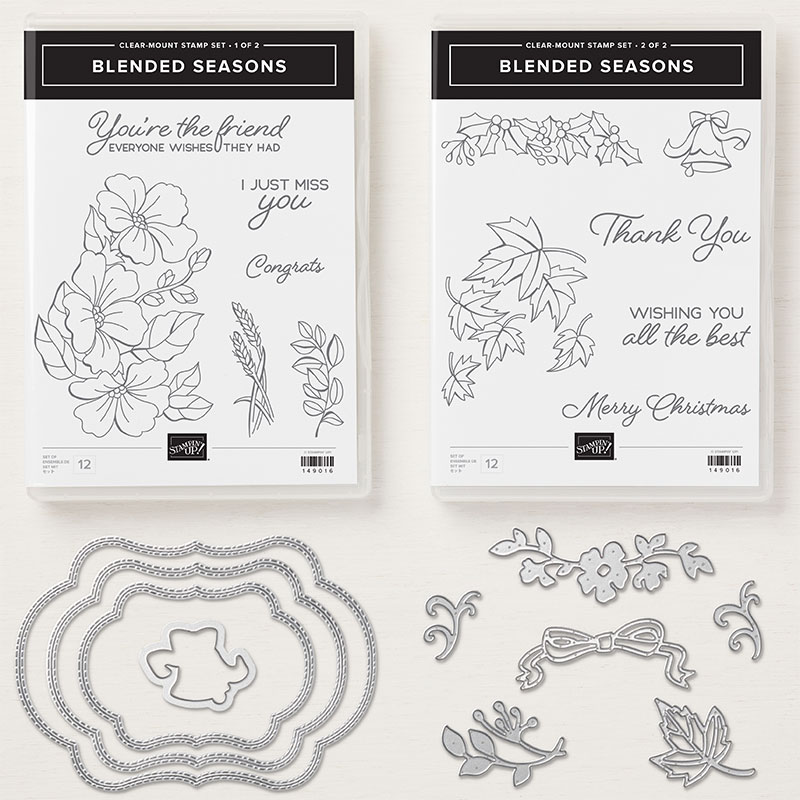
Blended Seasons (w149019) (c149016) or Bundle (w 149893) (c149894) -
Cardstock
–
Shaded Spruce (146981) -
Stamp
Pads – Memento
Black (132708), Real Red (147084) -
Misc.
– All is Bright Designer Series Paper (147892); Dimensionals
(104430); Poppy Parade Blends Pack (1472750; Granny Apple Green
Blends Pack (147274); Color Lifter (144608); Wink of Stella Glitter
Brush (141897); Real Red Mixed Satin Ribbon ~ 4 1/4″ (147894);
Tear & Tape Adhesive (138995); Multipurpose Liquid Glue (110775)
Measurements:
Shaded
Spruce: 5 1/2″ x 8 1/2″, scored at 4 1/4″ (base card)
Spruce: 5 1/2″ x 8 1/2″, scored at 4 1/4″ (base card)
Polka
Dot DSP: 2′ x 4 1/4″
Dot DSP: 2′ x 4 1/4″
Crumb
Cake DSP strip: 3/4″ x 5″
Cake DSP strip: 3/4″ x 5″
Shaded
Spruce DSP strip: 1″ x 4″
Spruce DSP strip: 1″ x 4″
Whisper
White: 2″ x 3″
White: 2″ x 3″
Instructions:
1.
Stamp holly leaves at the bottom of the Whisper White rectangle
using Memento. Make sure your ink is dry and then color using the
Blends. Work in small sections of your design because the alcohol
evaporates quickly ~ the alcohol must be wet to blend. Use the
chisel tip of the Light Blend to cover the holly leaf. Add the Dark
Blend towards the berries. Return with the Light Blend to go over
the two shades to blend them together.
2.
Stamp ‘Merry Christmas’ in Real Red ink and add Wink of Stella to
the berries. Add Dimensionals to the back.
Stamp ‘Merry Christmas’ in Real Red ink and add Wink of Stella to
the berries. Add Dimensionals to the back.
3.
Assemble card using Liquid Glue. Add the pretty holly berries piece
last.
Assemble card using Liquid Glue. Add the pretty holly berries piece
last.
Customer Appreciation Tutorials
I sincerely appreciate every order I receive and as a token of my gratitude I want to give YOU something too! Each month I combine 12 beautiful projects, with measurements, supply list and step by step instructions, into a special PDF tutorial. When you place your order through my online store I will email this exclusive tutorial to you! Just be sure to use the special host code prior to submitting your order:


If your order is $200 or more DO NOT
enter the Host Code
so that you will also receive your stamping rewards
(I will still send you the PDF tutorials).
enter the Host Code
so that you will also receive your stamping rewards
(I will still send you the PDF tutorials).
BONUS “PASSPORT PALS” TUTORIALS
Minimum
orders of $60 or more (prior to tax and shipping) will also receive the exclusive Passport Pals tutorials, created by Frenchie (France Martin) and
myself – that means you’ll receive 18 free project sheets!
orders of $60 or more (prior to tax and shipping) will also receive the exclusive Passport Pals tutorials, created by Frenchie (France Martin) and
myself – that means you’ll receive 18 free project sheets!

If you live in the USA, click here to visit Frenchie on her to blog
and here to shop through her online store.
Thanks for stopping by ~ I hope you were inspired by today’s project and that you’ll visit again soon!

If you live locally I’d love for you to join in on my classes & events.
Click here to see what’s coming up!
Enjoy the day & HAPPY STAMPING!

What a precious card. I love Christmas cards. Keep them coming.