Hi Friends.
HAPPY VALENTINE’S DAY! 💕
Earlier this week, I made two Valentine’s cards — one for my hubby and one for my best friend. For some reason, making Valentine’s cards has always been one of my favourites, even though I tend to forget that until I’m right in the middle of it.
Years ago, I used to set aside a whole afternoon just to make Valentine’s cards with my girlfriends. I’d decorate my house with hearts and banners, and make all kinds of yummy treats — sandwiches, soup, sugar cookies, cake — and plenty of tea and coffee. Then I’d pull out all the fun crafty bits: lace, buttons, vintage papers, heart die cuts, pearls, ribbons, and of course, stamps, ink, and glitter!
There were no special layouts to follow. Just time to play, create, visit, and enjoy being together. We’d always end up admiring each other’s cards — every one different, every one special. I have such fond memories of those afternoons.
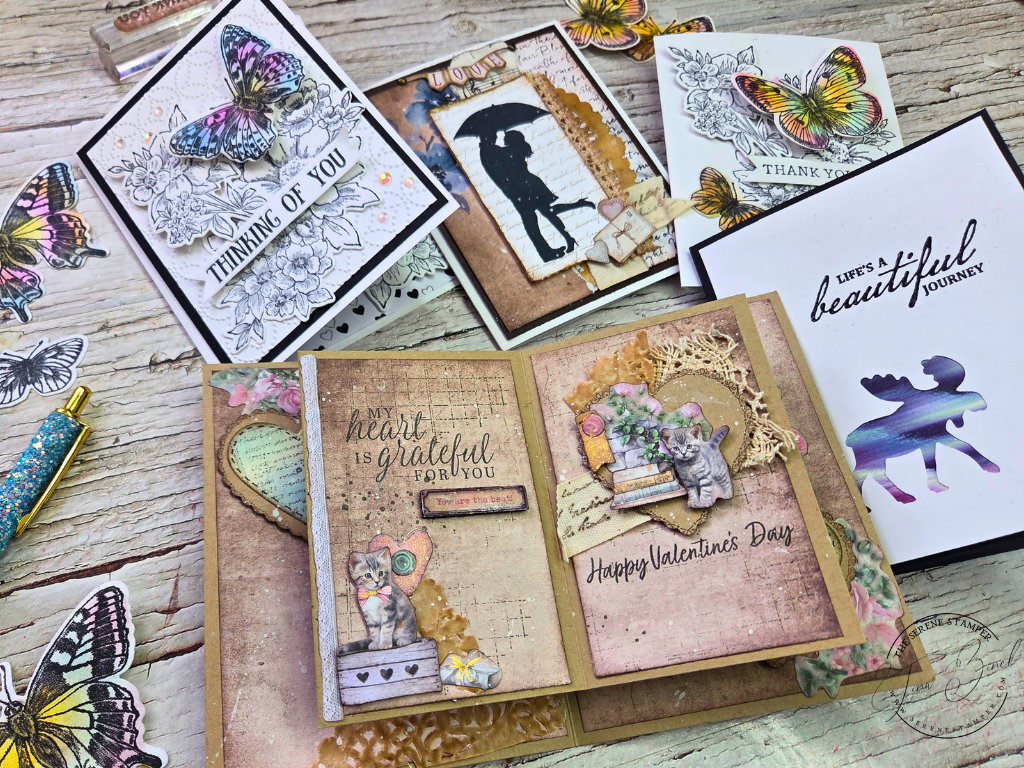
So when I sat down to make cards this week, I let myself get lost in the process again and simply enjoy the JOY of creating. And this time, I used a really fun and easy card within a card fold!
What I love most about this design is how versatile it is. I used the same fold to create several different cards — including two Valentine’s cards, a thank you card, a masculine card, and a sympathy card. Once you understand the fold, it works beautifully for any occasion. In fact, as I mentioned in my video, you could even take cards you’ve already made, that are in your stash, and turn them into a ‘card-within-a-card’! So many possibilities!

I made the above card for my BFF and oh my goodness – look at all the goodies I used!
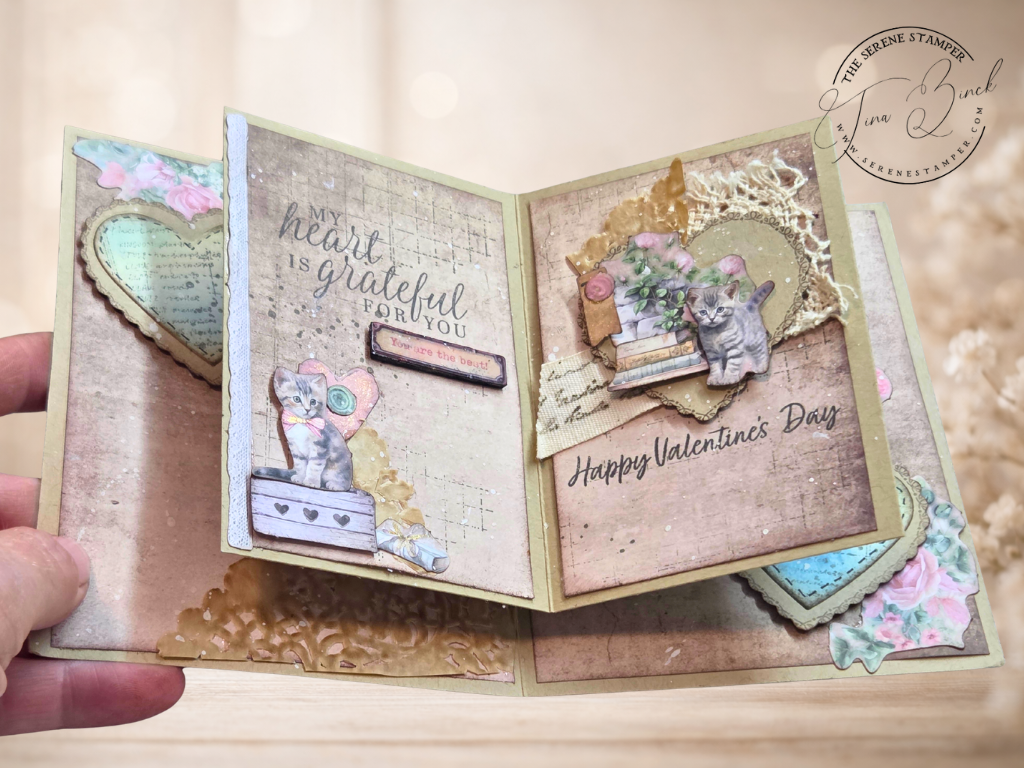
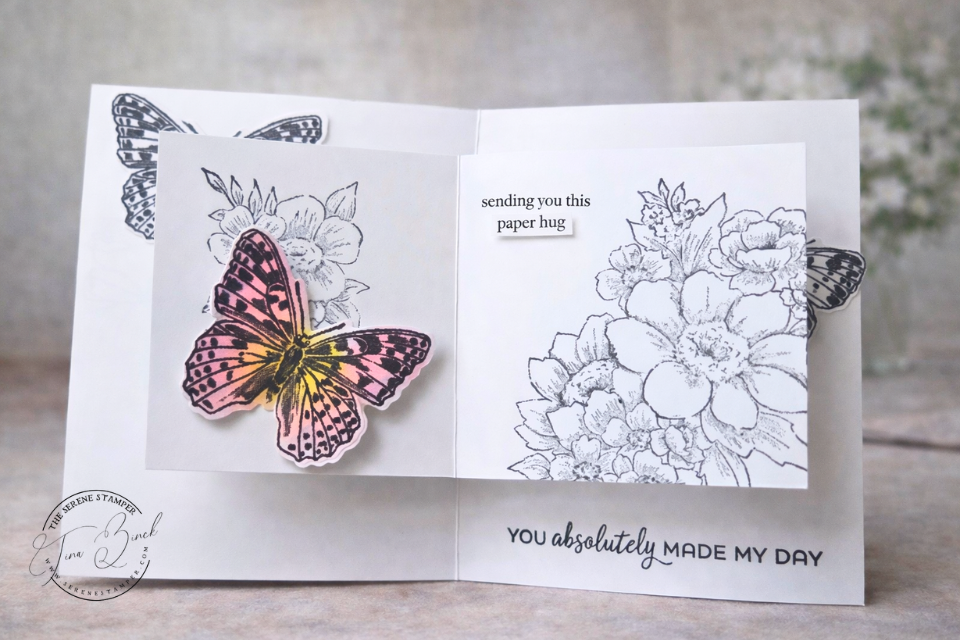
Some card designs look complicated, but are actually surprisingly easy to make — and those are always my favourites. This card within a card fold is exactly that. It gives you the look and feel of something extra special, while still being simple and enjoyable to create. You’re essentially making two cards in one, which makes this fold both fun and interactive when you open it!
This is the Valentine’s card I made for my hubby:
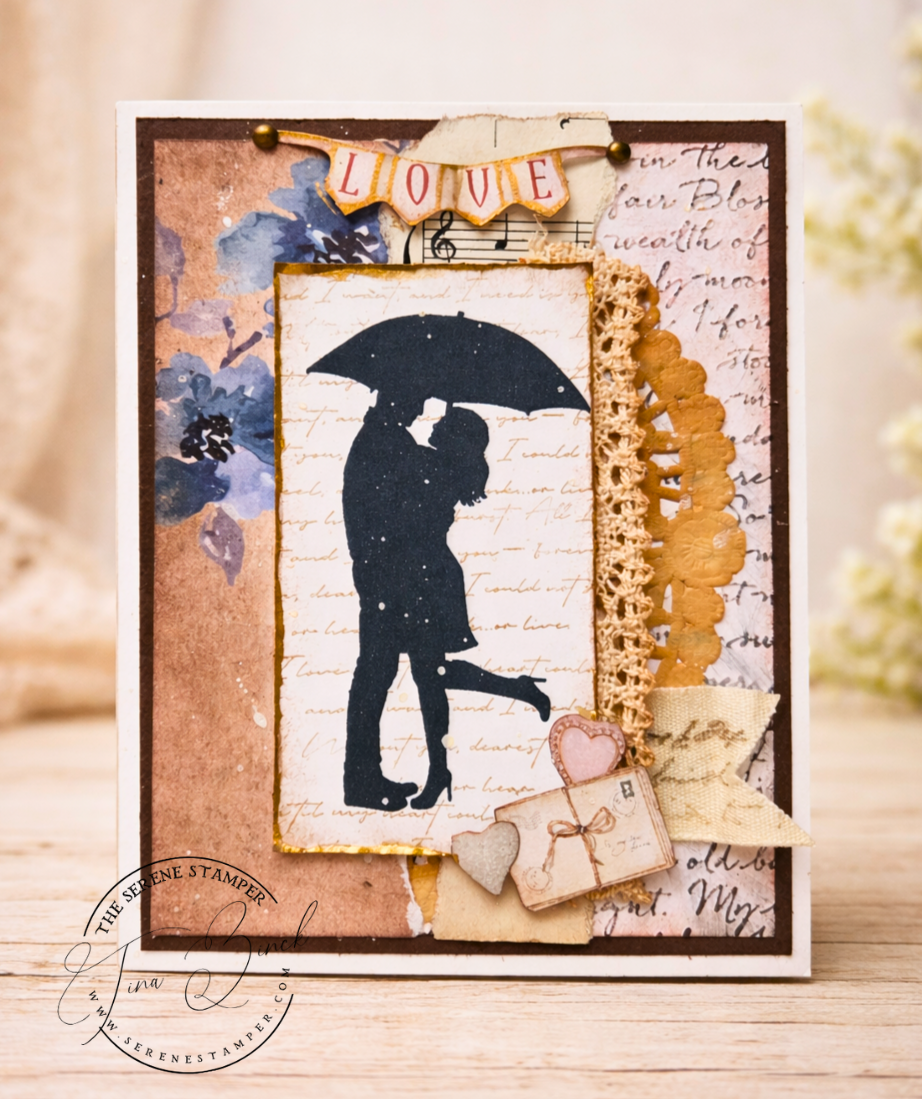
I really had fun making this – I tore papers, dry embossed, glued on some lace, ribbon and doilies, added a bit of gold and white paint splatters, and vintage music paper. Fun, fun, fun. (Oh, and he loved it!)
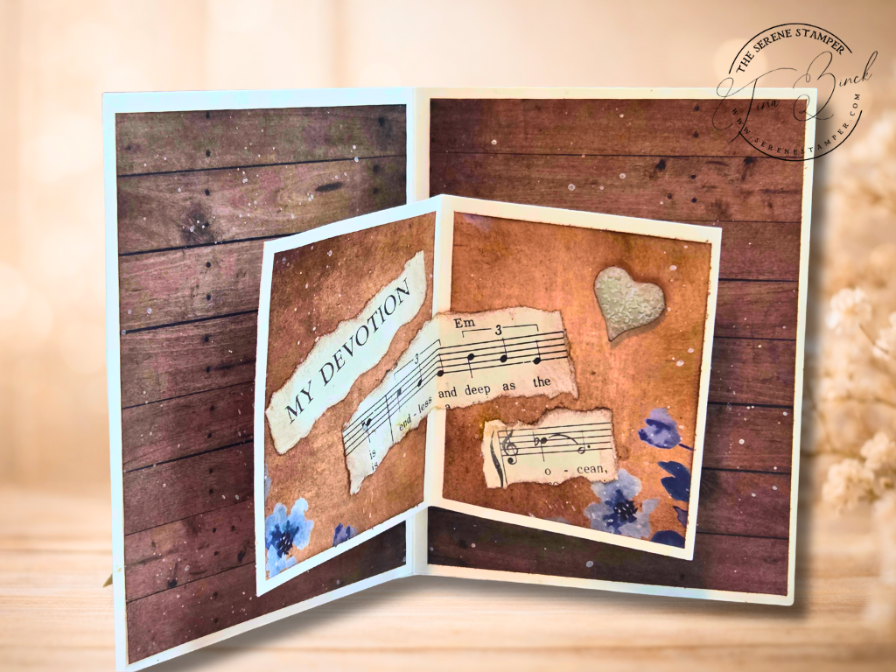
I kept the inside of this card clean and simple with patterned paper and torn music paper. It’s one of those folds that looks great whether you keep it simple or dress it up.
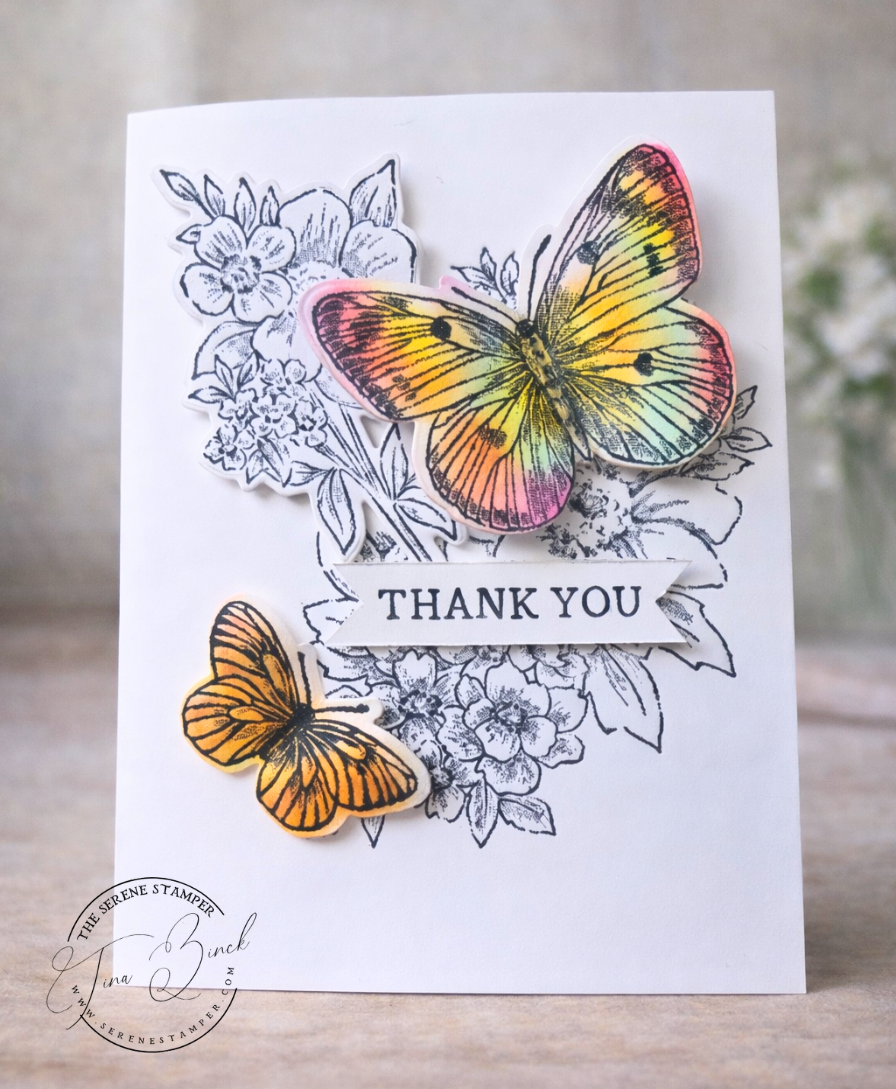
In my video, I demonstrated this easy thank you card. I kept the card simple but I think it’s really effective and lovely.
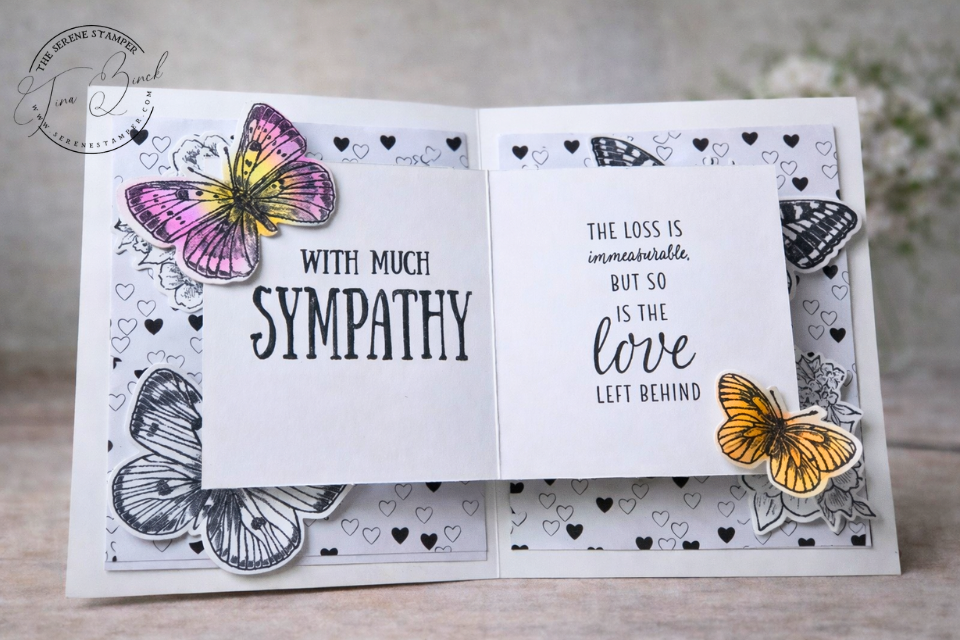
Now, here’s the same idea, but stepped up with layers of paper, embossing and additional floral die cuts:

This card was made with a ton of love – it’s for a dear friend who’s husband recently passed away. I got the news yesterday and this couple are really special to me, so my heart is broken. If this isn’t a ‘hug in the mail’ I don’t know what is.
Now here’s a really easy version of this fold:
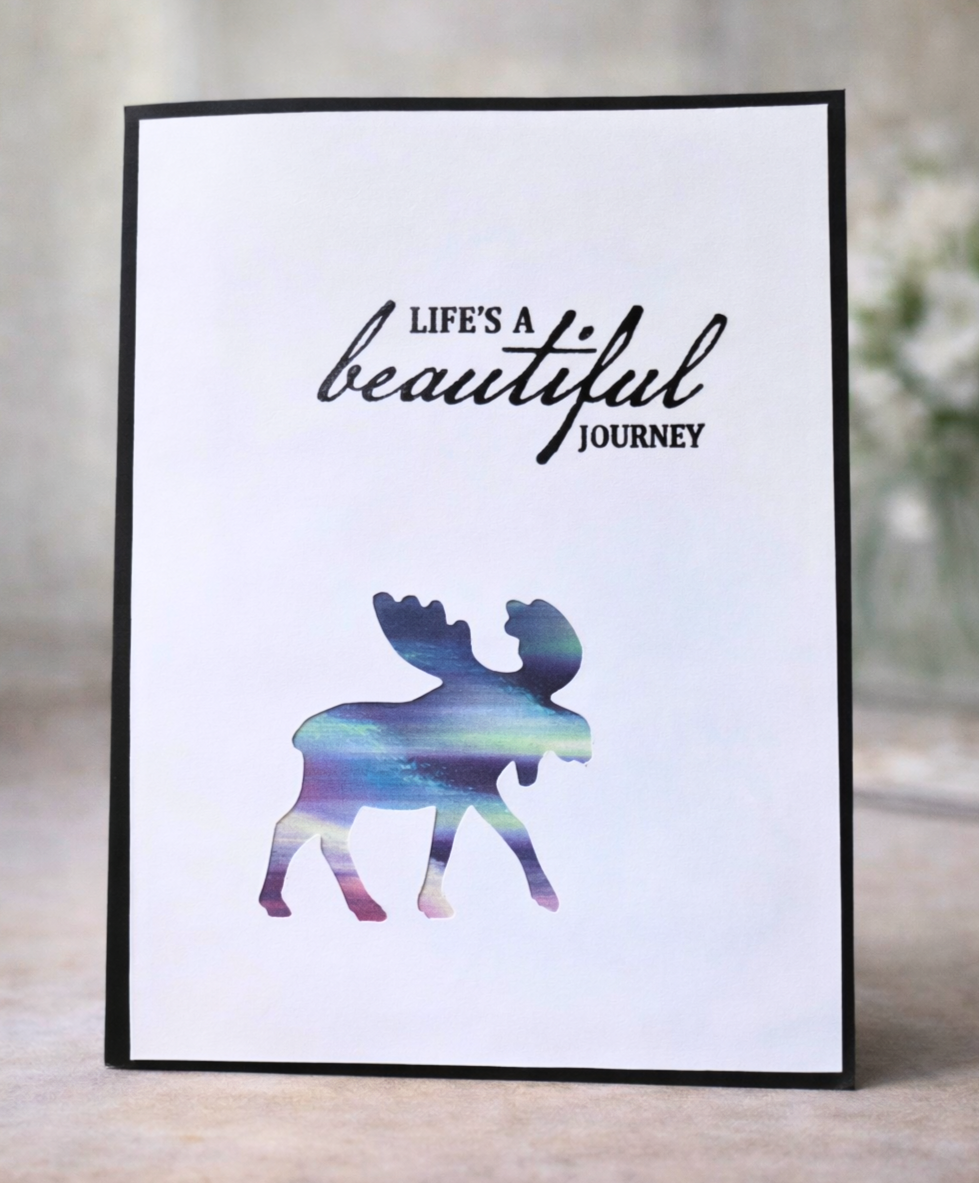
I used my moose punch to cut into the front panel, then took that punched piece and glued it onto the inside of the card. Behind the cut-out opening, I simply added a piece of Designer Series Paper to give it colour and interest. A little embossing finished it off, and just like that — a quick, clean, masculine card within a card.

Here’s how to make this awesome card fold:
Whether you’re making Valentine’s cards, thank you cards, masculine cards, sympathy cards, or something entirely different, this is a fold that looks special without being complicated — and those are always my favourite kinds of projects.
I hope it inspires you to sit down, play with your supplies, and enjoy the simple joy of creating.
Until next time, take care & HAPPY STAMPING!

Love, love , love these cards within a card! Thank you something for sharing and happy Valentine’s Day to you!
Thanks Cindy!!! oxoxo