Hi friends! In my last video, I shared how to stamp on velvet using a simple heat-set fabric technique.
I”m happy to share (after a three-day tech issue with uploading) I FINALLY have my part 2 video ready for you!
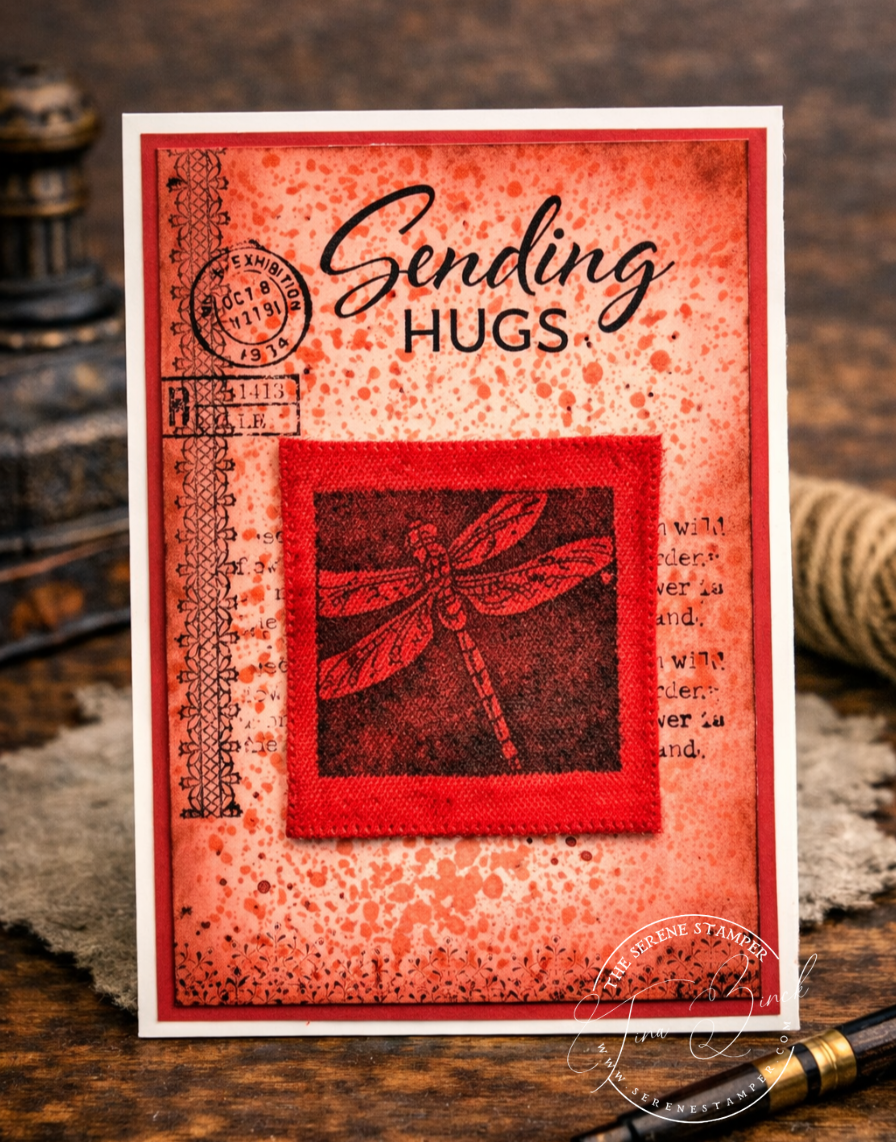
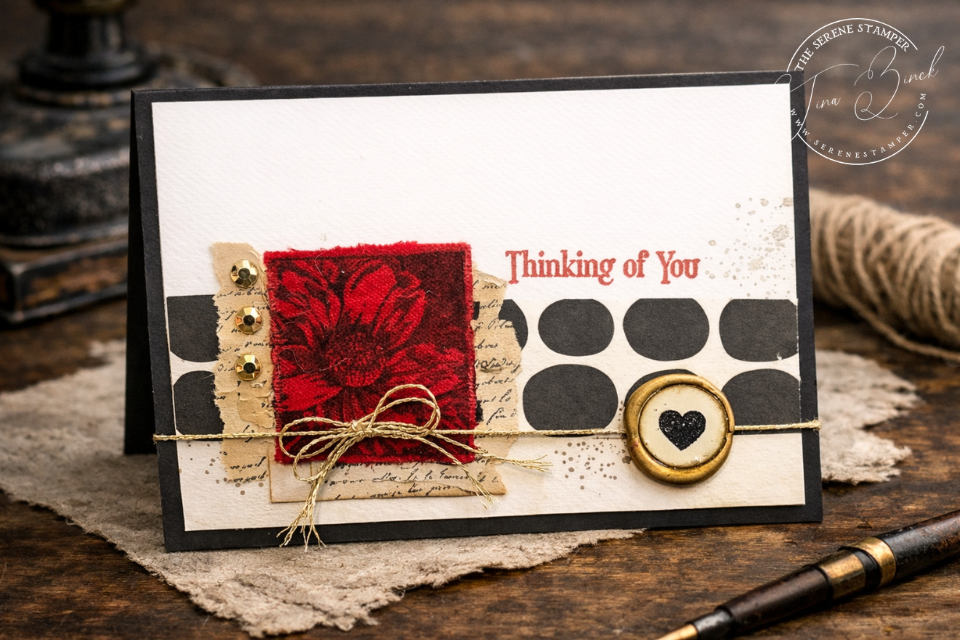
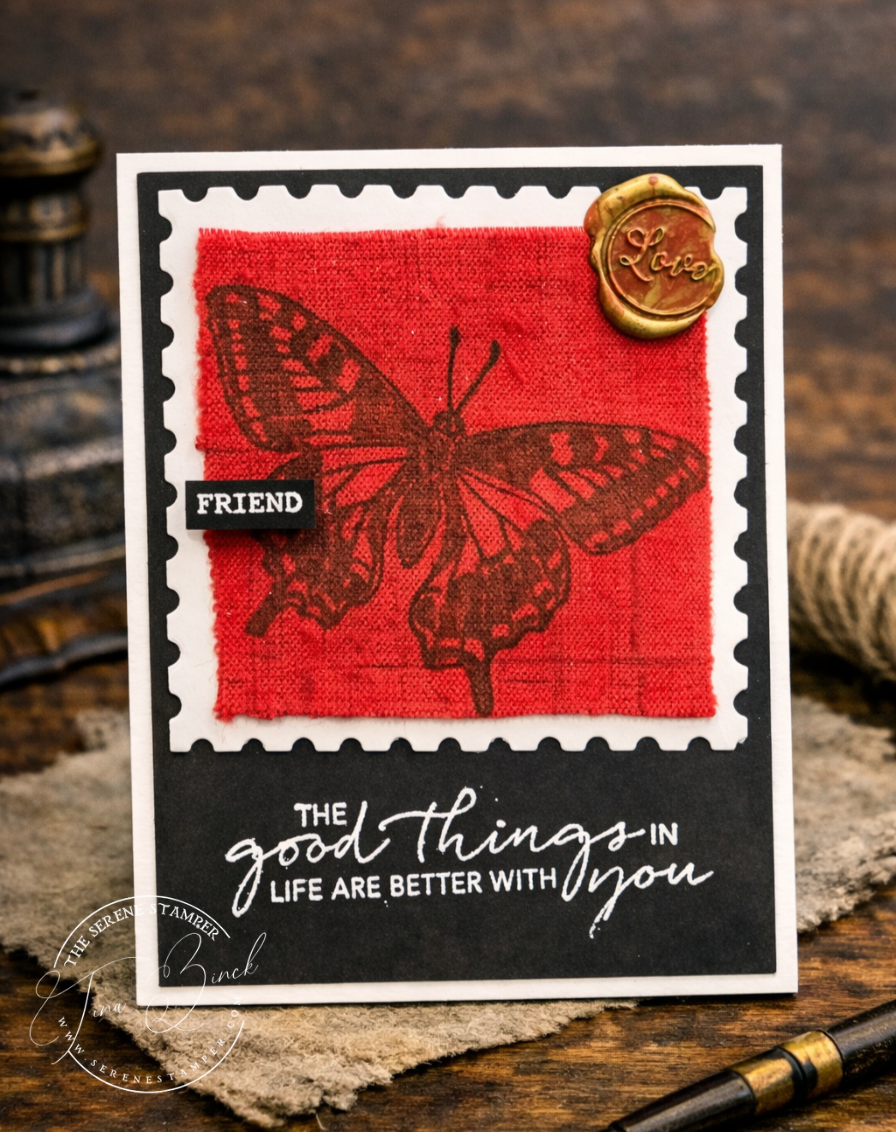
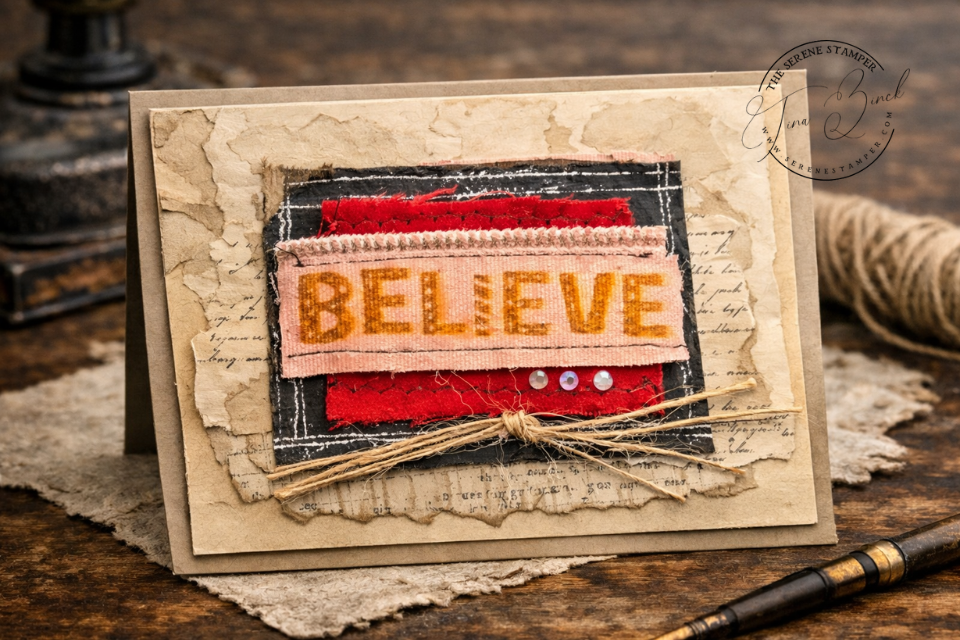
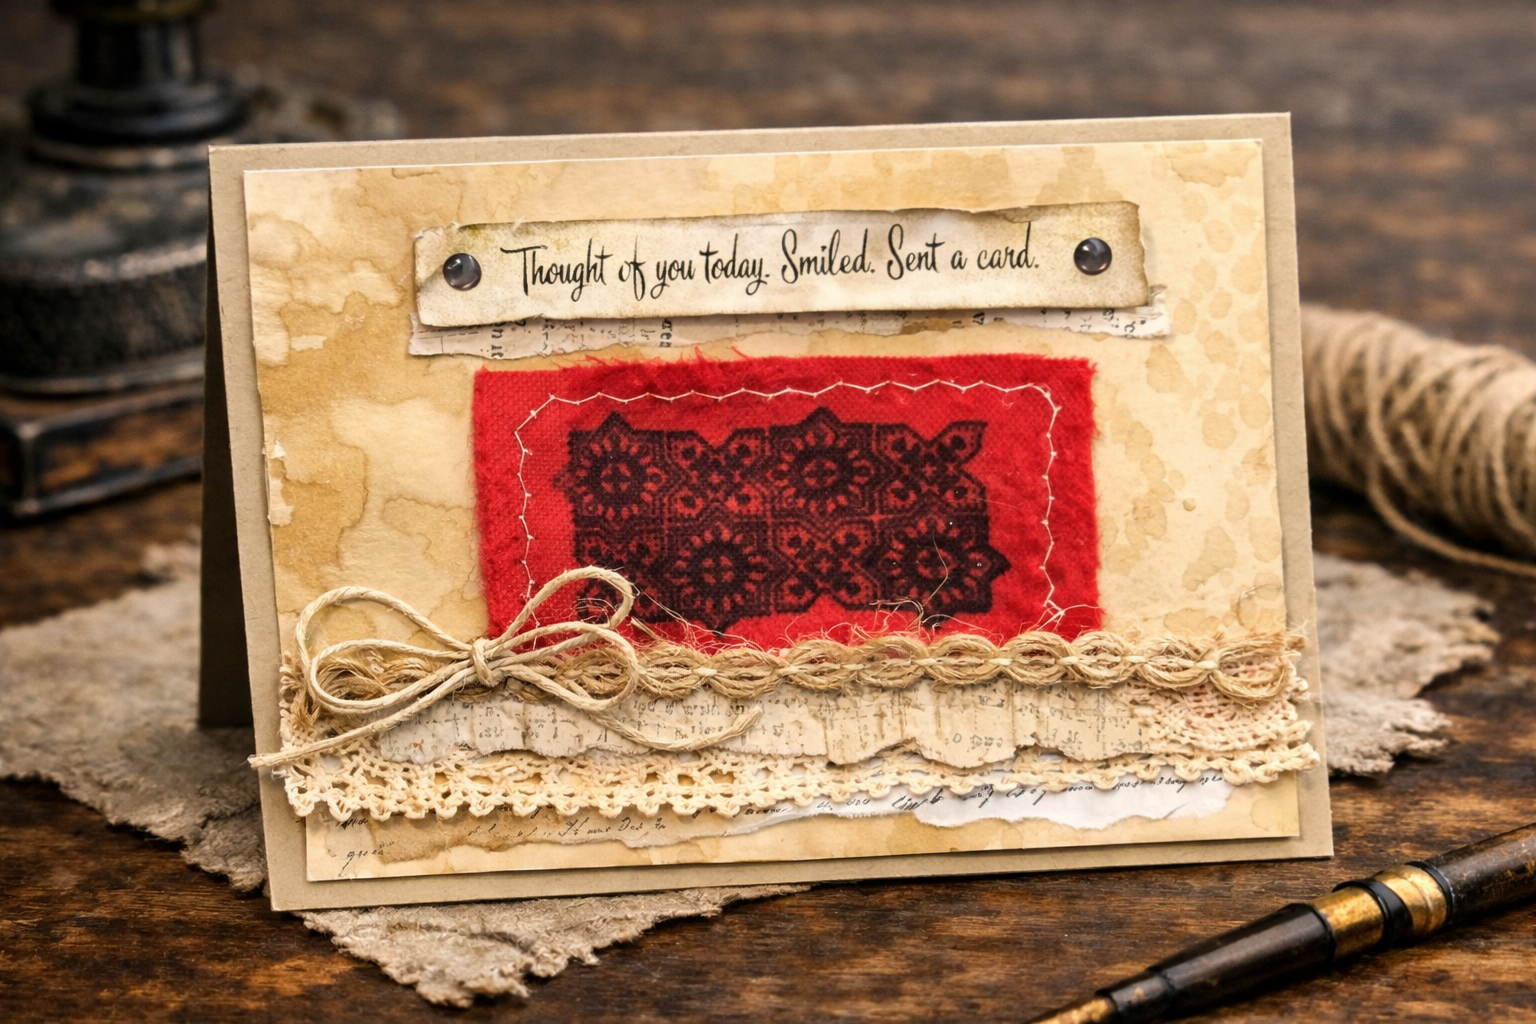
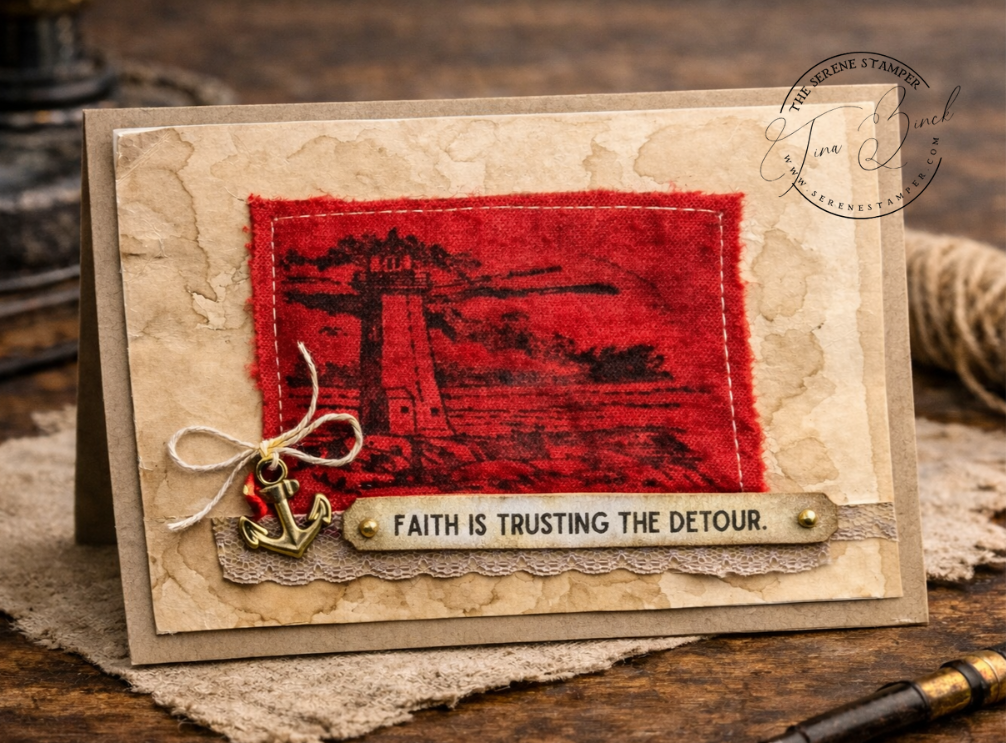
I had originally planned on creating cards, bookmarks AND a journal in this video. That was just downright silly thinking. Because, of course, once I started making cards I couldn’t stop! In total, I made six cards, each different from the other, designing as I went along.
A quick note if you missed Part One
If you’d like to see the stamping technique itself, click HERE for the video and more details + photos.
Okie doke – looky what I came up, my friends, and please leave a comment and let me know what you think and which one is your favourite:
Supplies I used (use what you have)
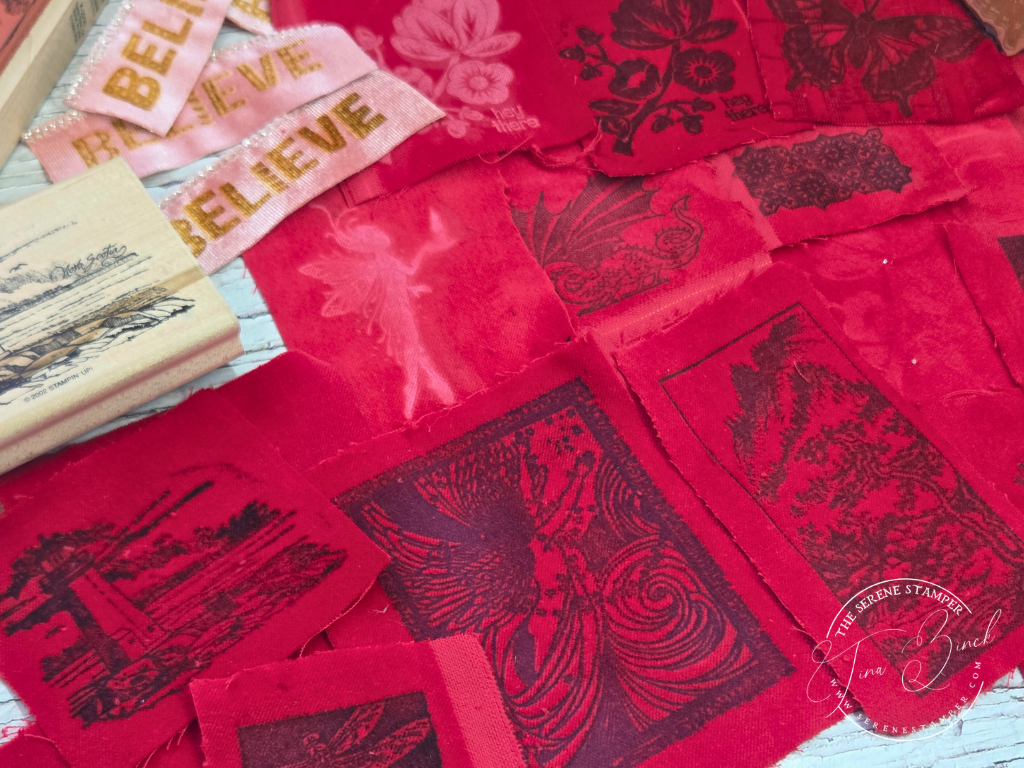
Ok, let me just tell you, I pulled in a BIG assortment of stamp sets because honestly, I wasn’t sure which ones I’d end up using on my cards. I also used an assortment of ribbons and trims, embellishments, coffee-dyed papers, my sewing machine and even a sealing wax kit. I truly went to town and had a ball creating! As always, if you want to copy or use any of my card designs feel free to substitute with whatever is already in your craft room:
- Velvet or velvet-style fabric
- Stamps (silhouettes and detailed images both work beautifully)
- Permanent or pigment ink
- Cardstock for card bases and layers
- Paper scraps or book pages for soft layering
- Twine, lace, or ribbon (optional)
- Adhesive suitable for fabric
- Assorted dies & punches
Stampin’ Up! Sets (Retired):
- Elements of Text
- Parisian Beauty
- Notes of Nature
- Lovely & Lasting
- Butterfly Brilliance
- Very Versailles
- Gorgeously Made
- Quiet Meadow
- Ranunculus Romance
Here’s Part Two of the Series:
(And yes, there WILL be a part three!)
I must say, I really enjoyed creating these velvet cards and just letting them come together naturally. There’s something about working with fabric that slows you down a little – in a good way. It definately adds warmth, softness, and that cozy, handmade feel I’m always drawn to.

A little note: I tried something a bit different for Part 2 of this velvet card series.
I’ll be sharing the full card-making process from start to finish, mostly just as it happened – no heavy editing and no rushing. That extended video (about two hours) will be available January 29, 2026, inside my Serene Stamper Studio for members.
So if you’d rather make something nice to sip, get comfy, and stamp along with me at a relaxed, unhurried pace, you’re more than welcome to join us there.
You’ll also have access to my vault of past classes, extra videos, and little sneak peeks along the way.
Ok – next up will be making a journal and some bookmarks with my stamped velvet! Oh my goodness, I am just having TOO MUCH FUN! Be sure to subscribe to my channel so you don’t miss part 3 of my Stamping on Velvet series!
Take care & HAPPY STAMPING!

My fave? They are each amazing! But…. If I had to choose, I’d say Believe is my pick. Thank you for your hard work and determination in bringing us these videos. I know it was a struggle because of the technology issues you faced.
Hi Vicki! THank you so much for taking time to comment and I’m so happy you like the “Believe” card!!! And you’re right, the tech issues I had with this video was BONKERS! LOL Knowing you appreciated the video makes it all worthwhile, my friend! xoxox