Hi Friends! I hope you’ve been enjoying summer. As always, it’s seems to go by faster and faster every year. I must say, it’s been a whirlwind around here lately!
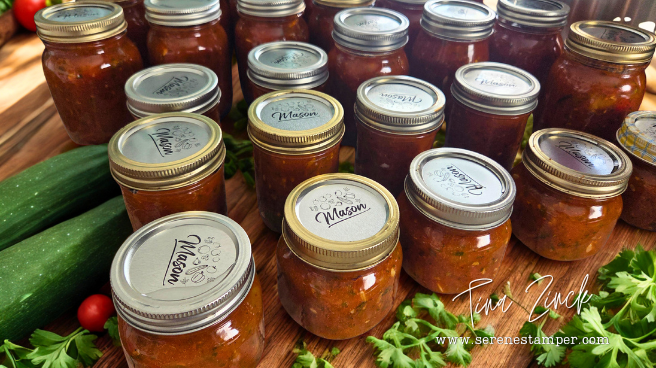
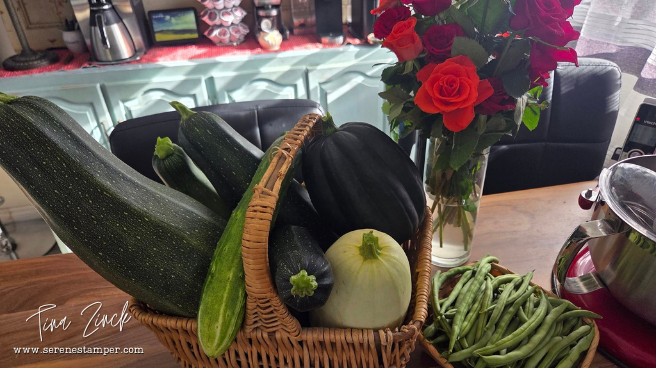
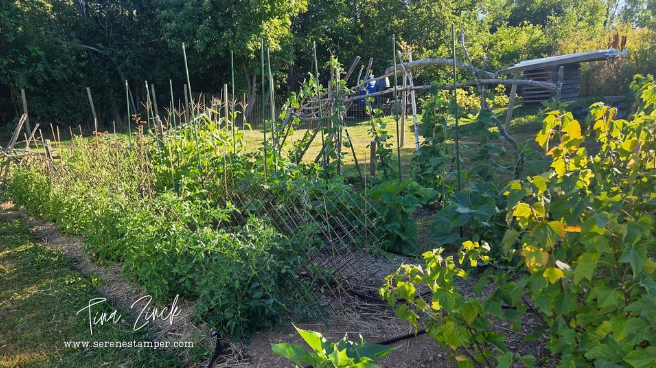
Between canning up a storm in the kitchen, trying to keep the garden alive during this crazy dry spell, and squeezing in some lovely visits with family, life has definitely been full.
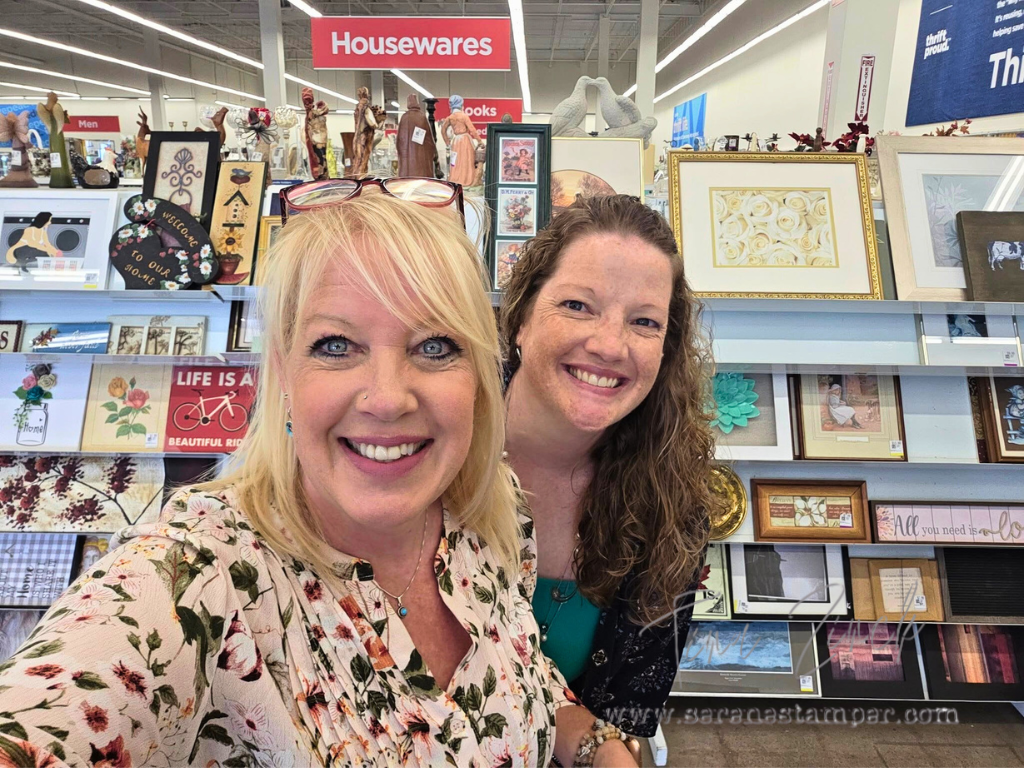
I just celebrated my 55th birthday this past Thursday, and my best friend Jessica treated me to a lovely girl’s day. When she asked what I wanted to do, I said, “Let’s go thrifting!” So off we went to Value Village (which is about a 40 minute drive from us), then we popped into a few more shops, followed by a delightful lunch (where I had my first white sangria – oh my gosh, so GOOD). We had a the BEST day ever!
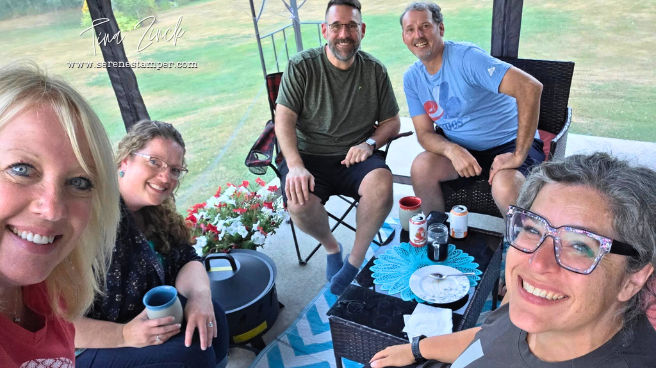
That evening, we gathered in our gazebo with friends and neighbours – Beth and Greg joined us, along with Jessica, Brian, and of course, ice cream cake for dessert.
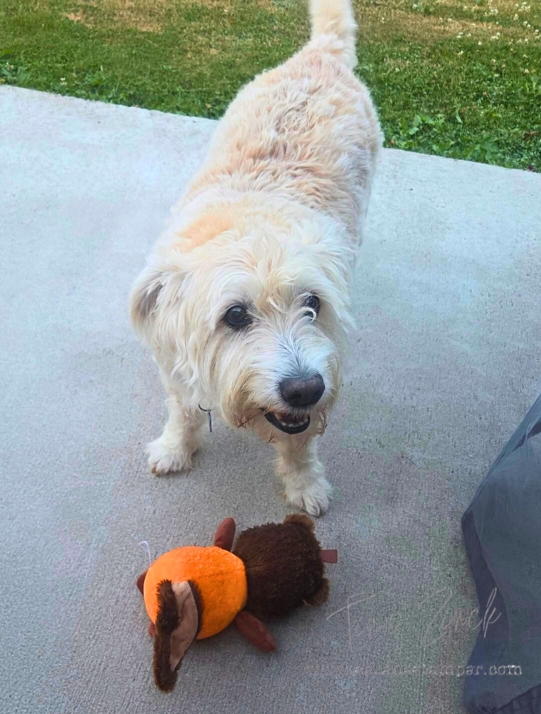
Cooper was a happy pup too, because Mommy brought home treats and new toys when she and Aunty Jess were out shopping….
Today’s card – which I’ll be sharing below – was actually made especially for Jessica’s daughter and her fiancé – to celebrate their engagement. I wanted it to be bright and happy, with lots of texture and little touches of sparkle too.

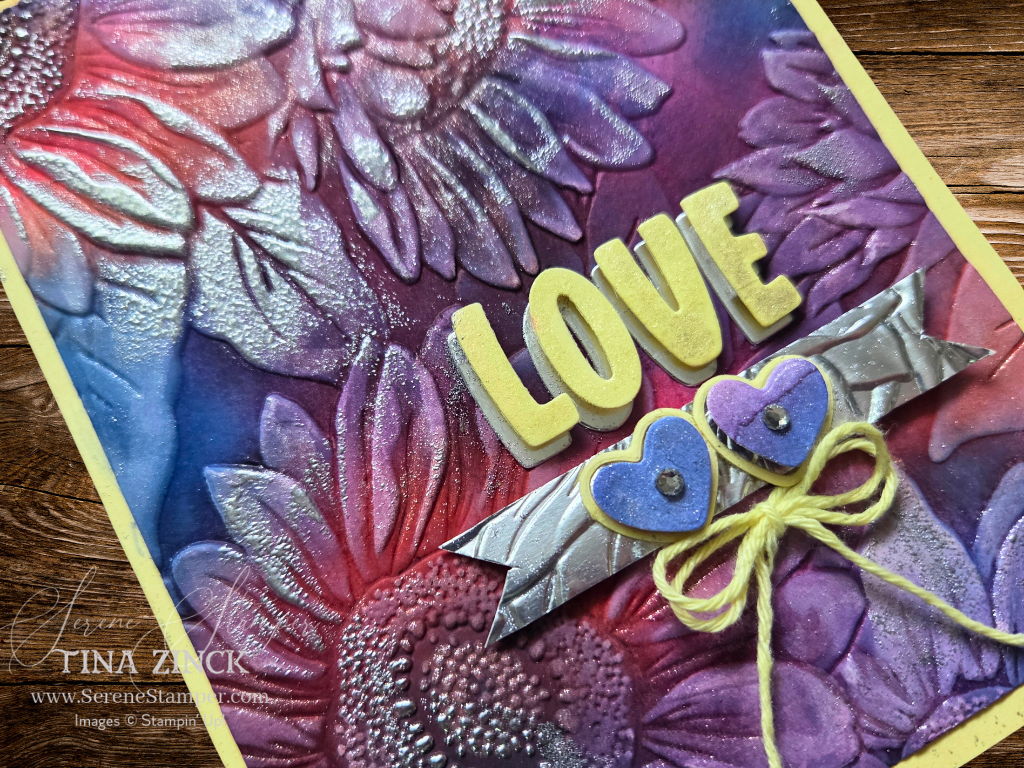
This card combines bold ink blending with deep texture from the Sunflower 3D Embossing Folder, a sweet and playful “LOVE” sentiment, and a couple of hearts. But my favourite part just might be the extra sparkle from silver heat embossing and Wink of Stella — it absolutely shines in person!
🧡 What Makes This Card Special
- Ink Blending: I used my blending brushes to add the following inks over Very Vanilla card stock: Melon Mambo, Blueberry Bushel, Blackberry Bliss, and Pumpkin Pie.
- Embossing Magic: The entire panel was run through the Sunflower 3D Embossing Folder, then gently swiped with a bit of white ink. I then lightly added a bit of VersaMark Ink, sprinkled with Silver Embossing Powder, and heat-set for a beautiful metallic accent.
- LOVE Letters: Layered Lemon Lolly over Silver Foil using the Mini Alphabet Dies for that eye-catching shadow effect.
- Banner Detail: A swagged and embossed silver foil strip adds a grounded base for the sentiment.
- Hearts: Cut using the Notes & Totes Dies (heart glasses dies), with Lemon Lolly outlines and Full of Life DSP for the hearts.
- Finishing Touches: A sweet Lemon Lolly twine bow, two tiny rhinestones, and a swipe of Wink of Stella for shimmer and shine!
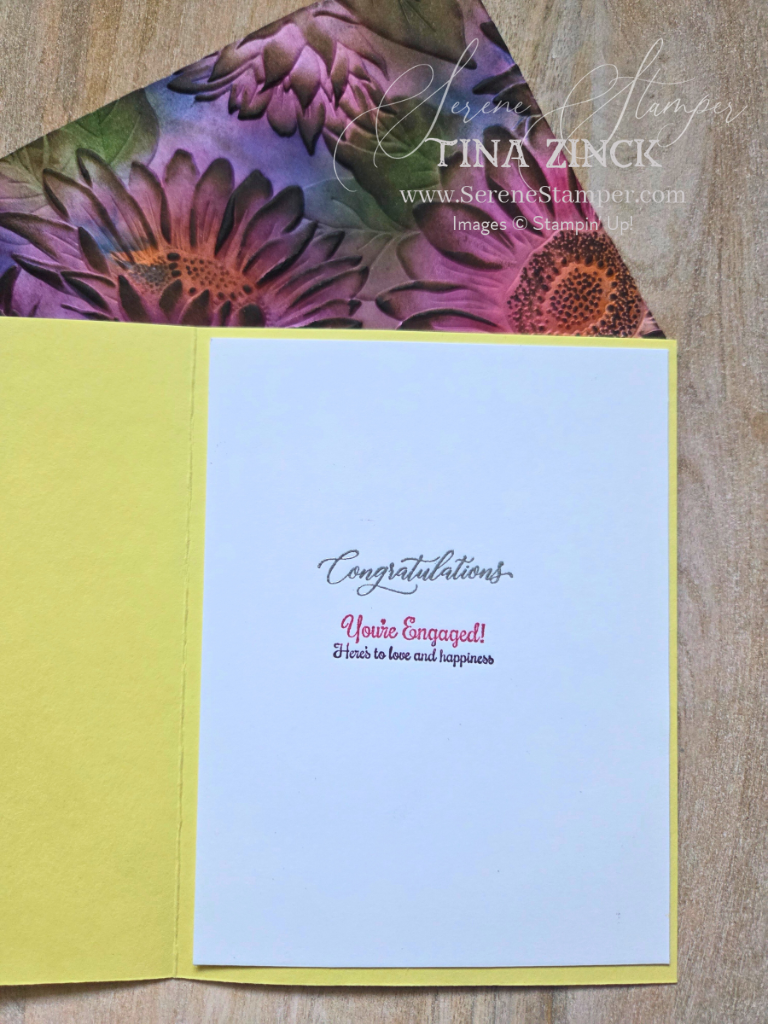
For the inside of the card I used the retired “Love and Happiness” set. I also embossed the envelope, the same way I did the card, except I used Early Espresso ink instead of white, and I didn’t add any silver embossing. Instead, I used a blending brush to add some green to the leaves and pinks and oranges to the flowers.
Here is the full tutorial with step-by-step instructions and measurements:
I hope you enjoyed today’s tutorial! If you’ve been following me for a while, you already know how much I love embossing folders – and all the fun, creative ways you can use them. Lately, I stumbled across not one, but two new techniques that totally WOWed me, and I can’t wait to show you! Keep an eye out – I’ll be featuring both in my next video!
P.S. Don’t Miss Out!
If you’re not already subscribed to my newsletter, I’d love for you to join! I often share behind-the-scenes stories, project sneak peeks, and things that don’t always make it to the blog – like recipes, favourite finds, and upcoming releases. When you subscribe, you’ll also receive my brand-new Serene Stamper Sentiment Sheet — FREE! It’s a printable page full of heartfelt greetings you can use on your handmade cards, tags, and more!

Take care and HAPPY STAMPING!


Leave a Reply